WFH desk build
WFH desk build
After 5 months of working from home i decided to build my own desk with all the features i wanted, after a bit of internet browsing i came accross this build which looked just right for what i was looking for. Big shout-out to Blurwhale for the original idea.
Table top
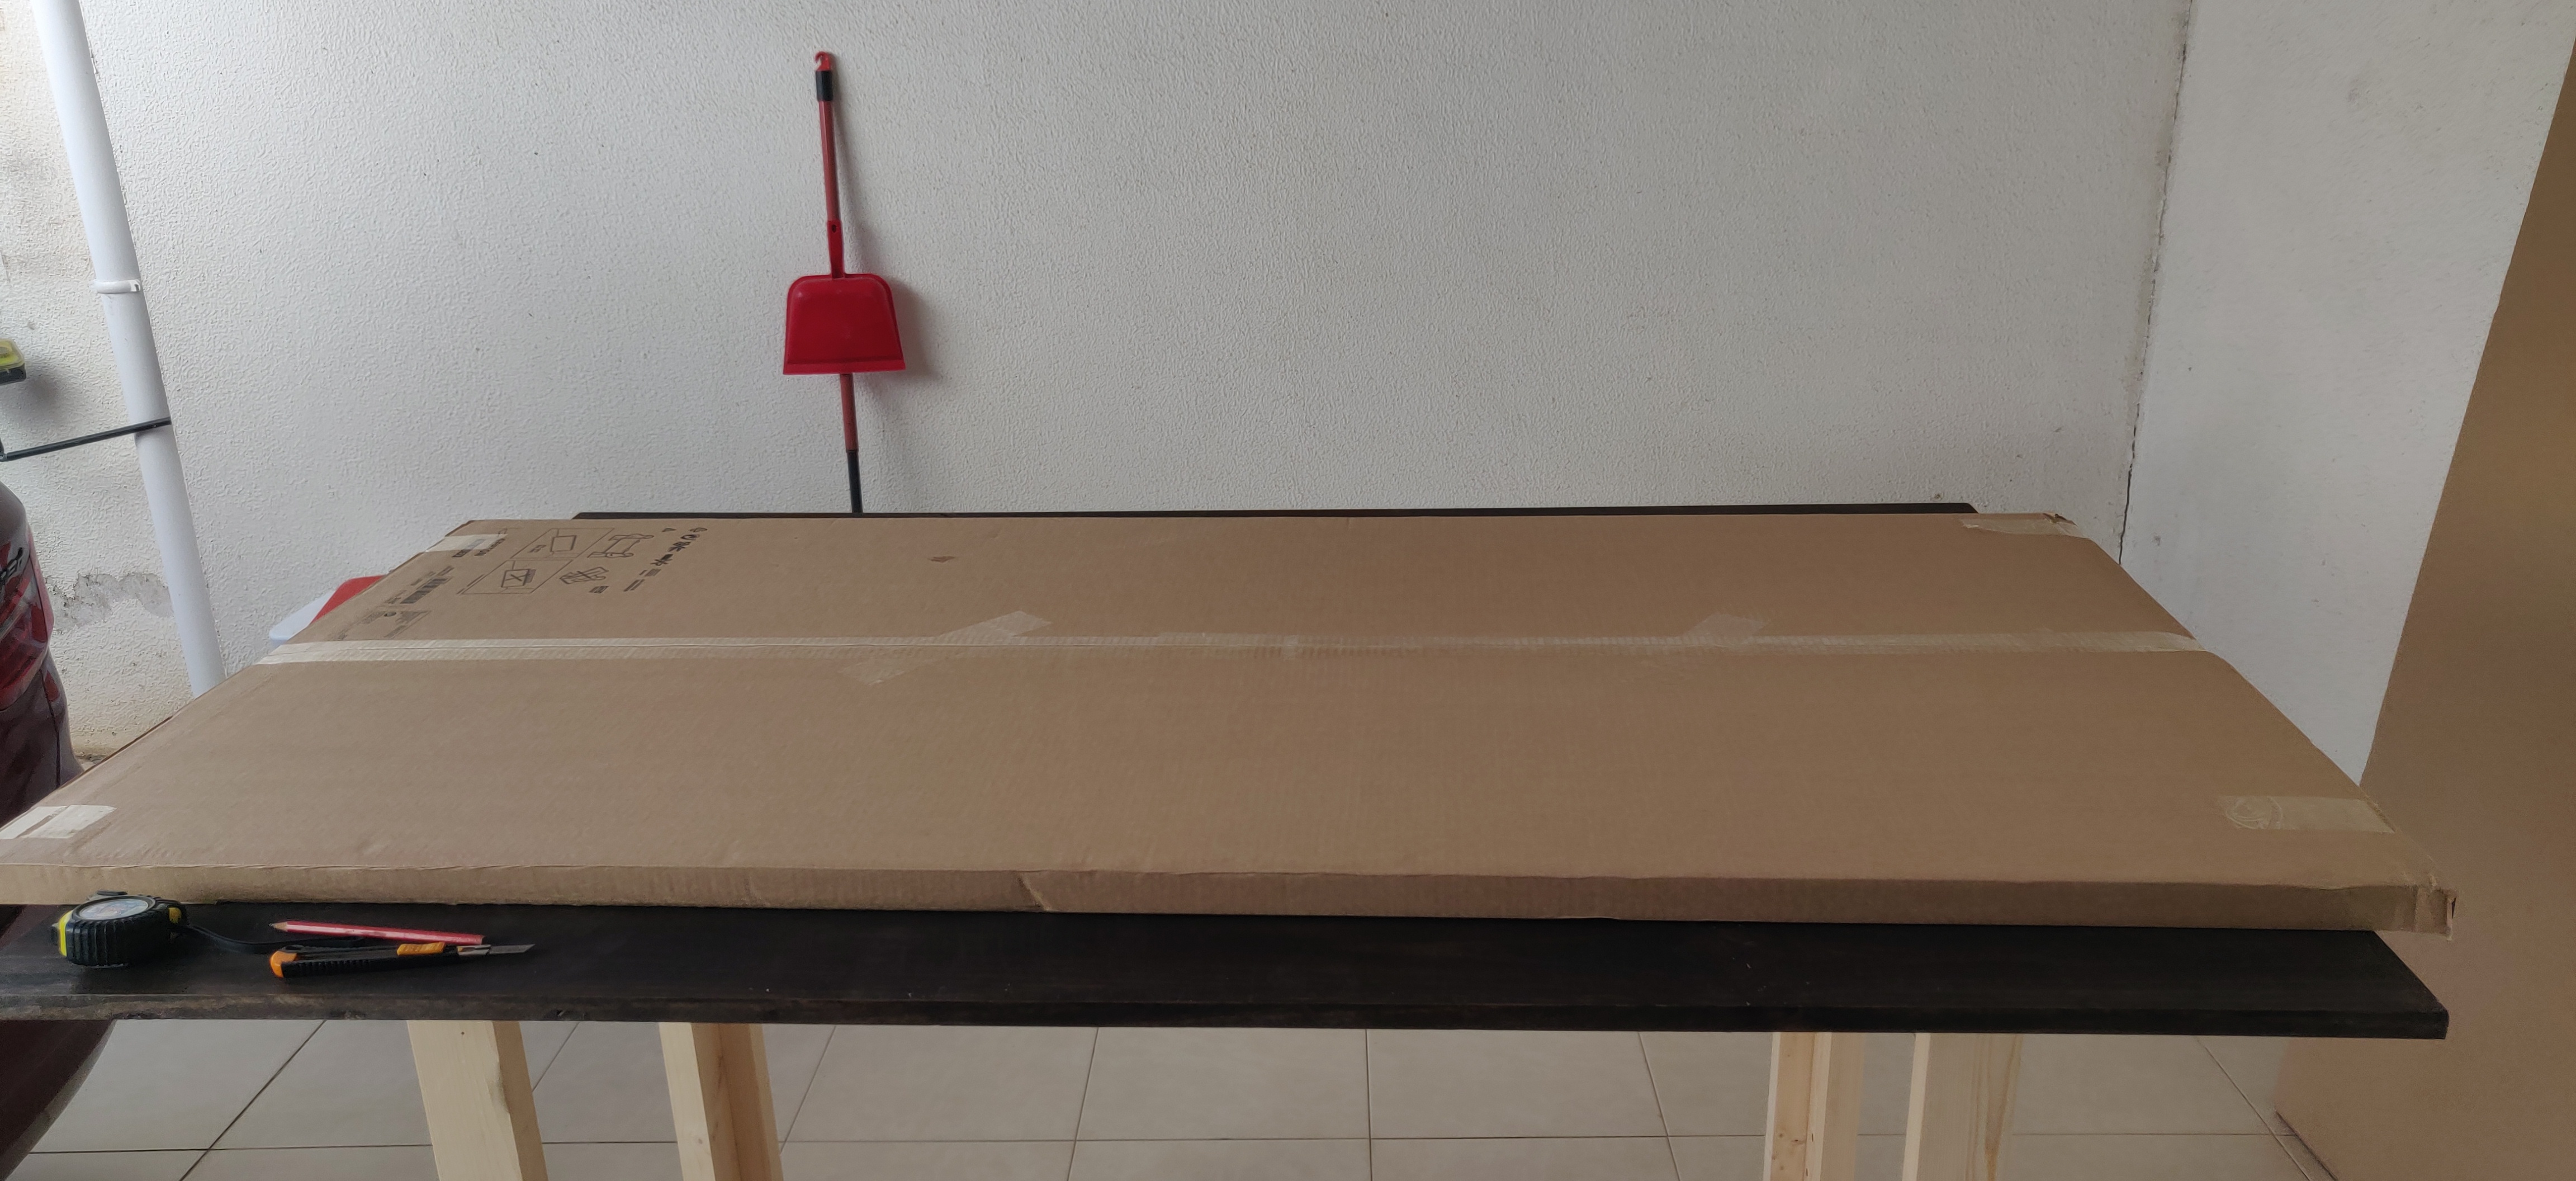
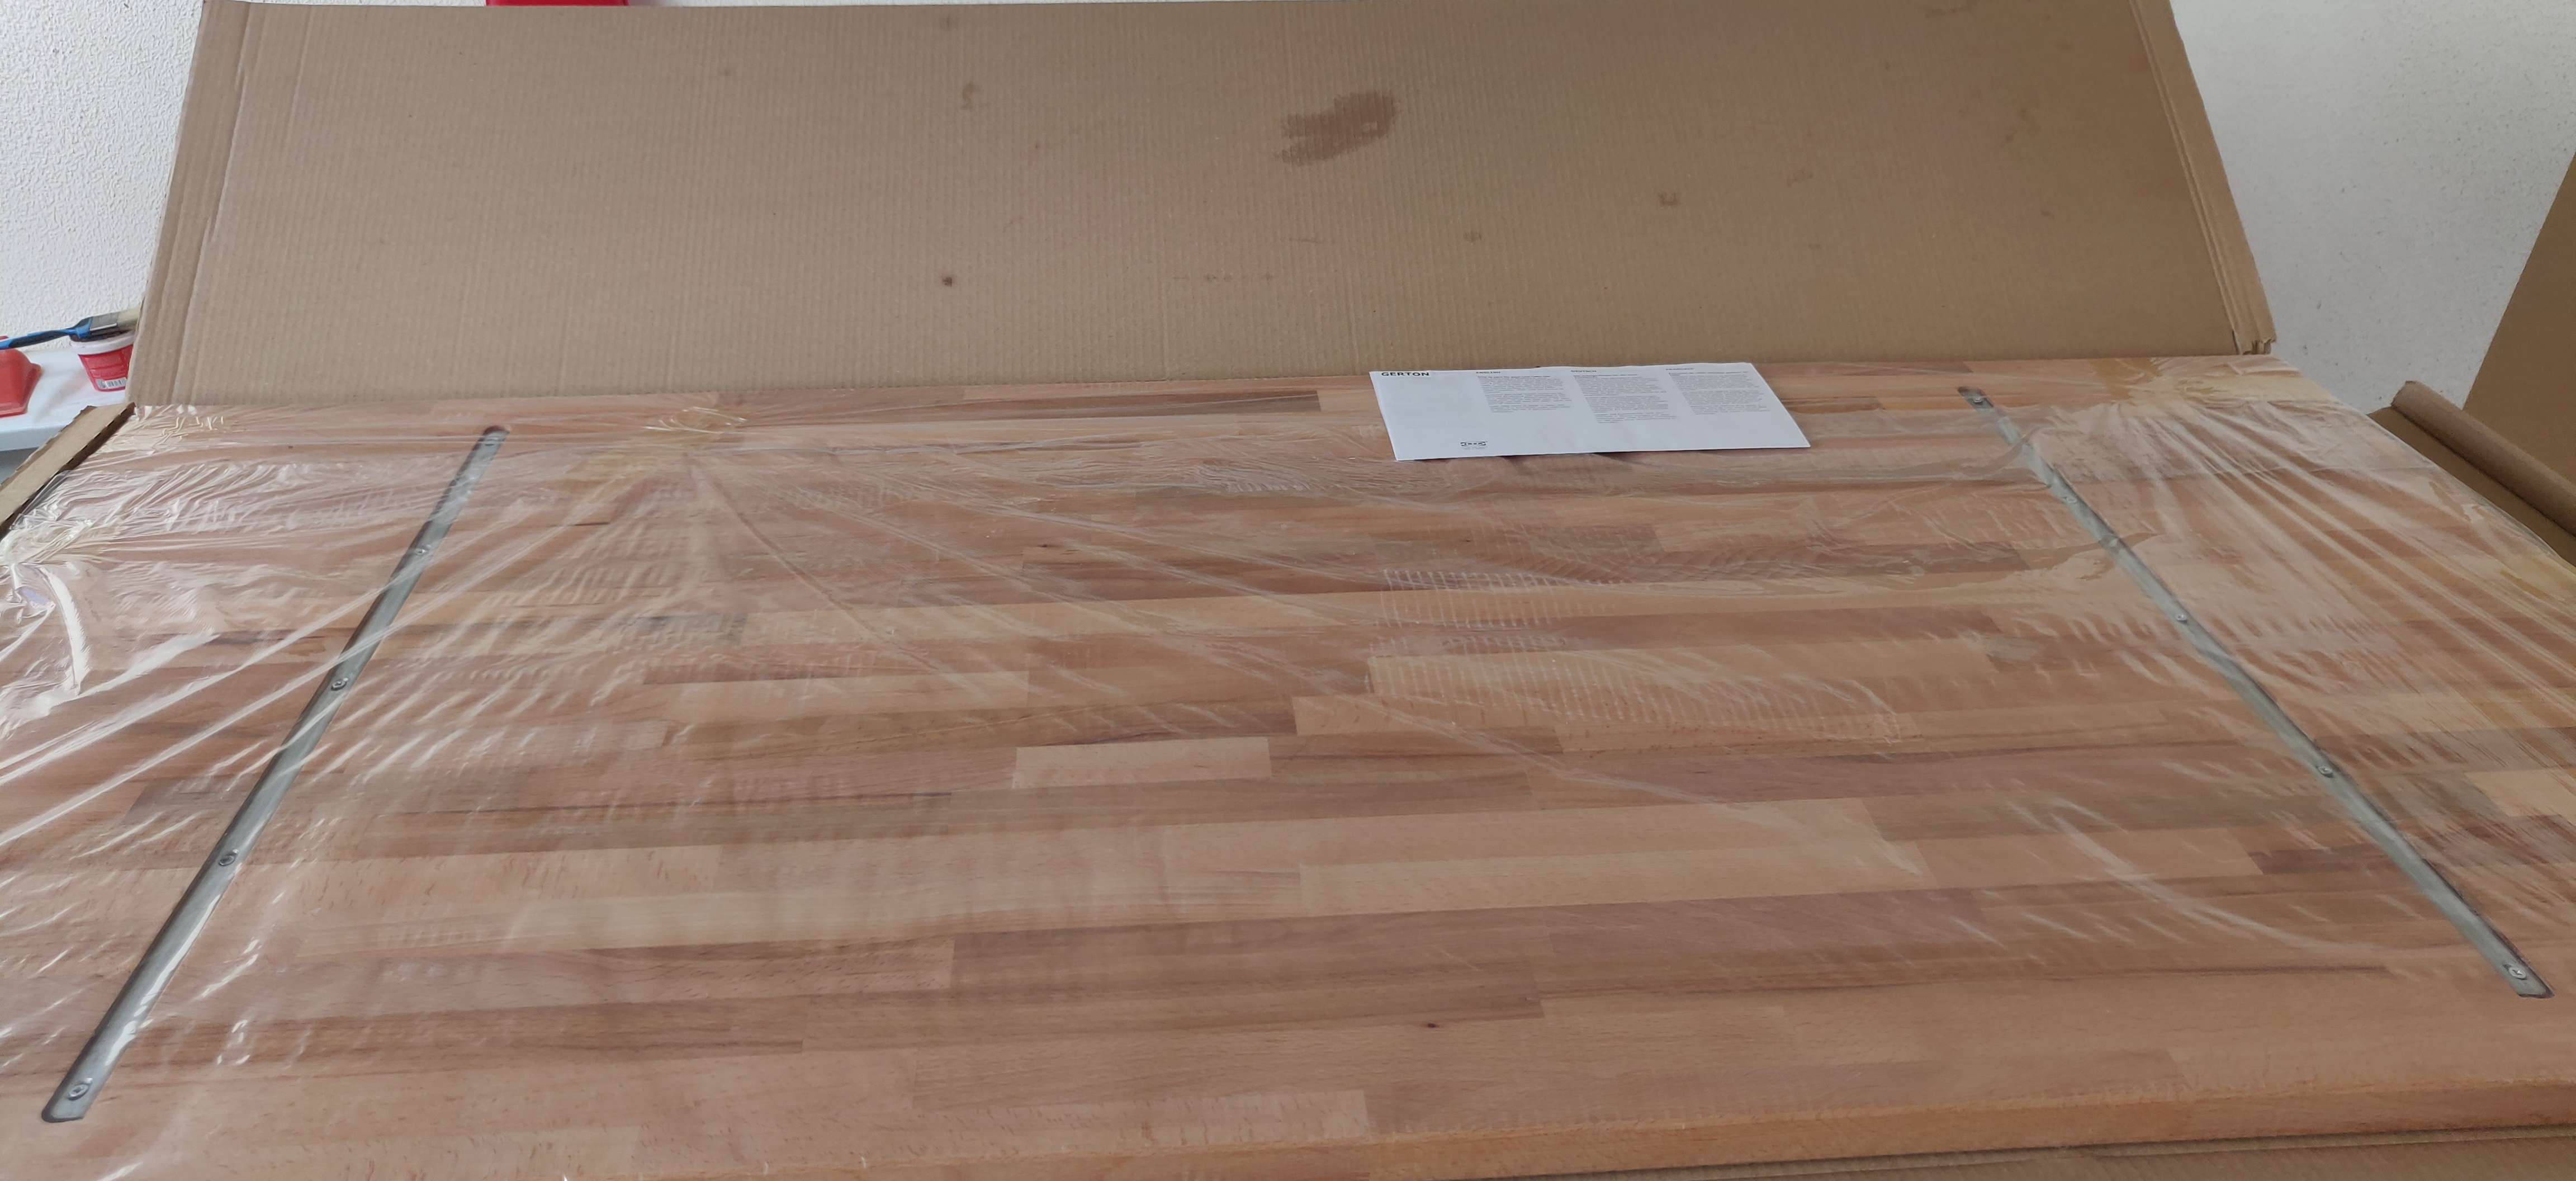
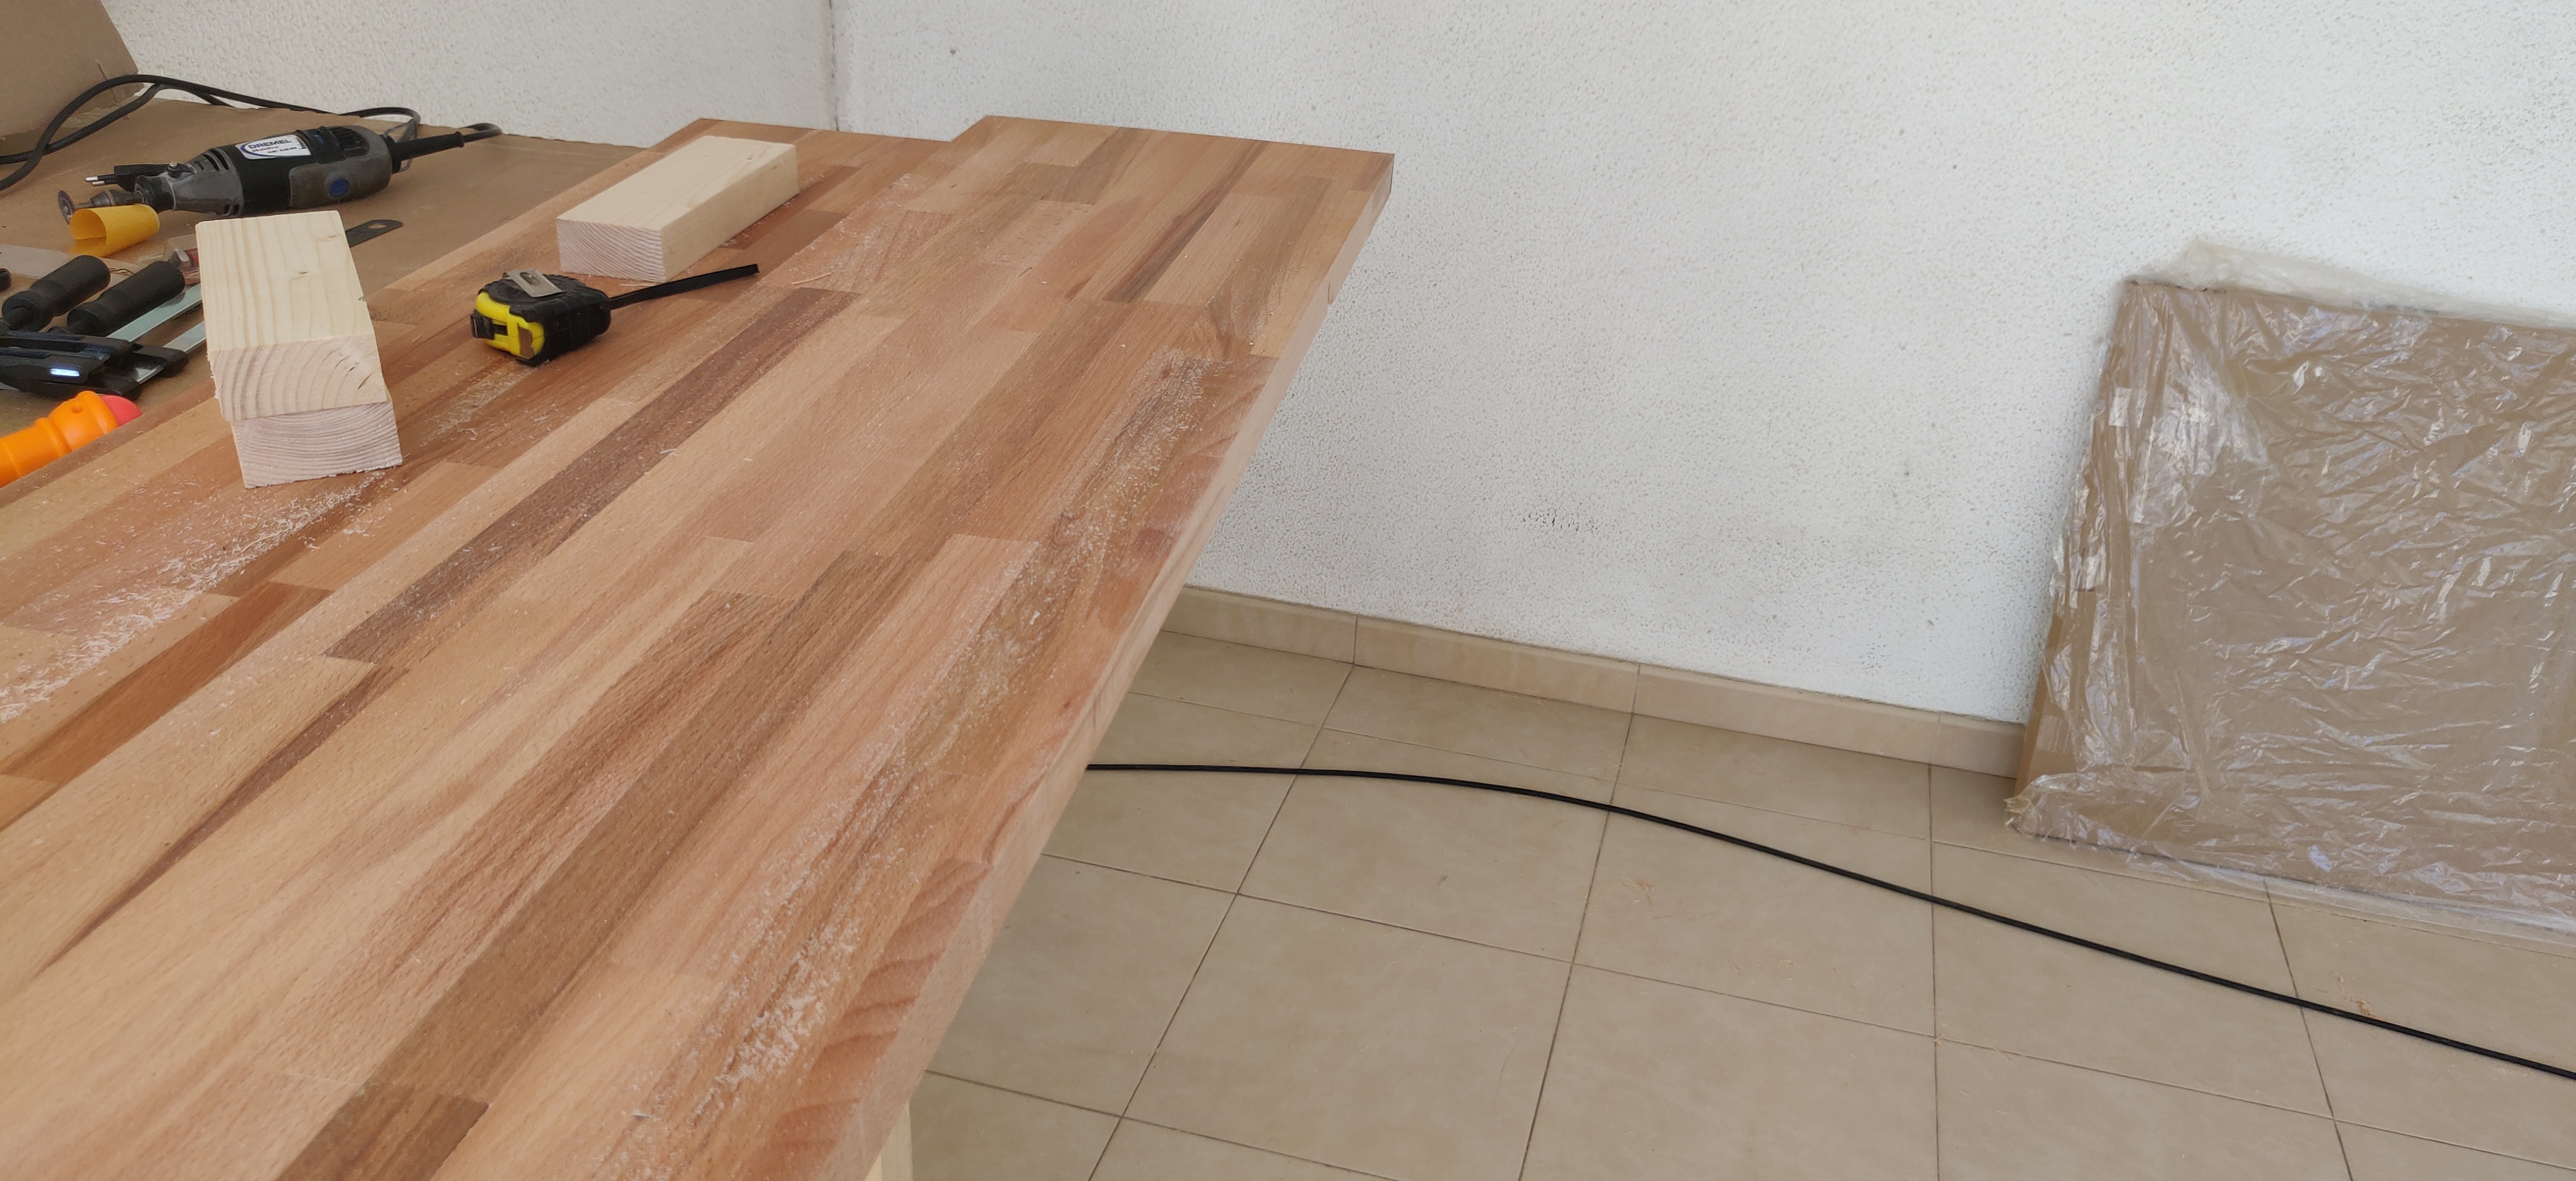
First thing is ordering the two Gerton tabletops from Ikea, you can’t really pick out the ones you like so it’s fingers crossed.
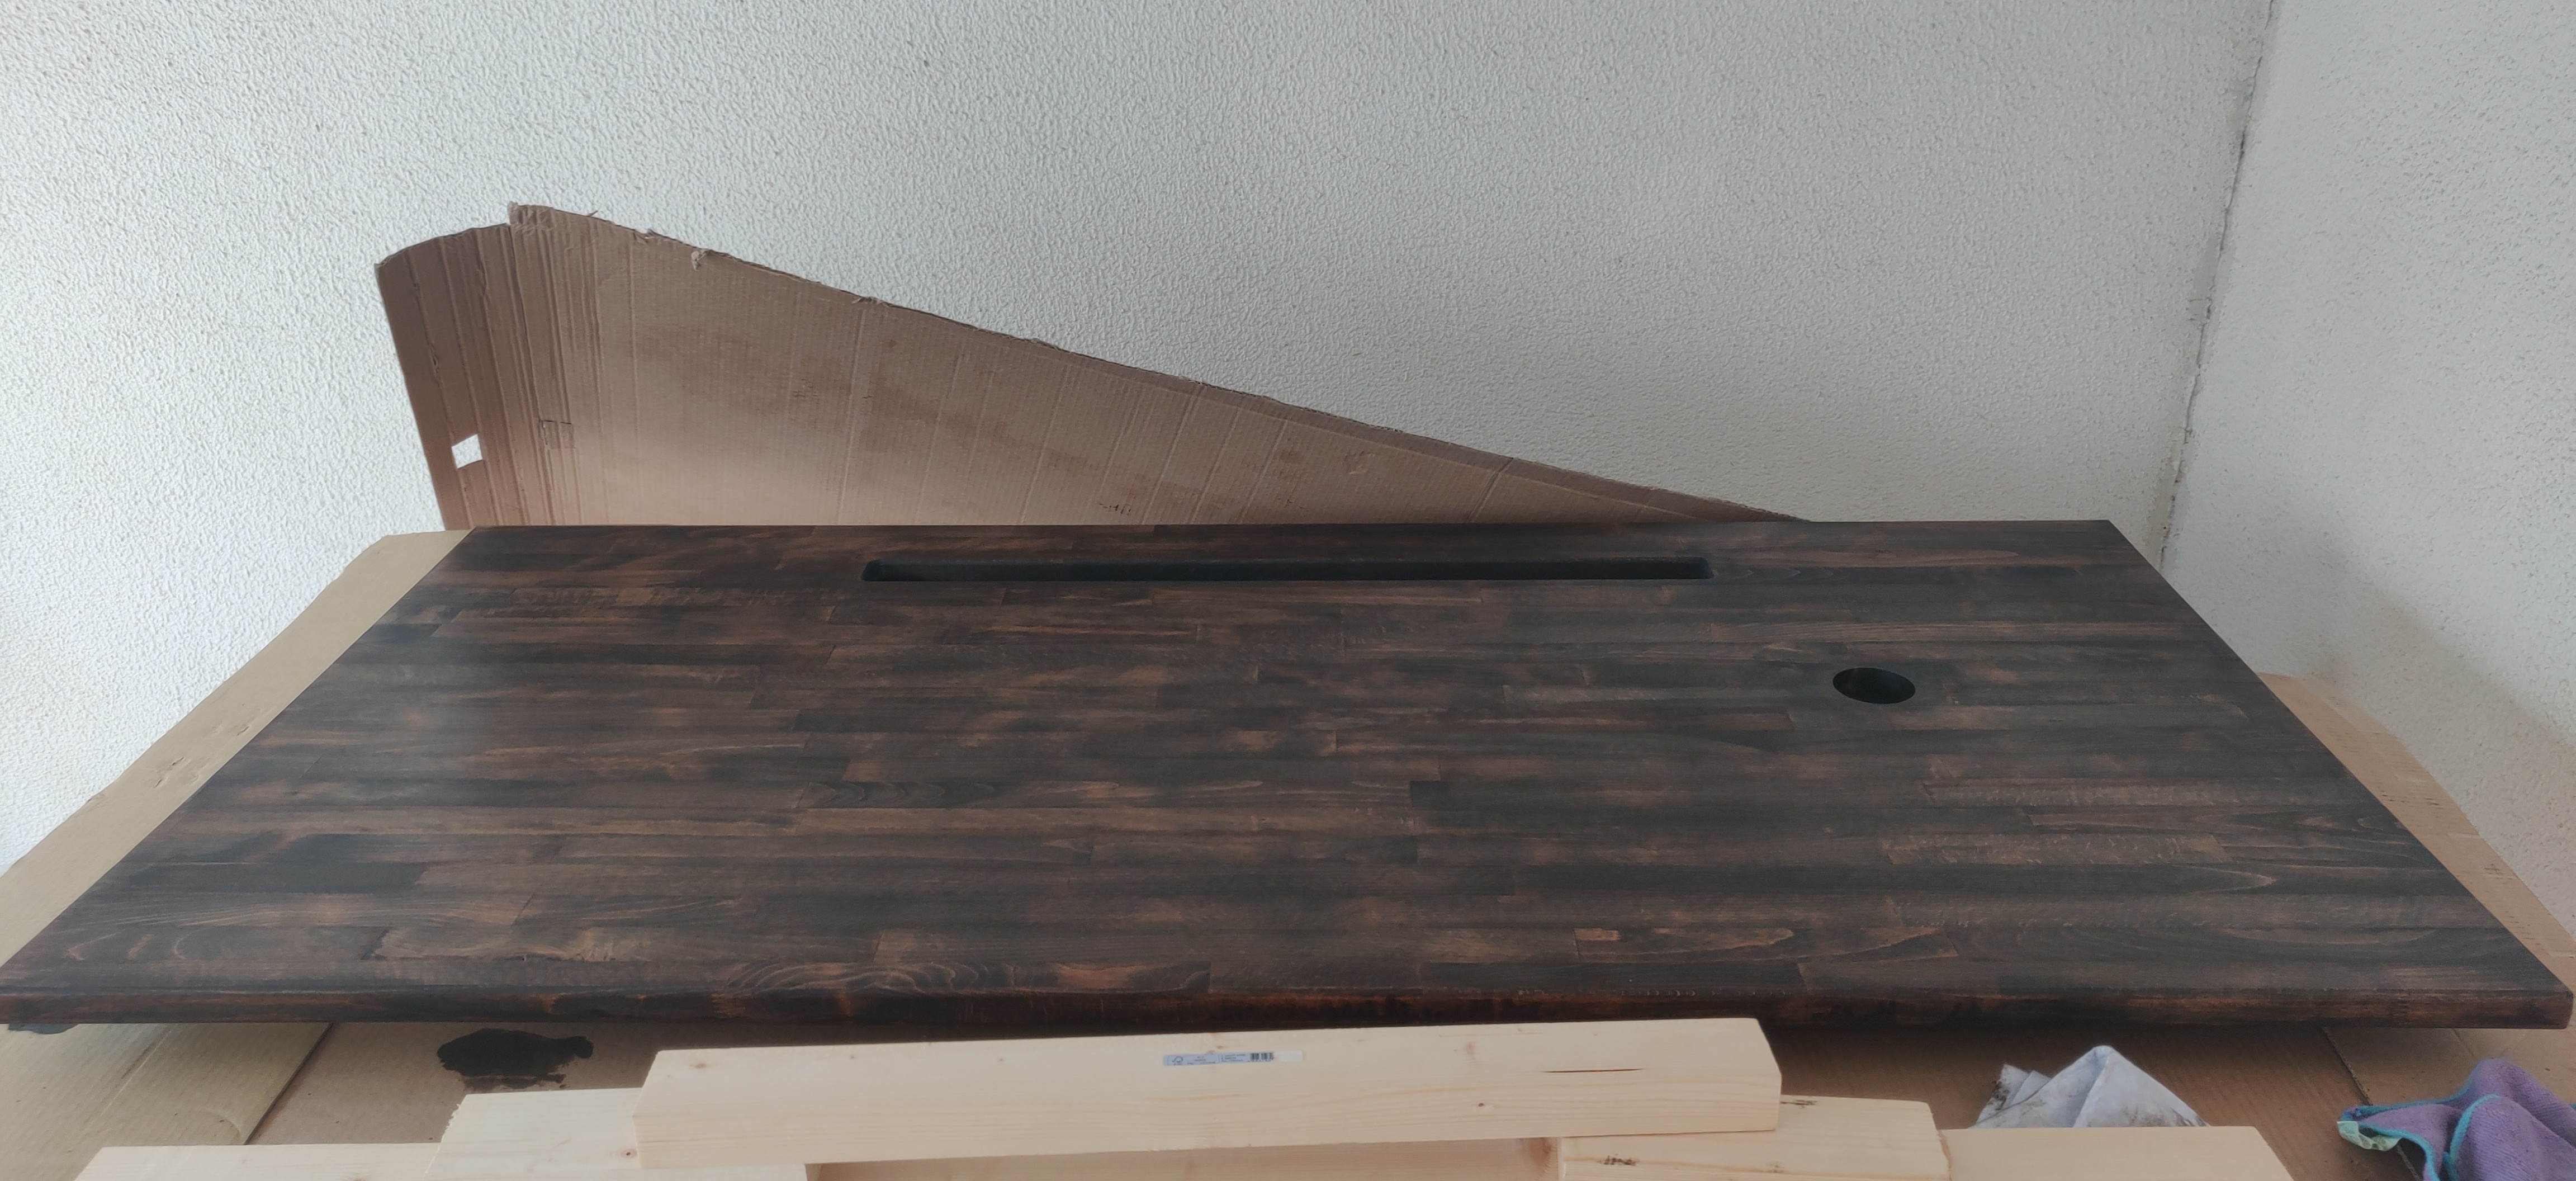
These two channels on either side have a screwed in steel bar, i imagine for additional stability.
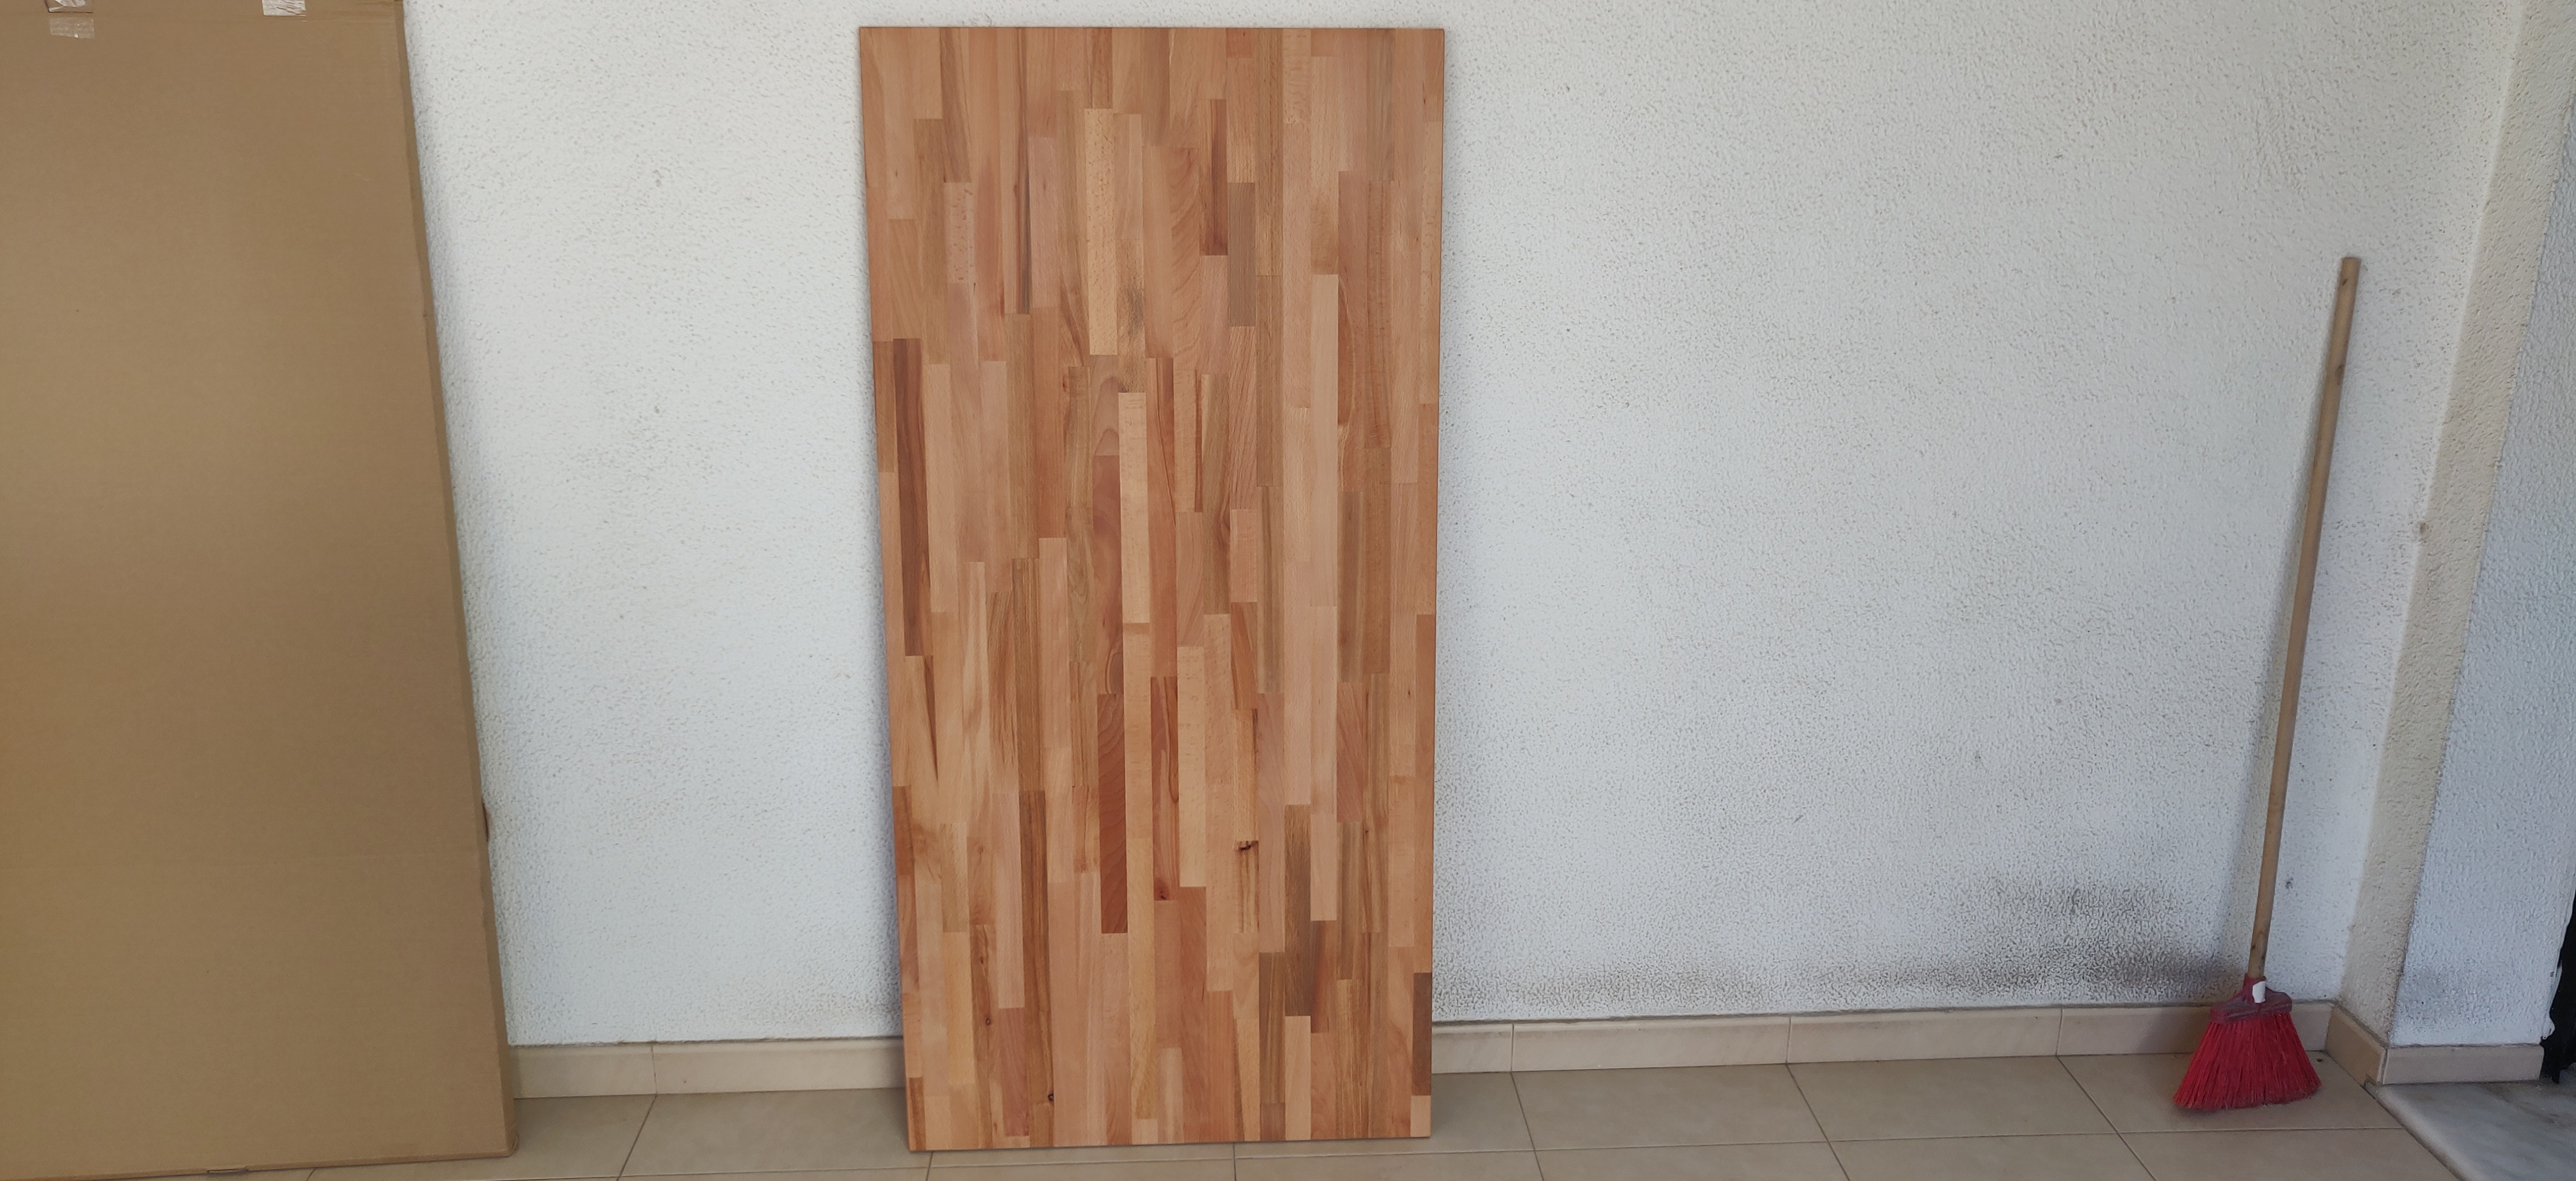
Here is one of them, turned out ok.
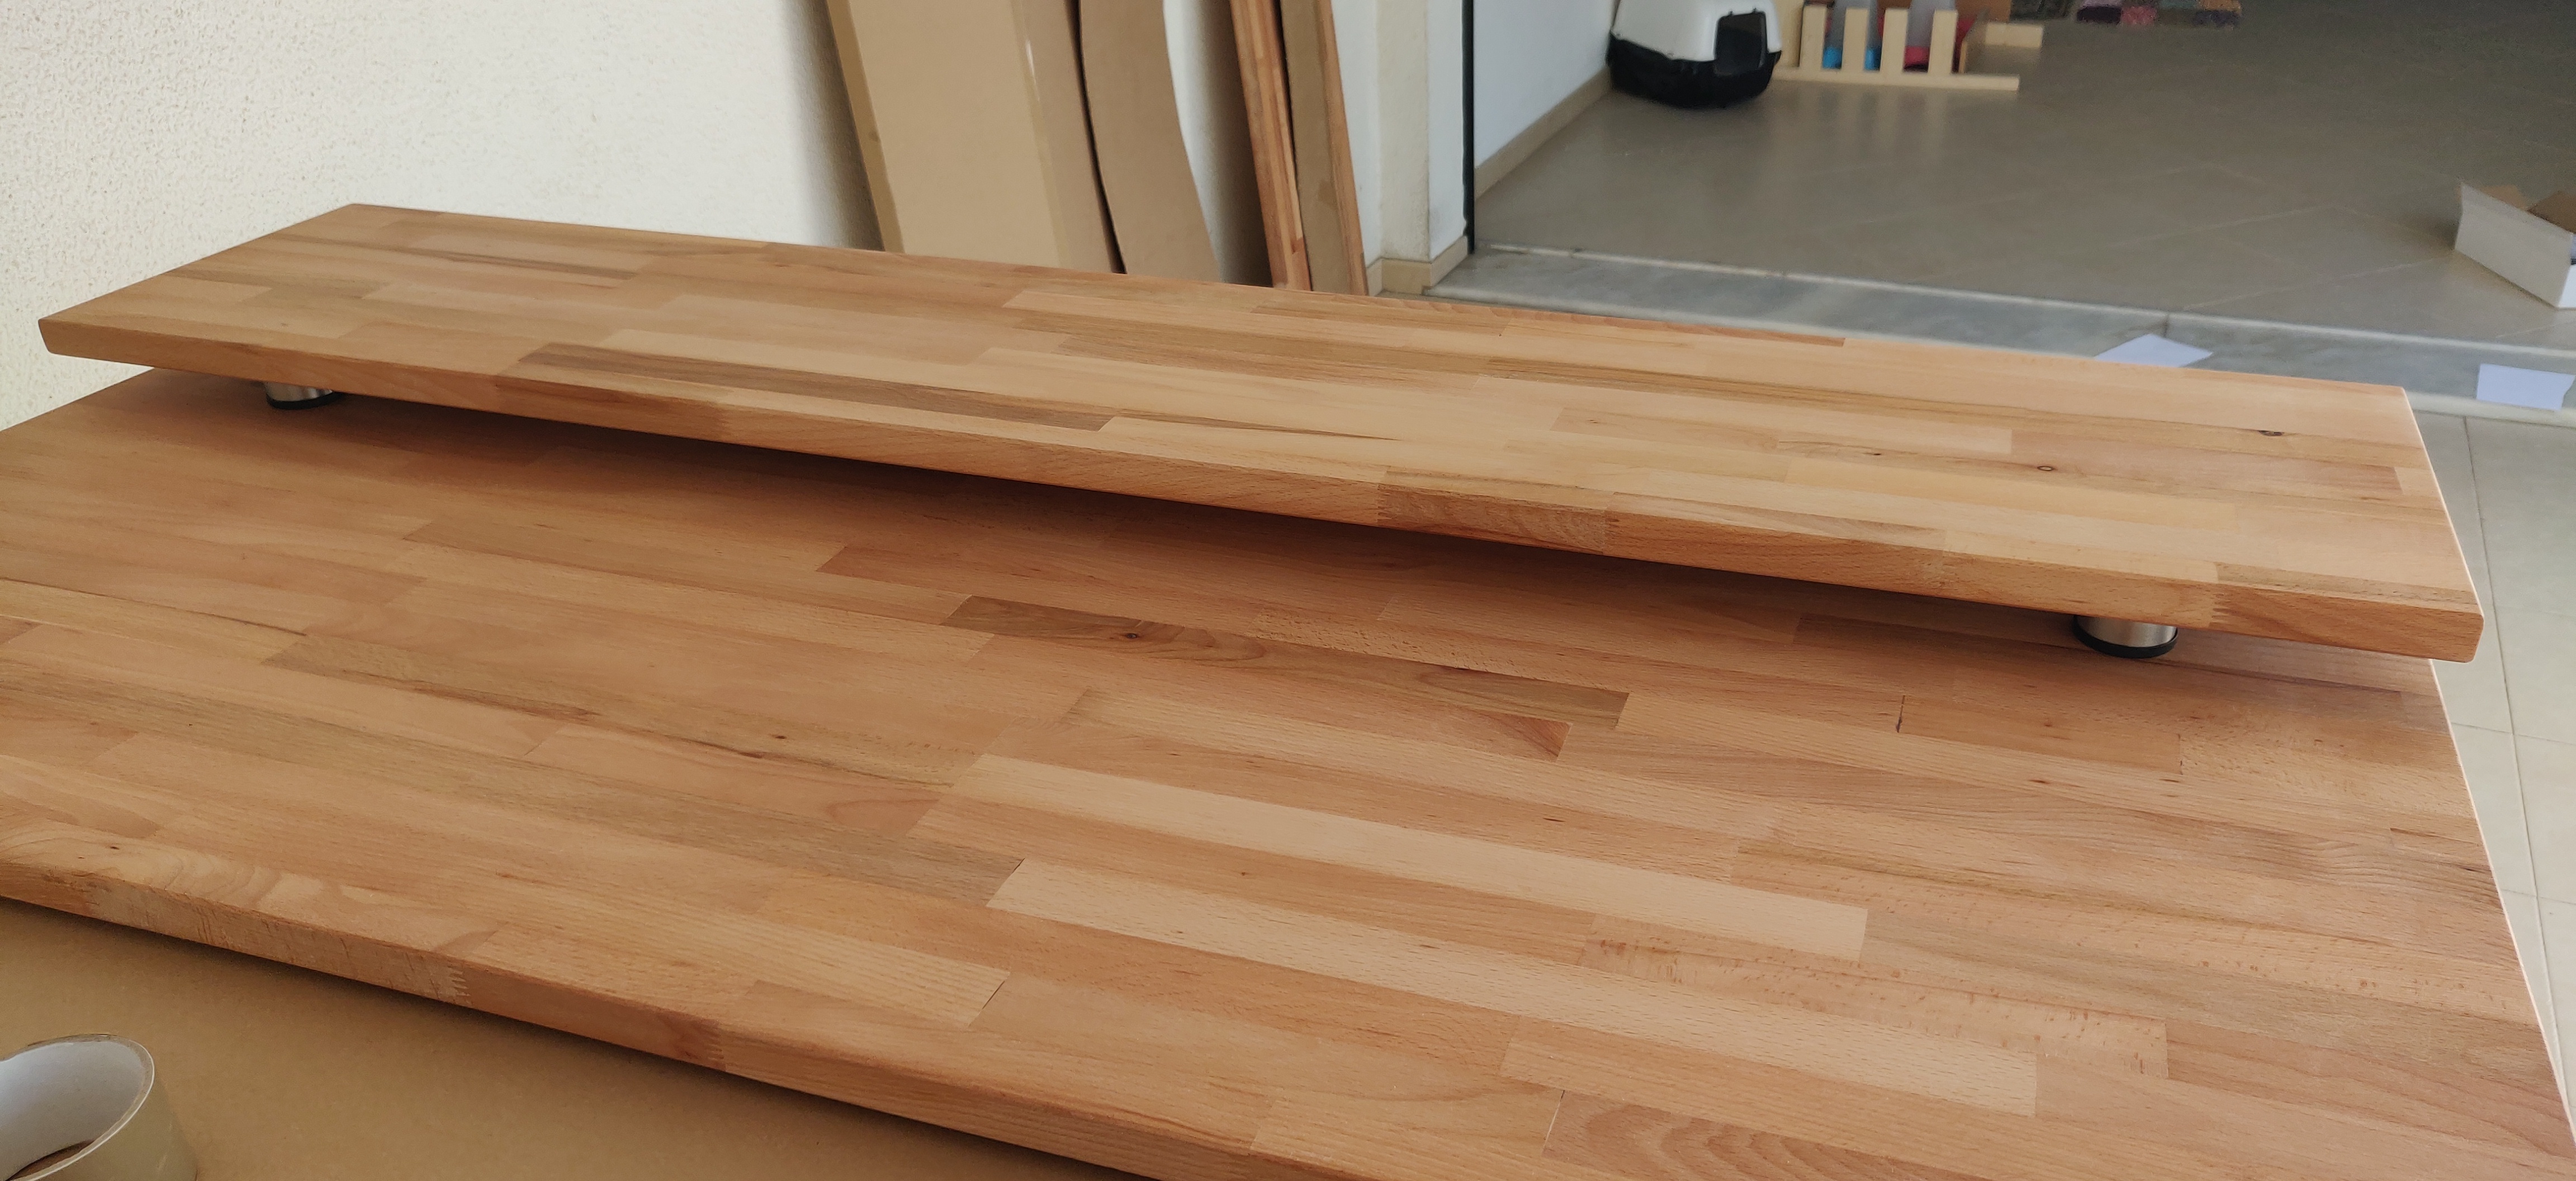
One of the table tops needs to be cut (30cm wide) and will be the table’s first floor where the monitors will rest on, i made the cuts with the jigsaw and, as expected, they didn’t come out perfect. With the router i squared the back of the top using the other half of the top as a square edge to guide the router template on.
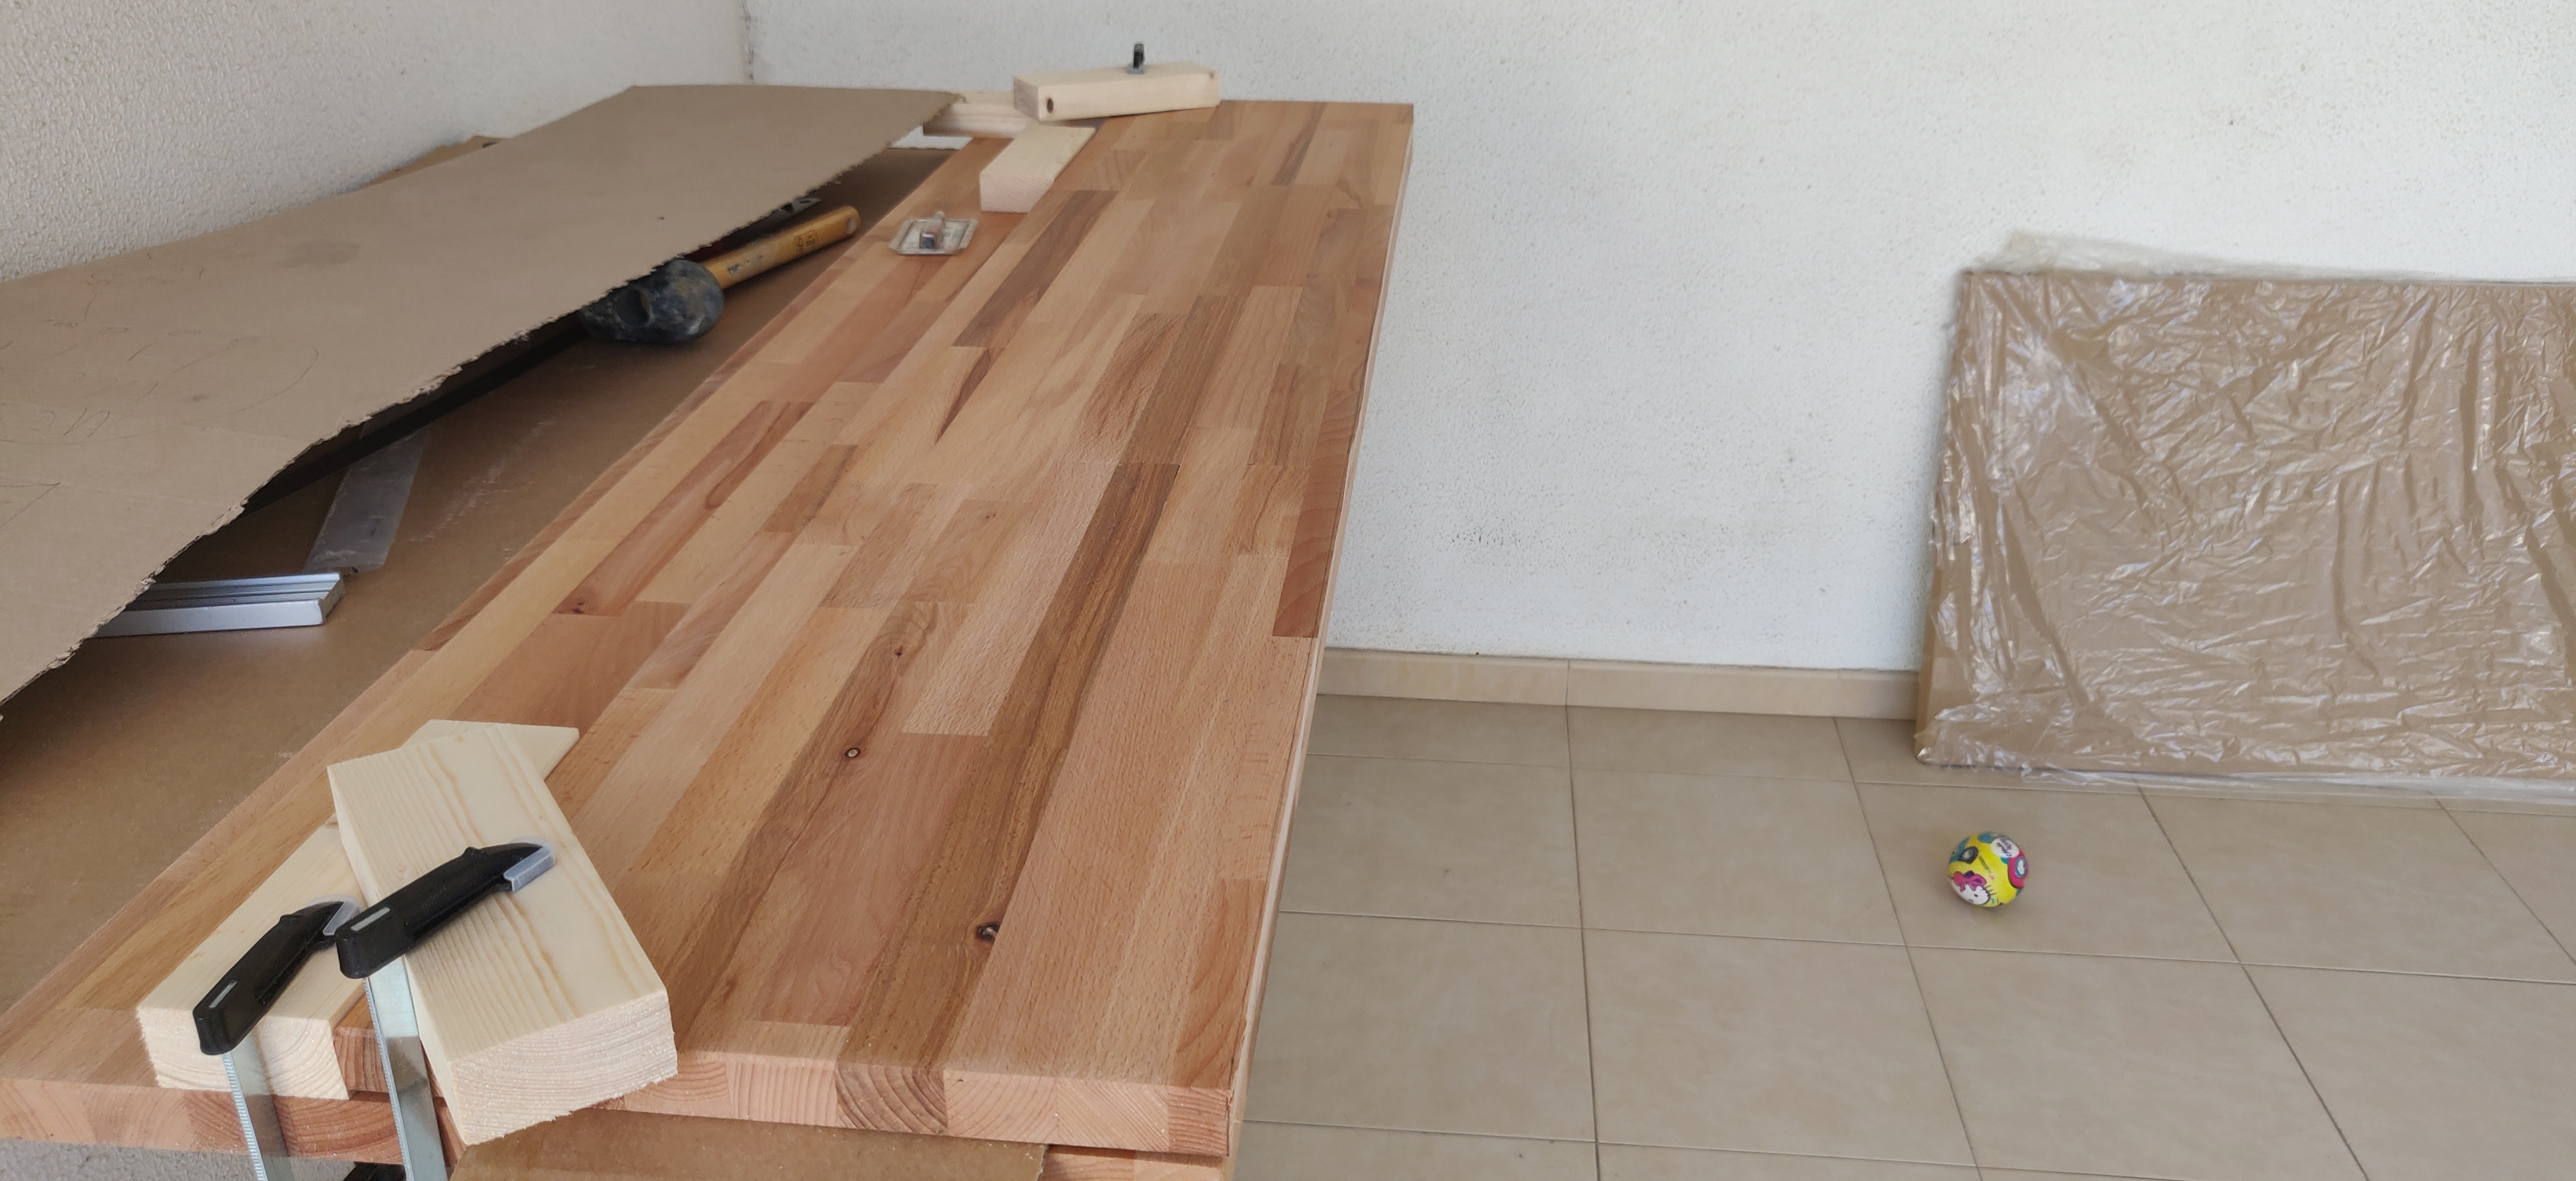
Came out pretty good, exactly 30cm wide.
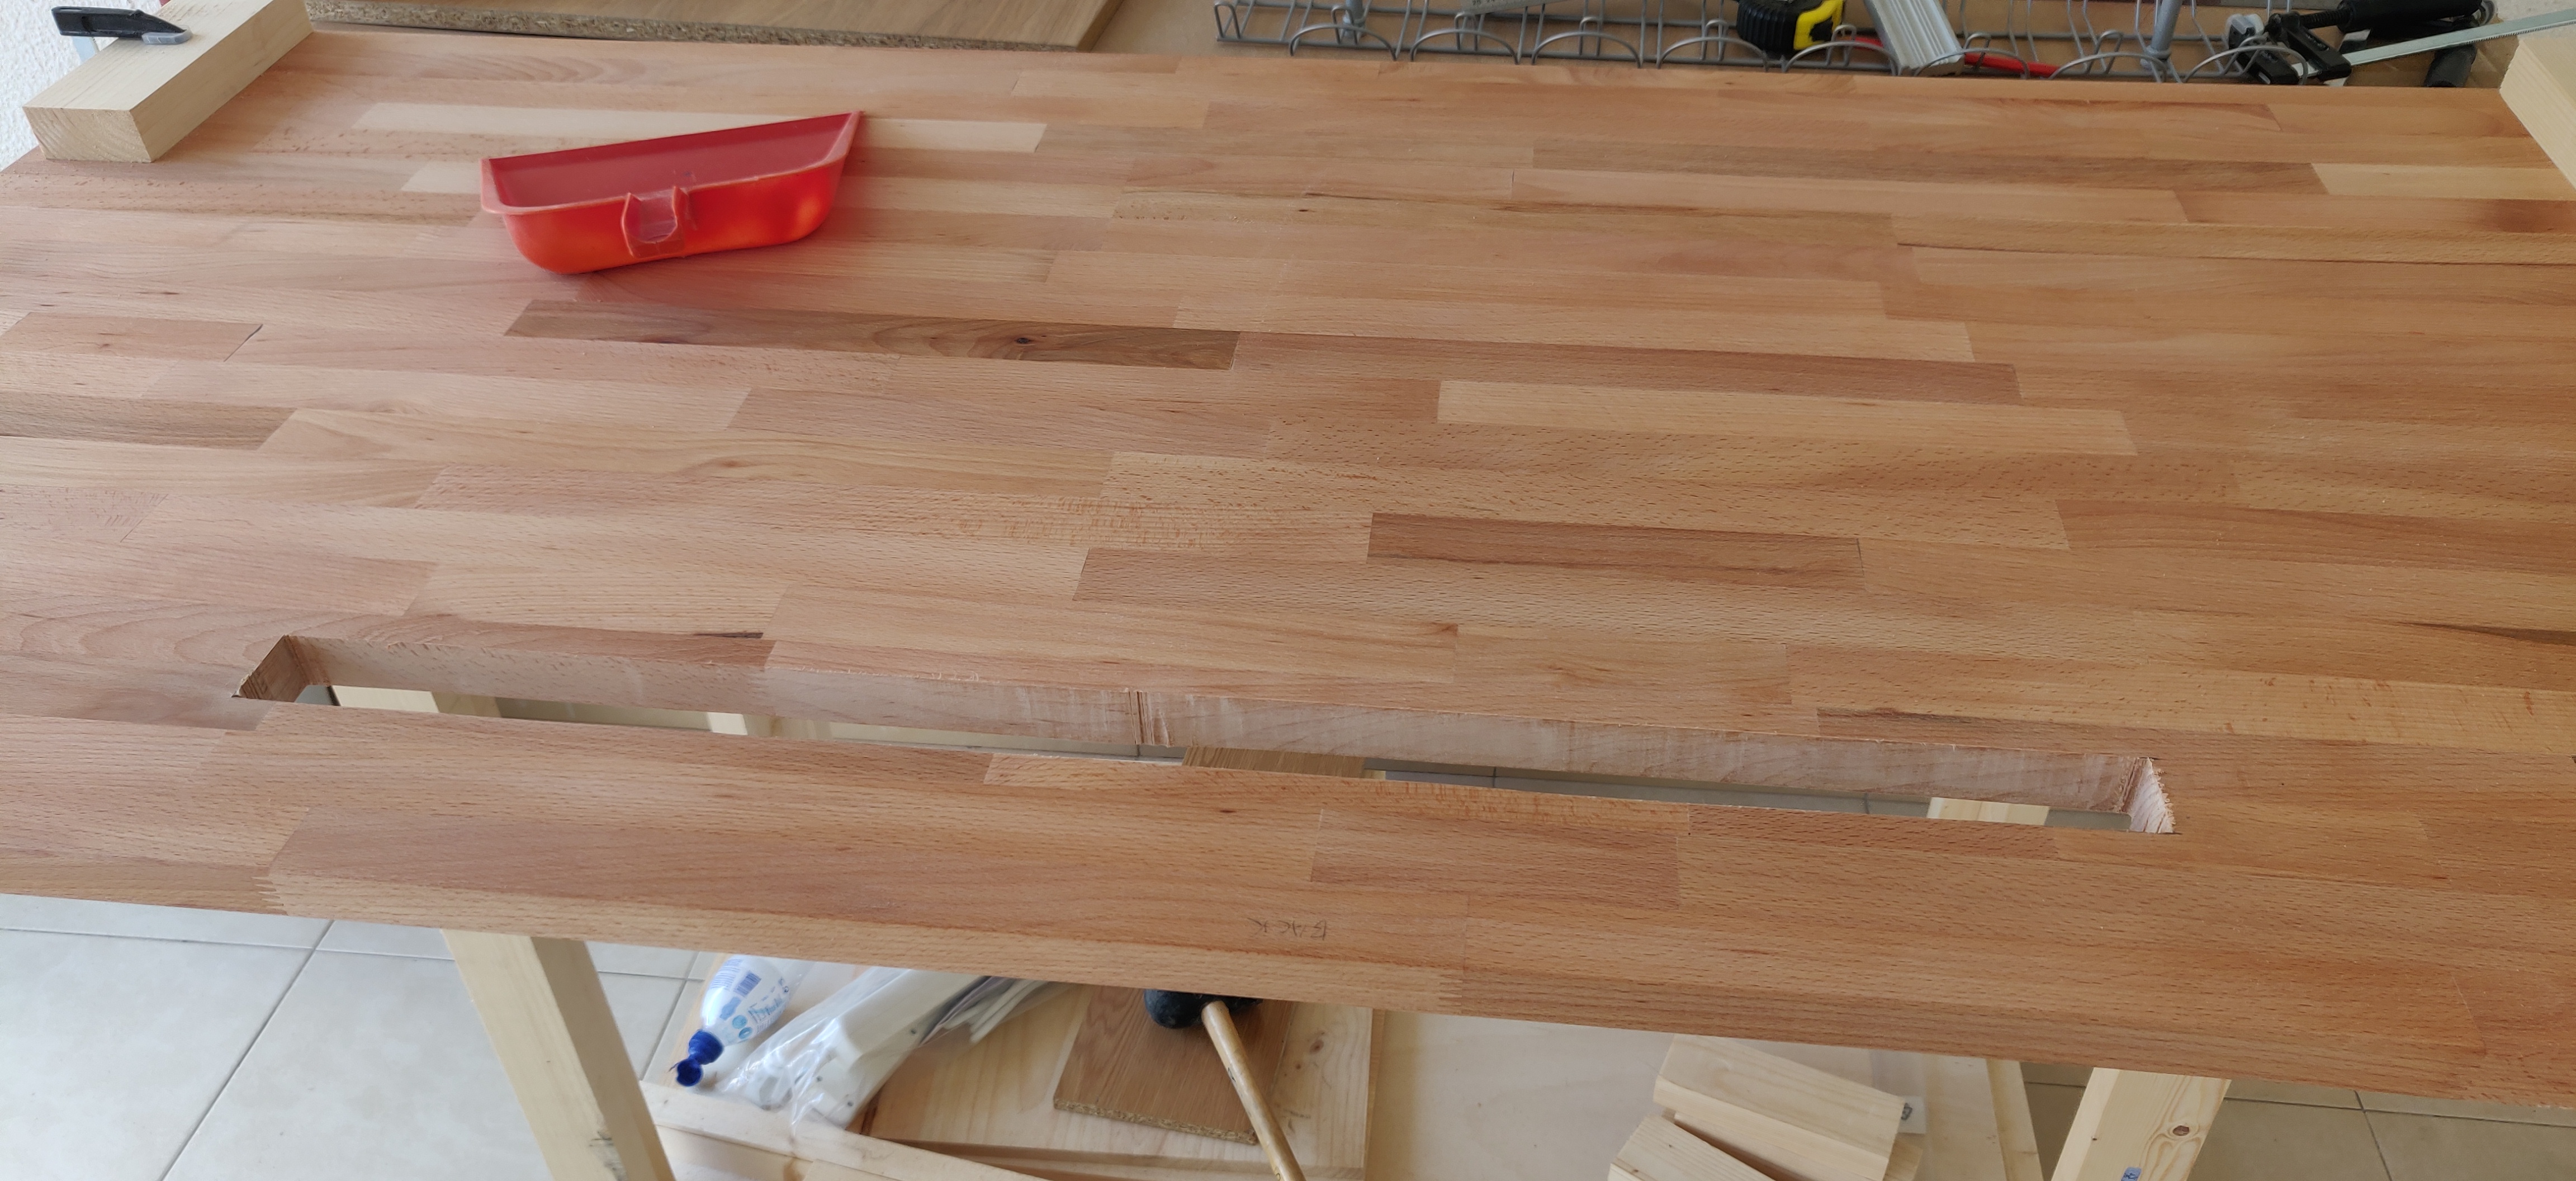
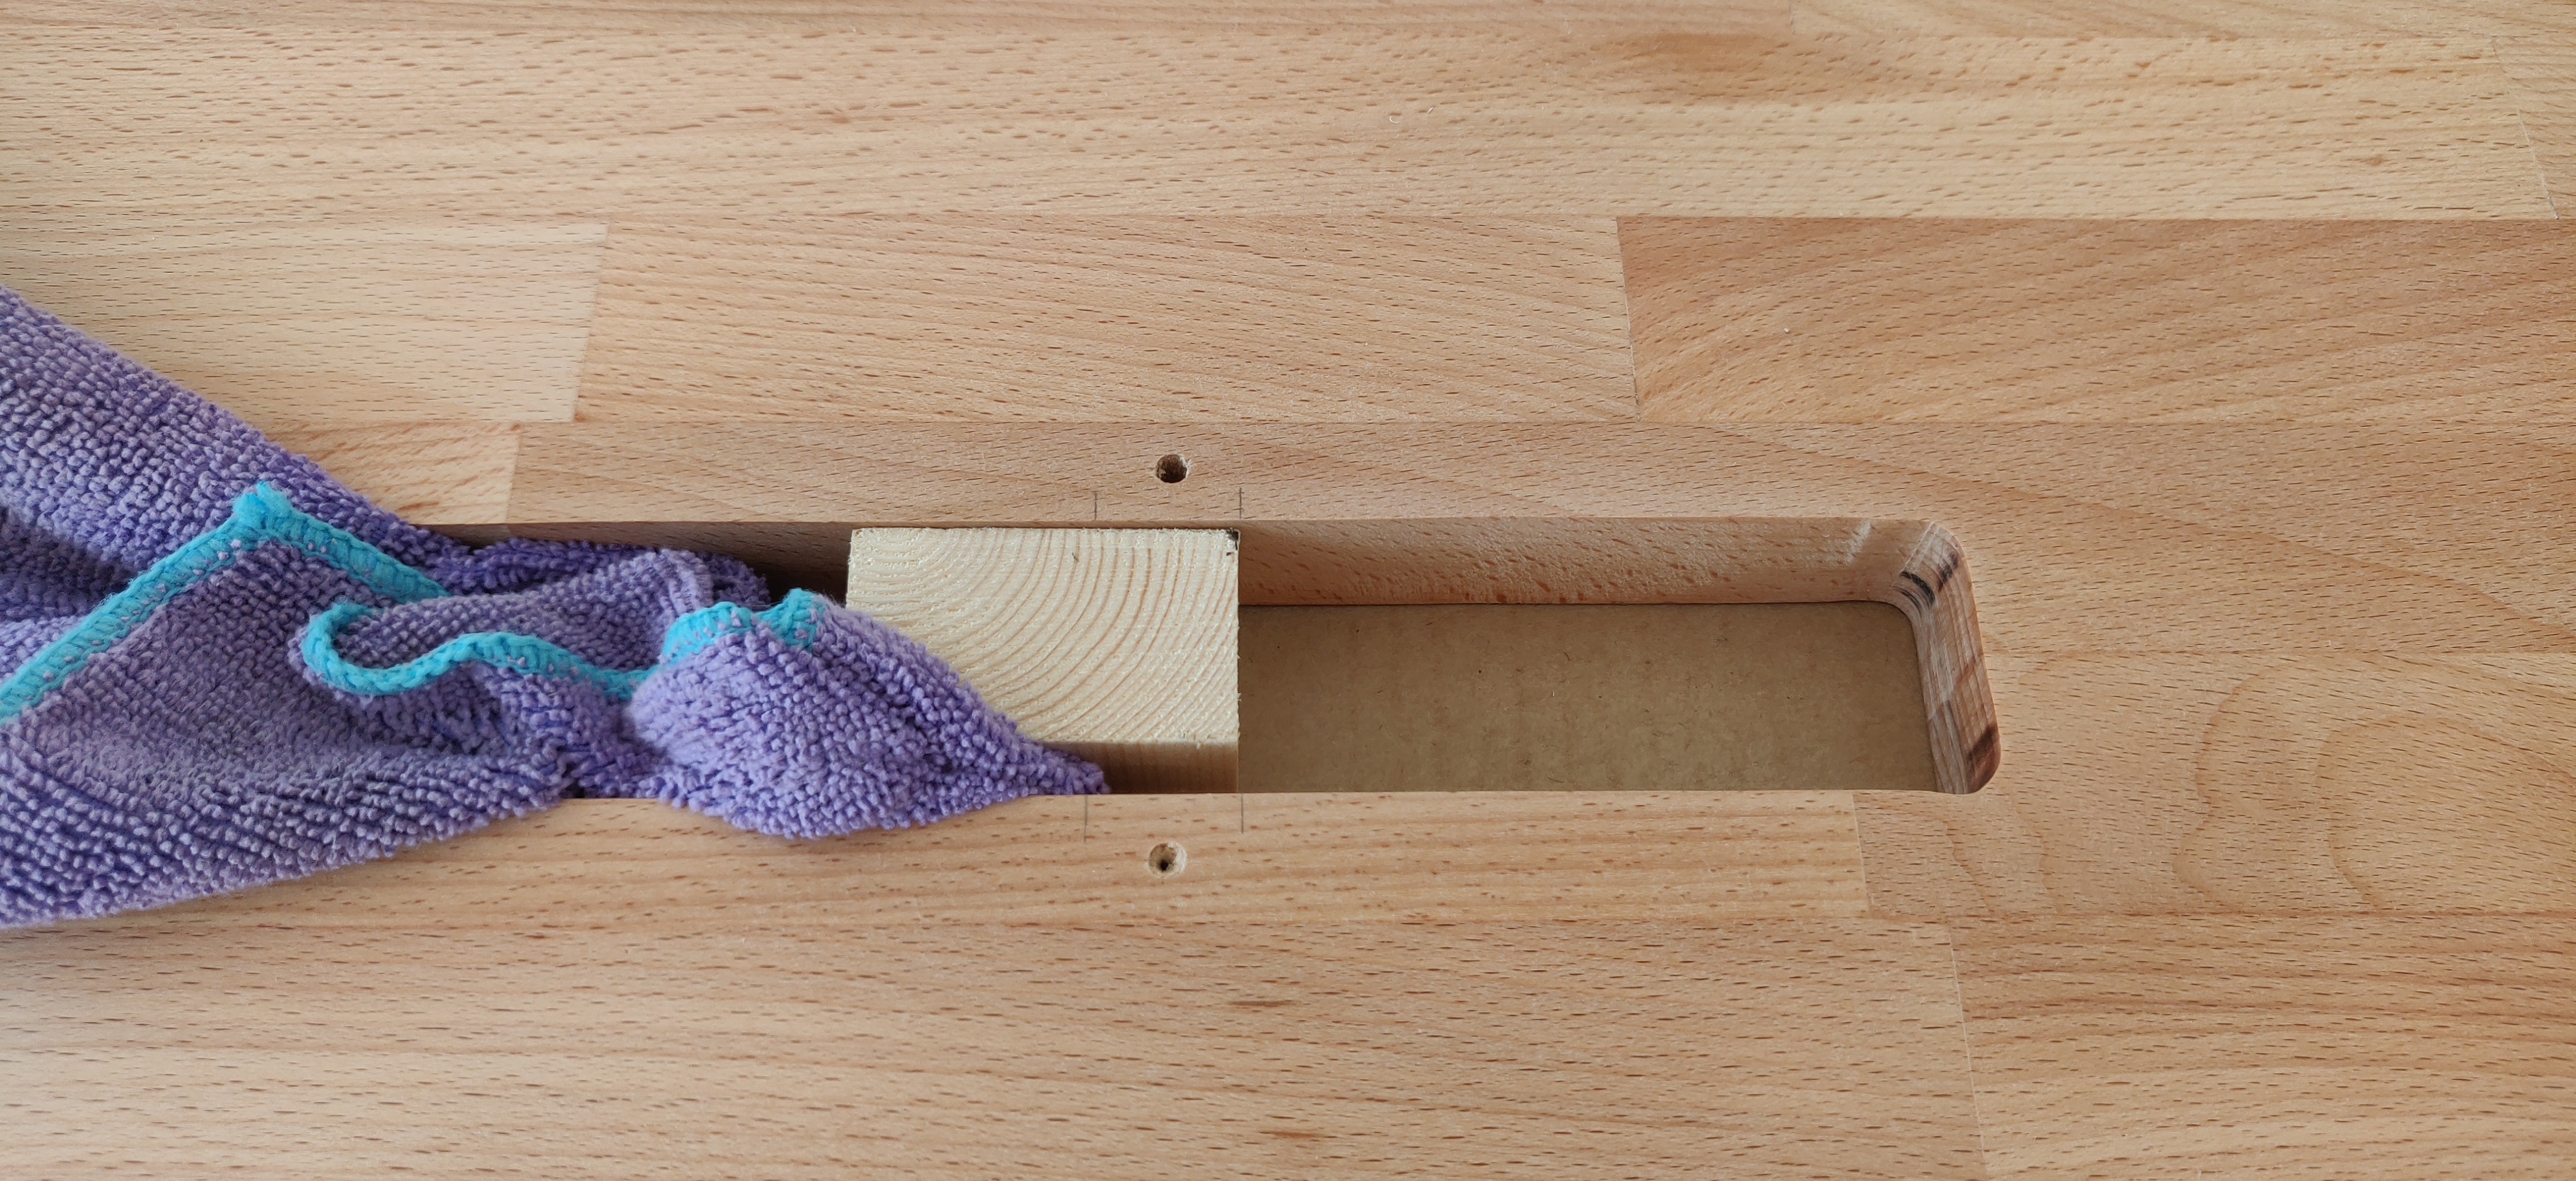
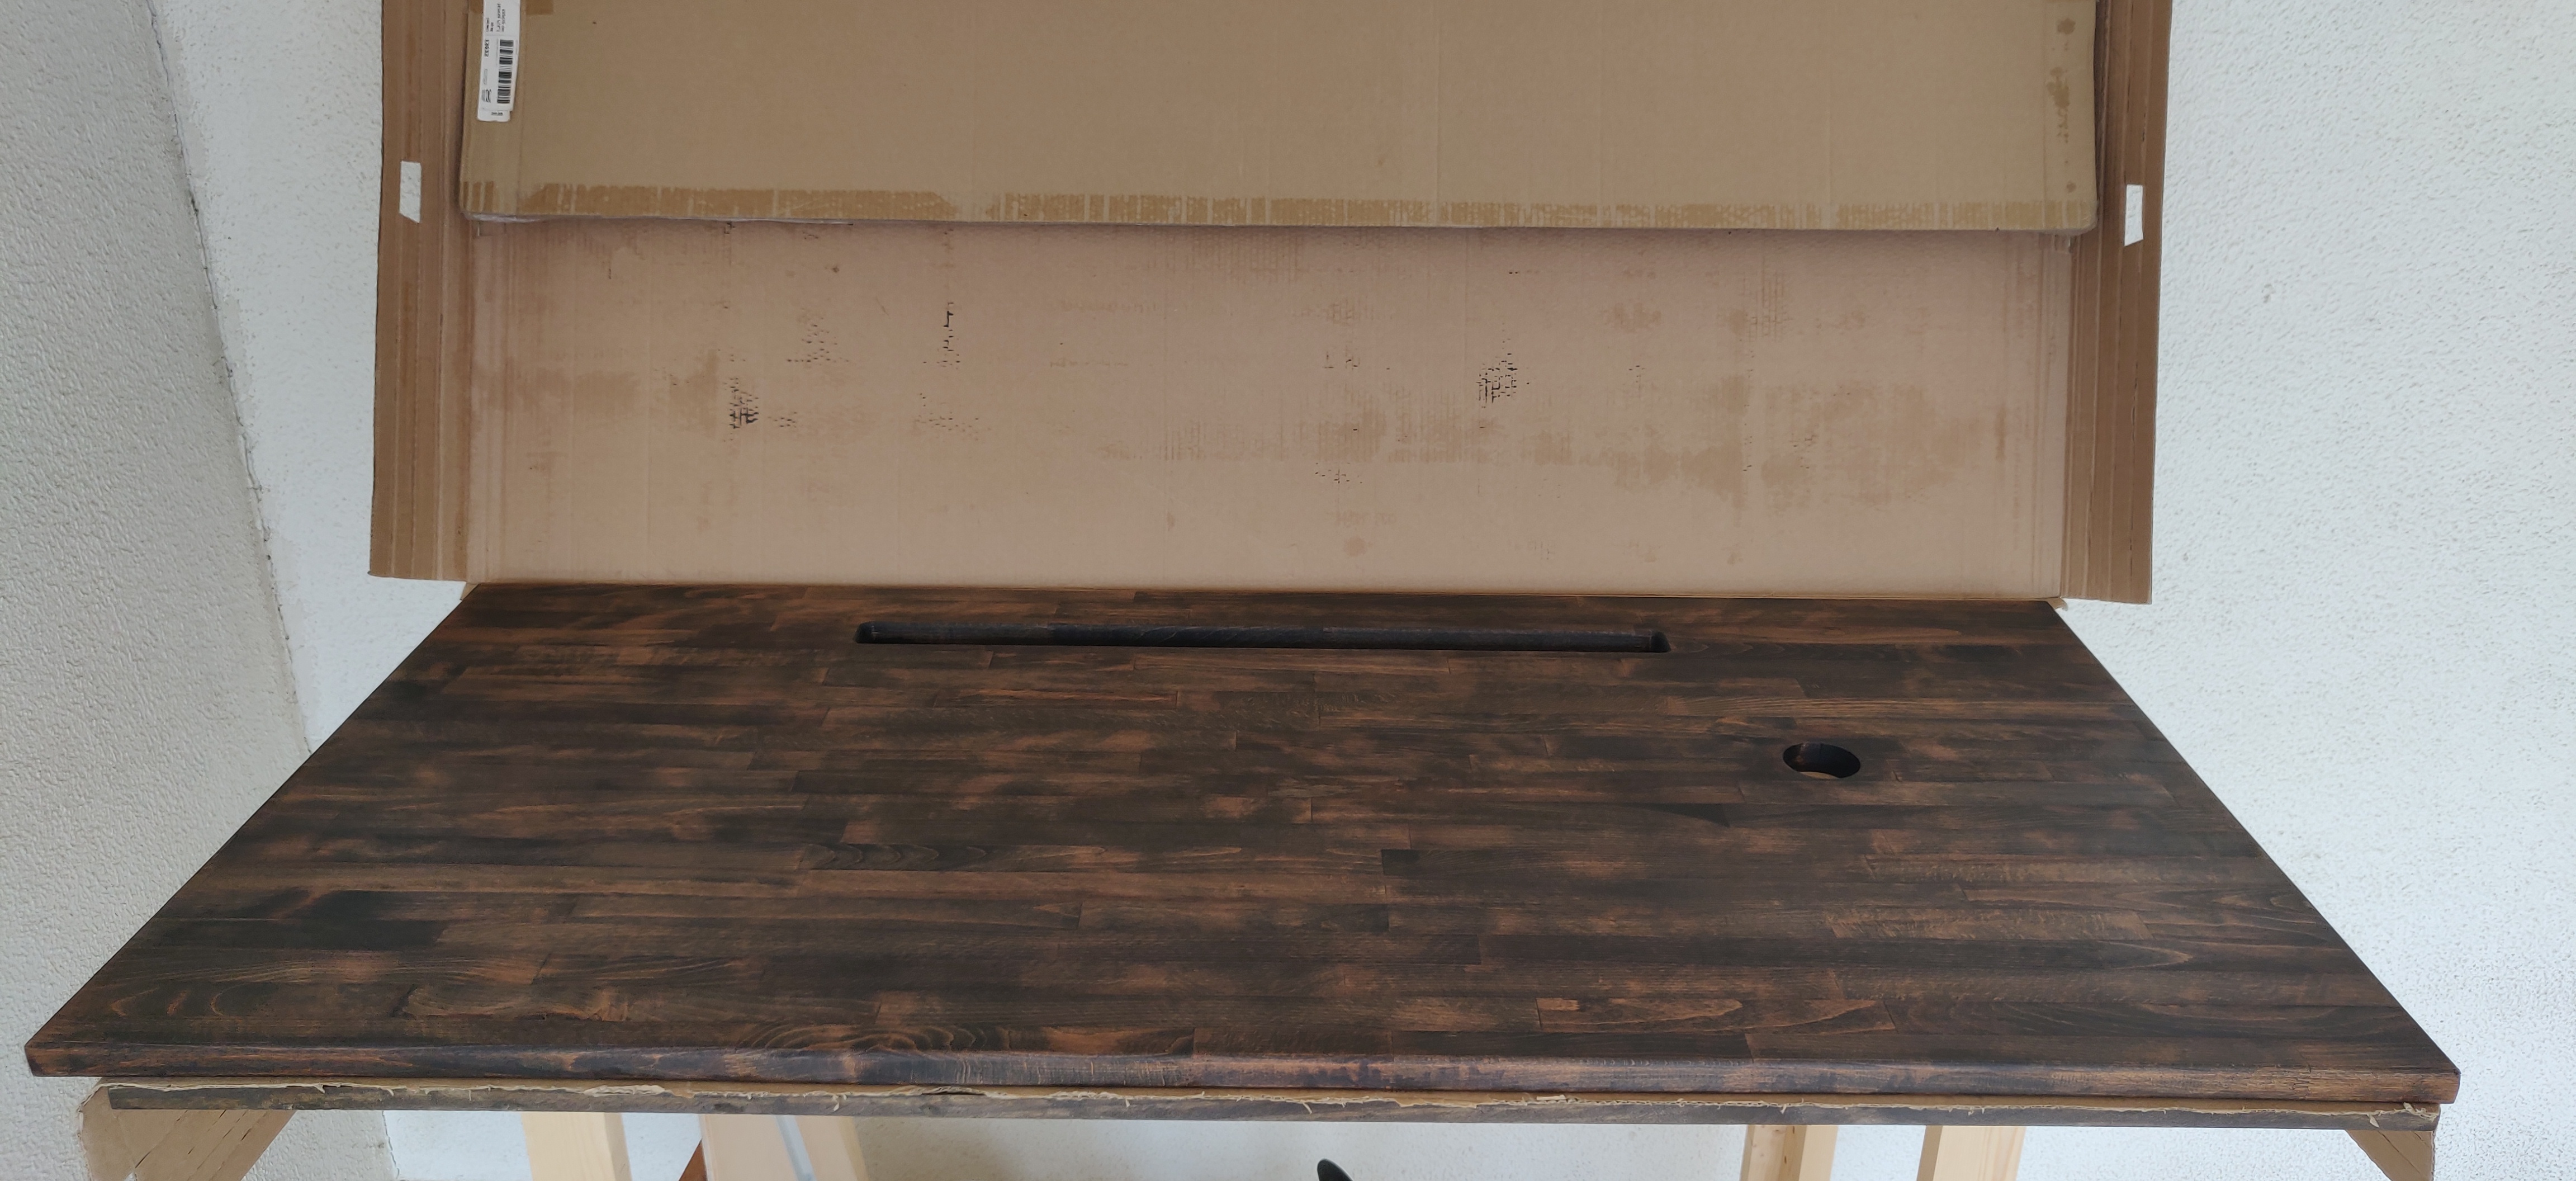
Next, it’s time to move to the table top and cut out the cable pass-through, this won’t be visible as the first floor piece i’ve cut previously will be hiding it.
First, drill some guide holes so the jigsaw won’t have to travel so much on each pass
And the cable pass through is cut, again jigsaw cuts aren’t perfect so more work is needed.
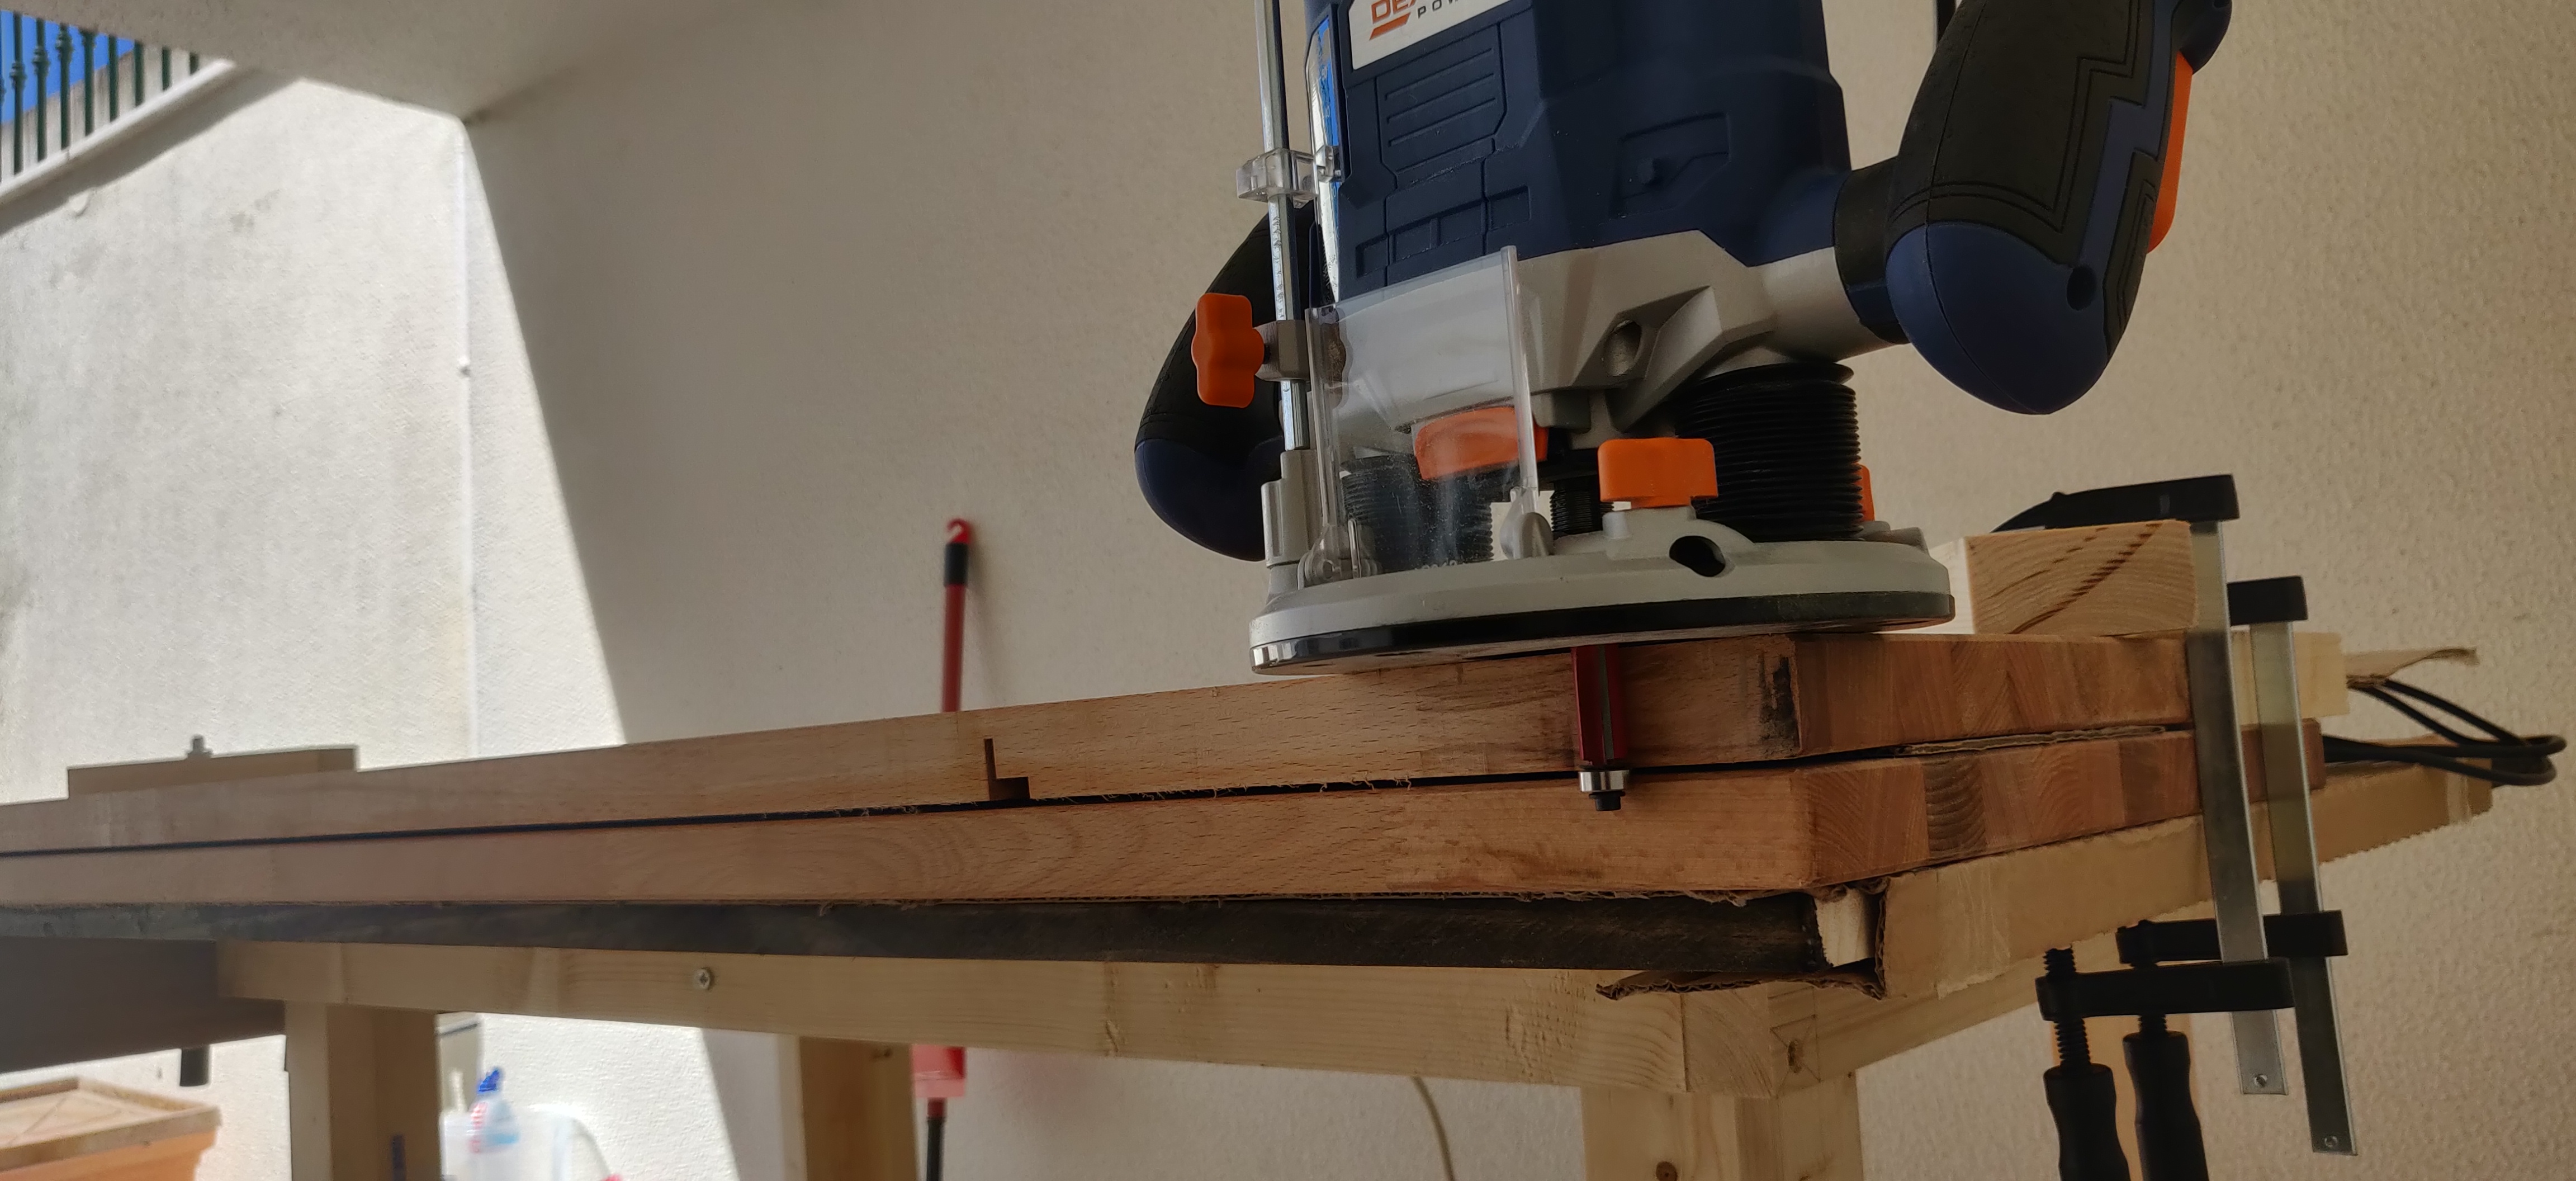
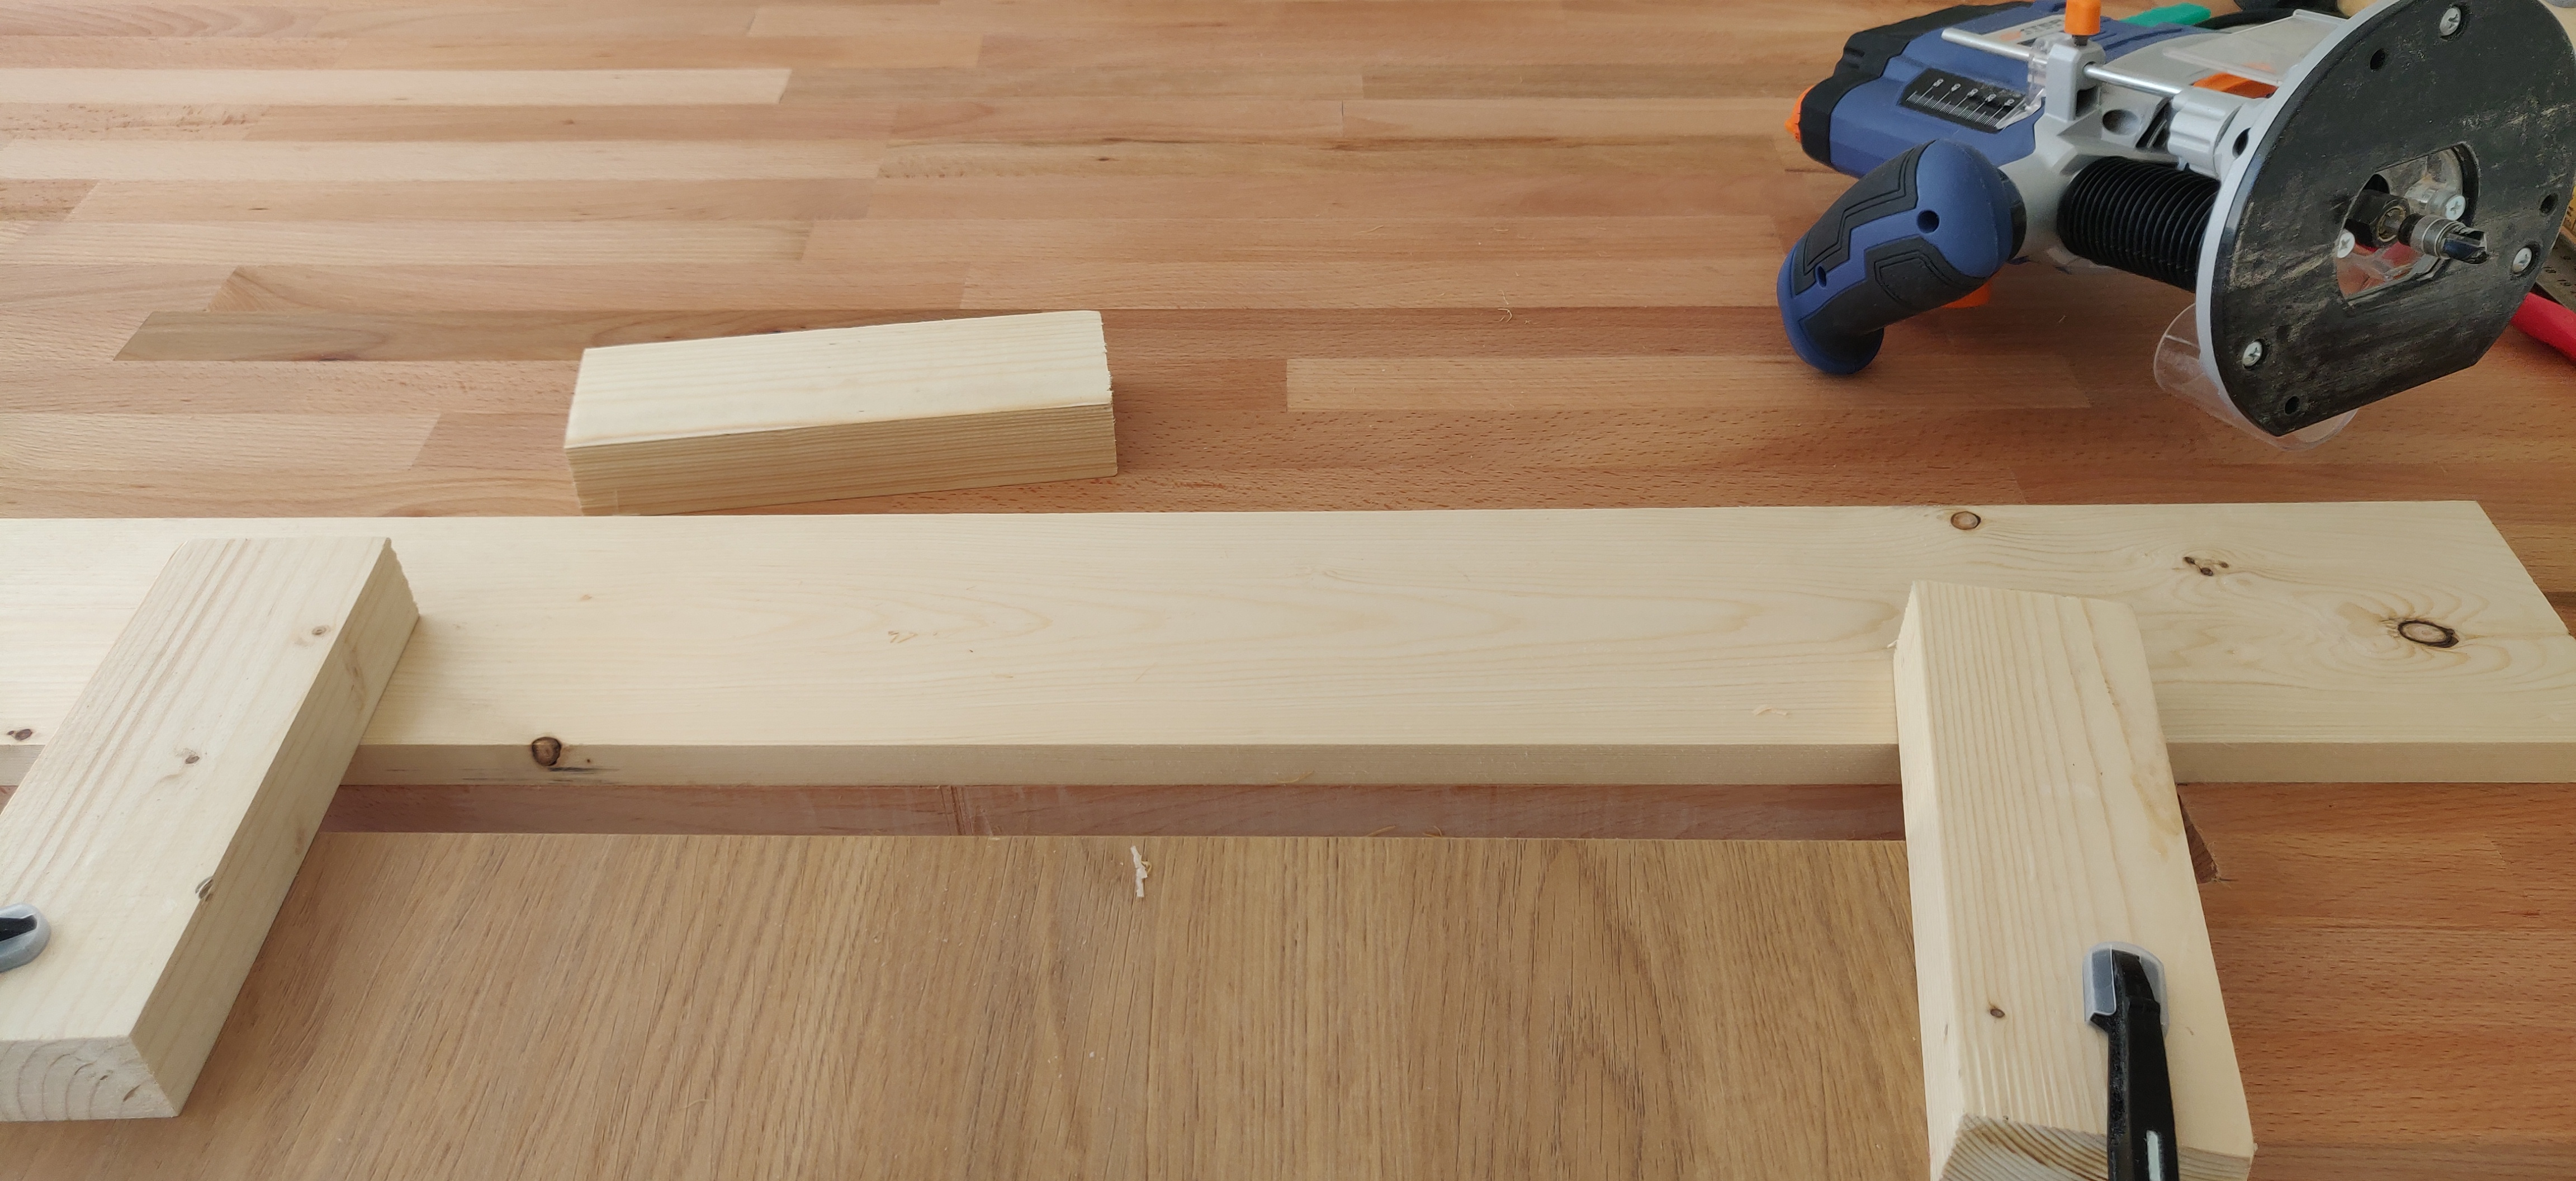
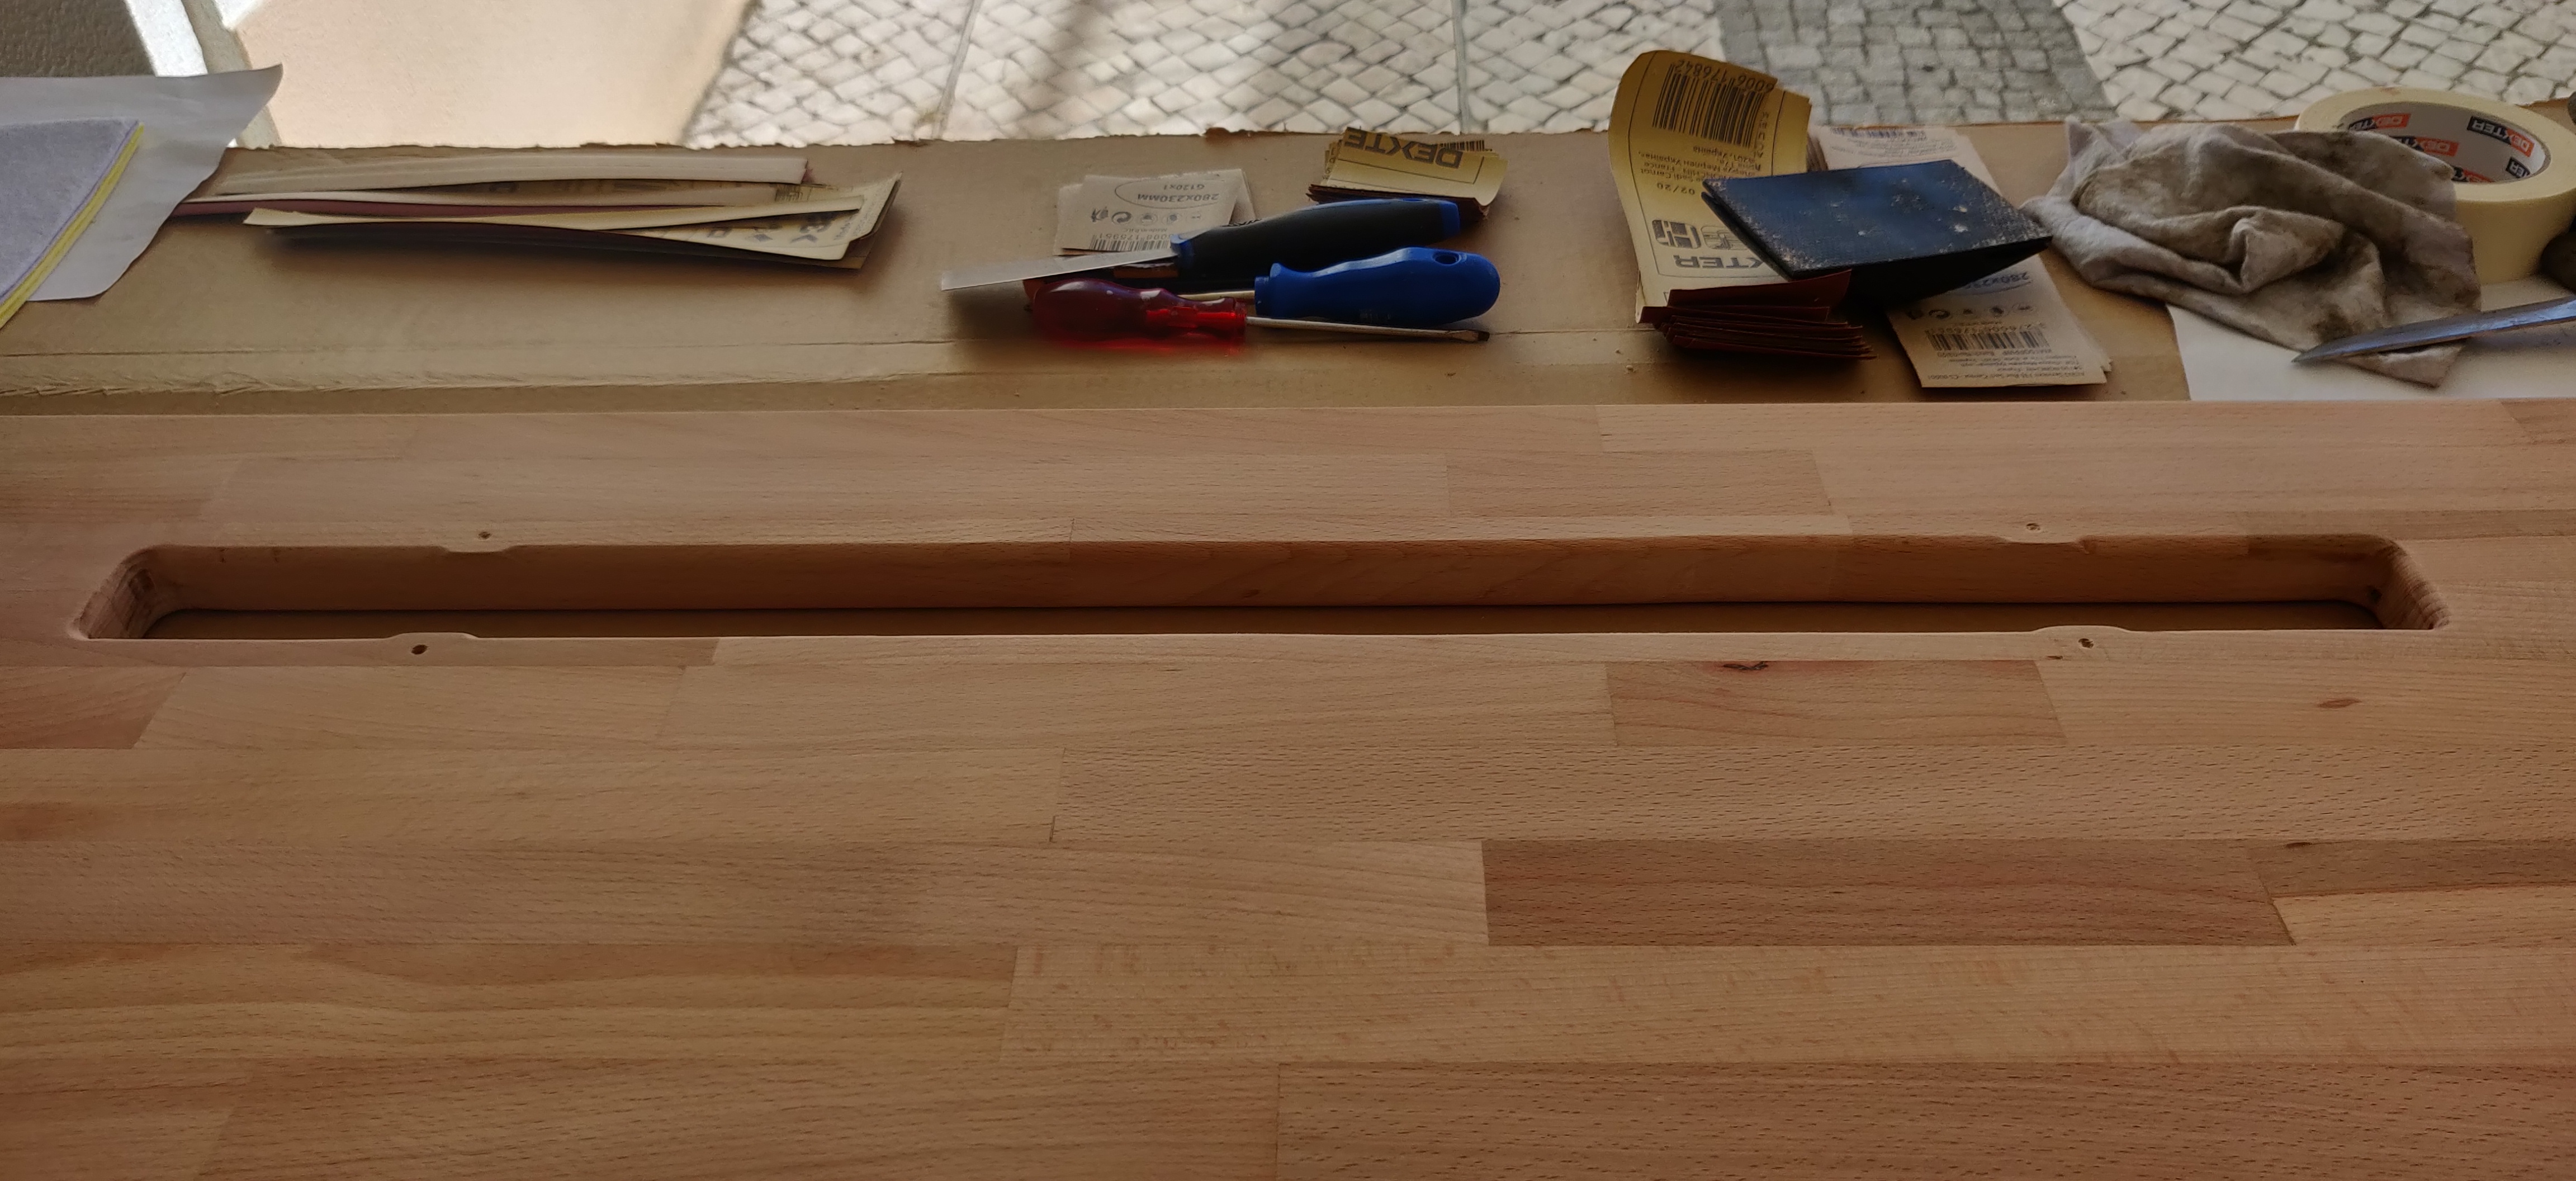
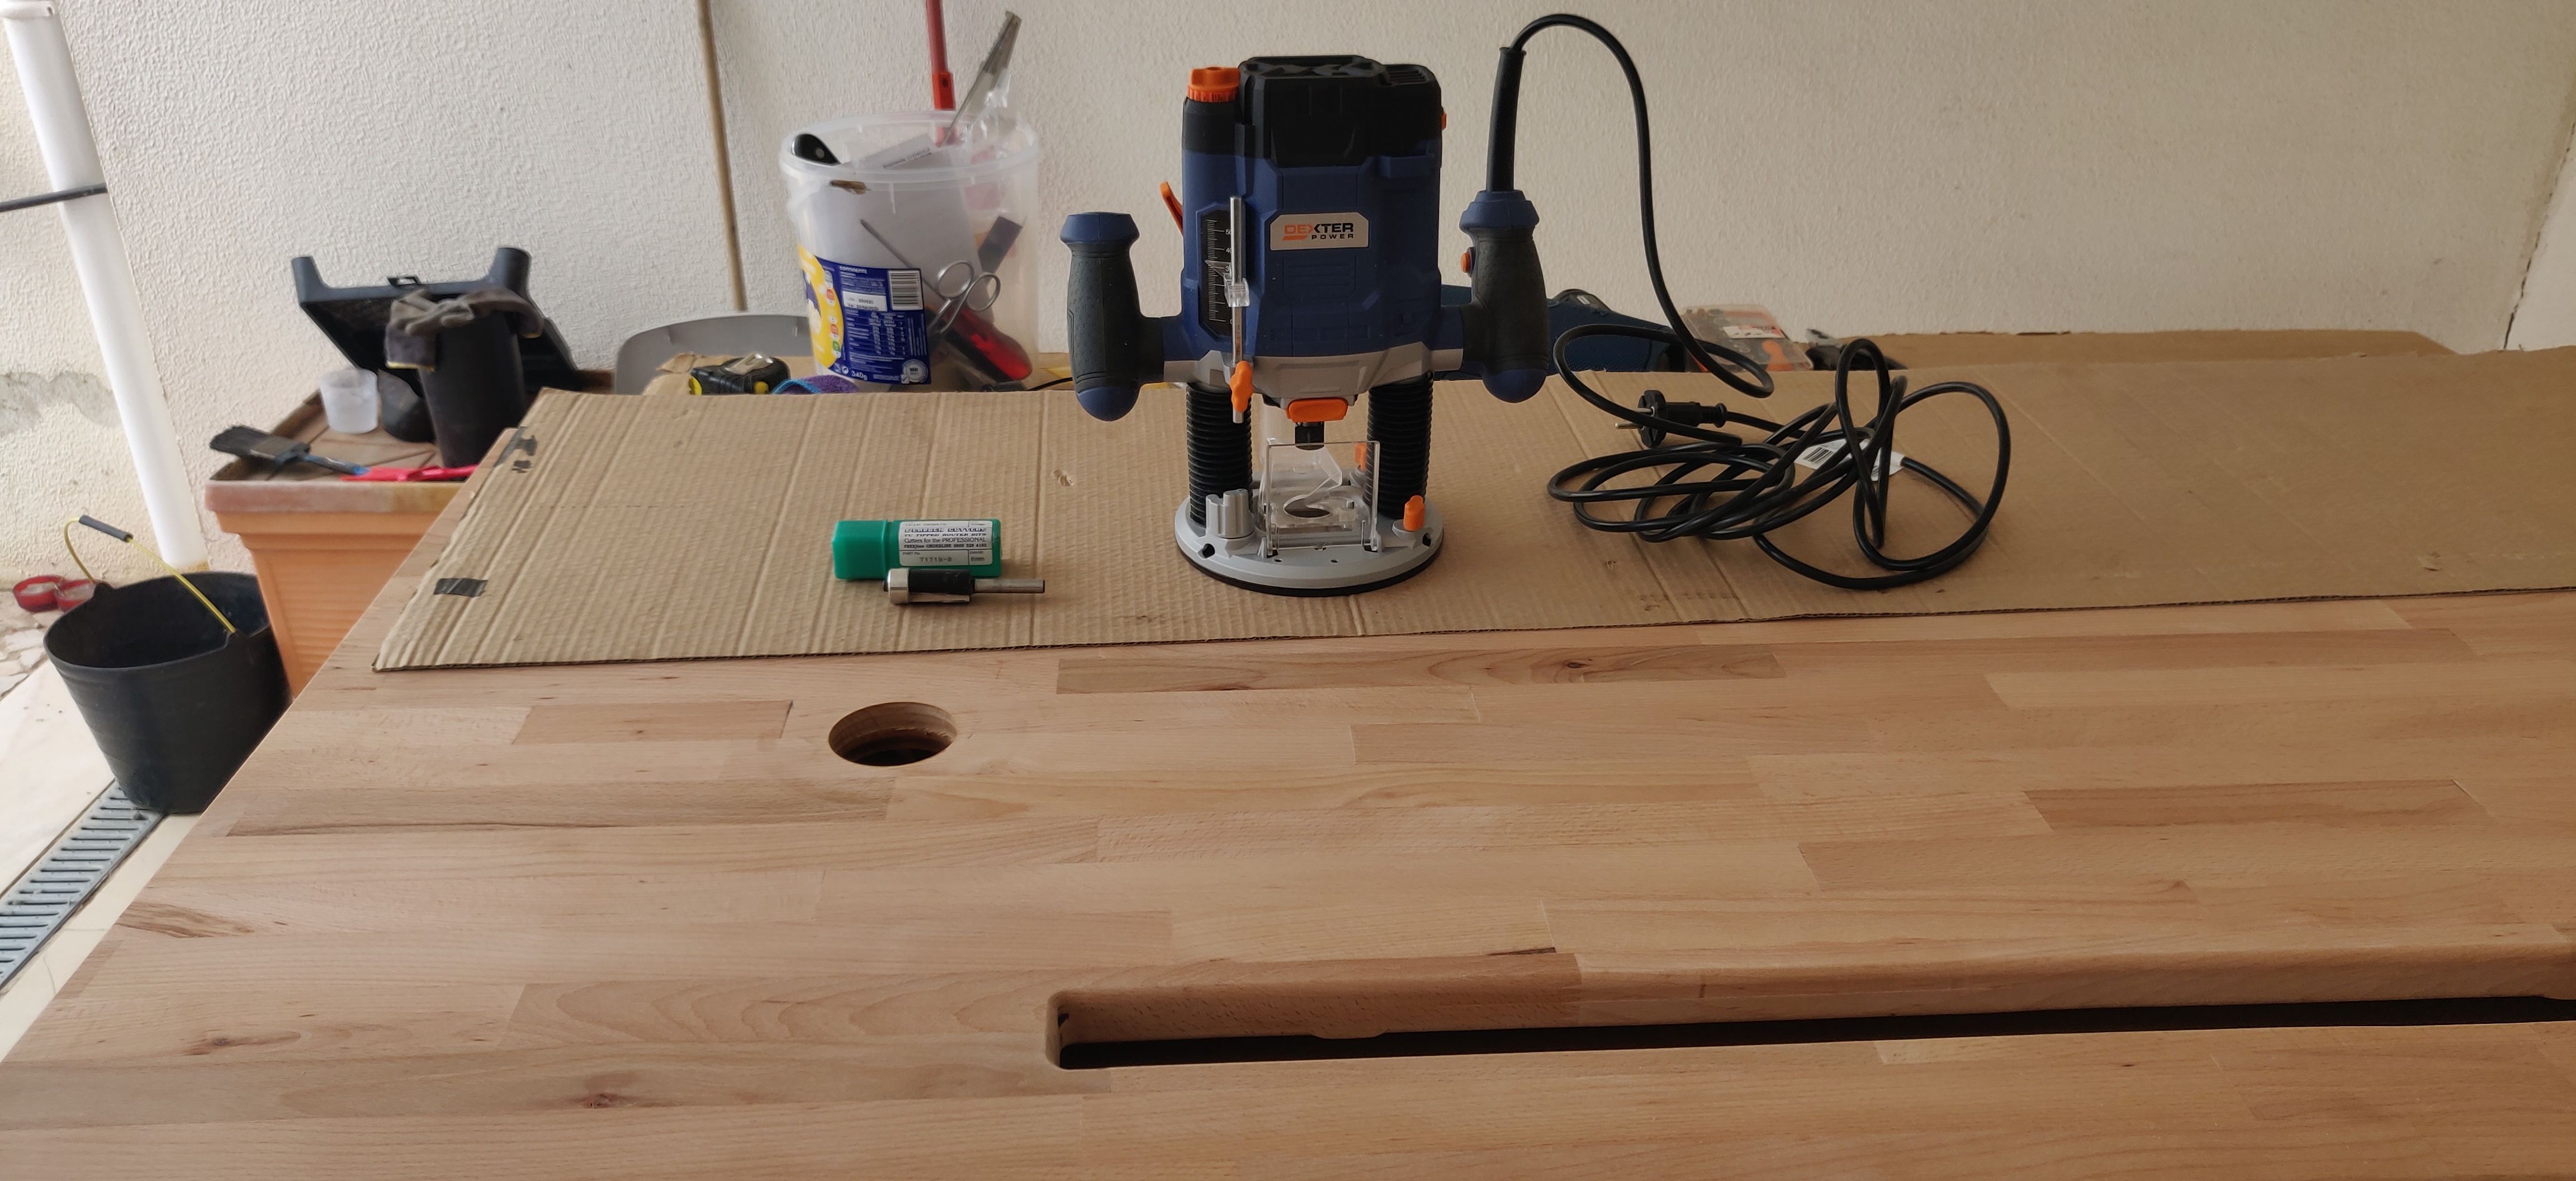
Using the router and a piece of straight wood as the bit guide i can square it off.
Pro tip: Always wait for power tools to come to a complete stop before lifting them up!
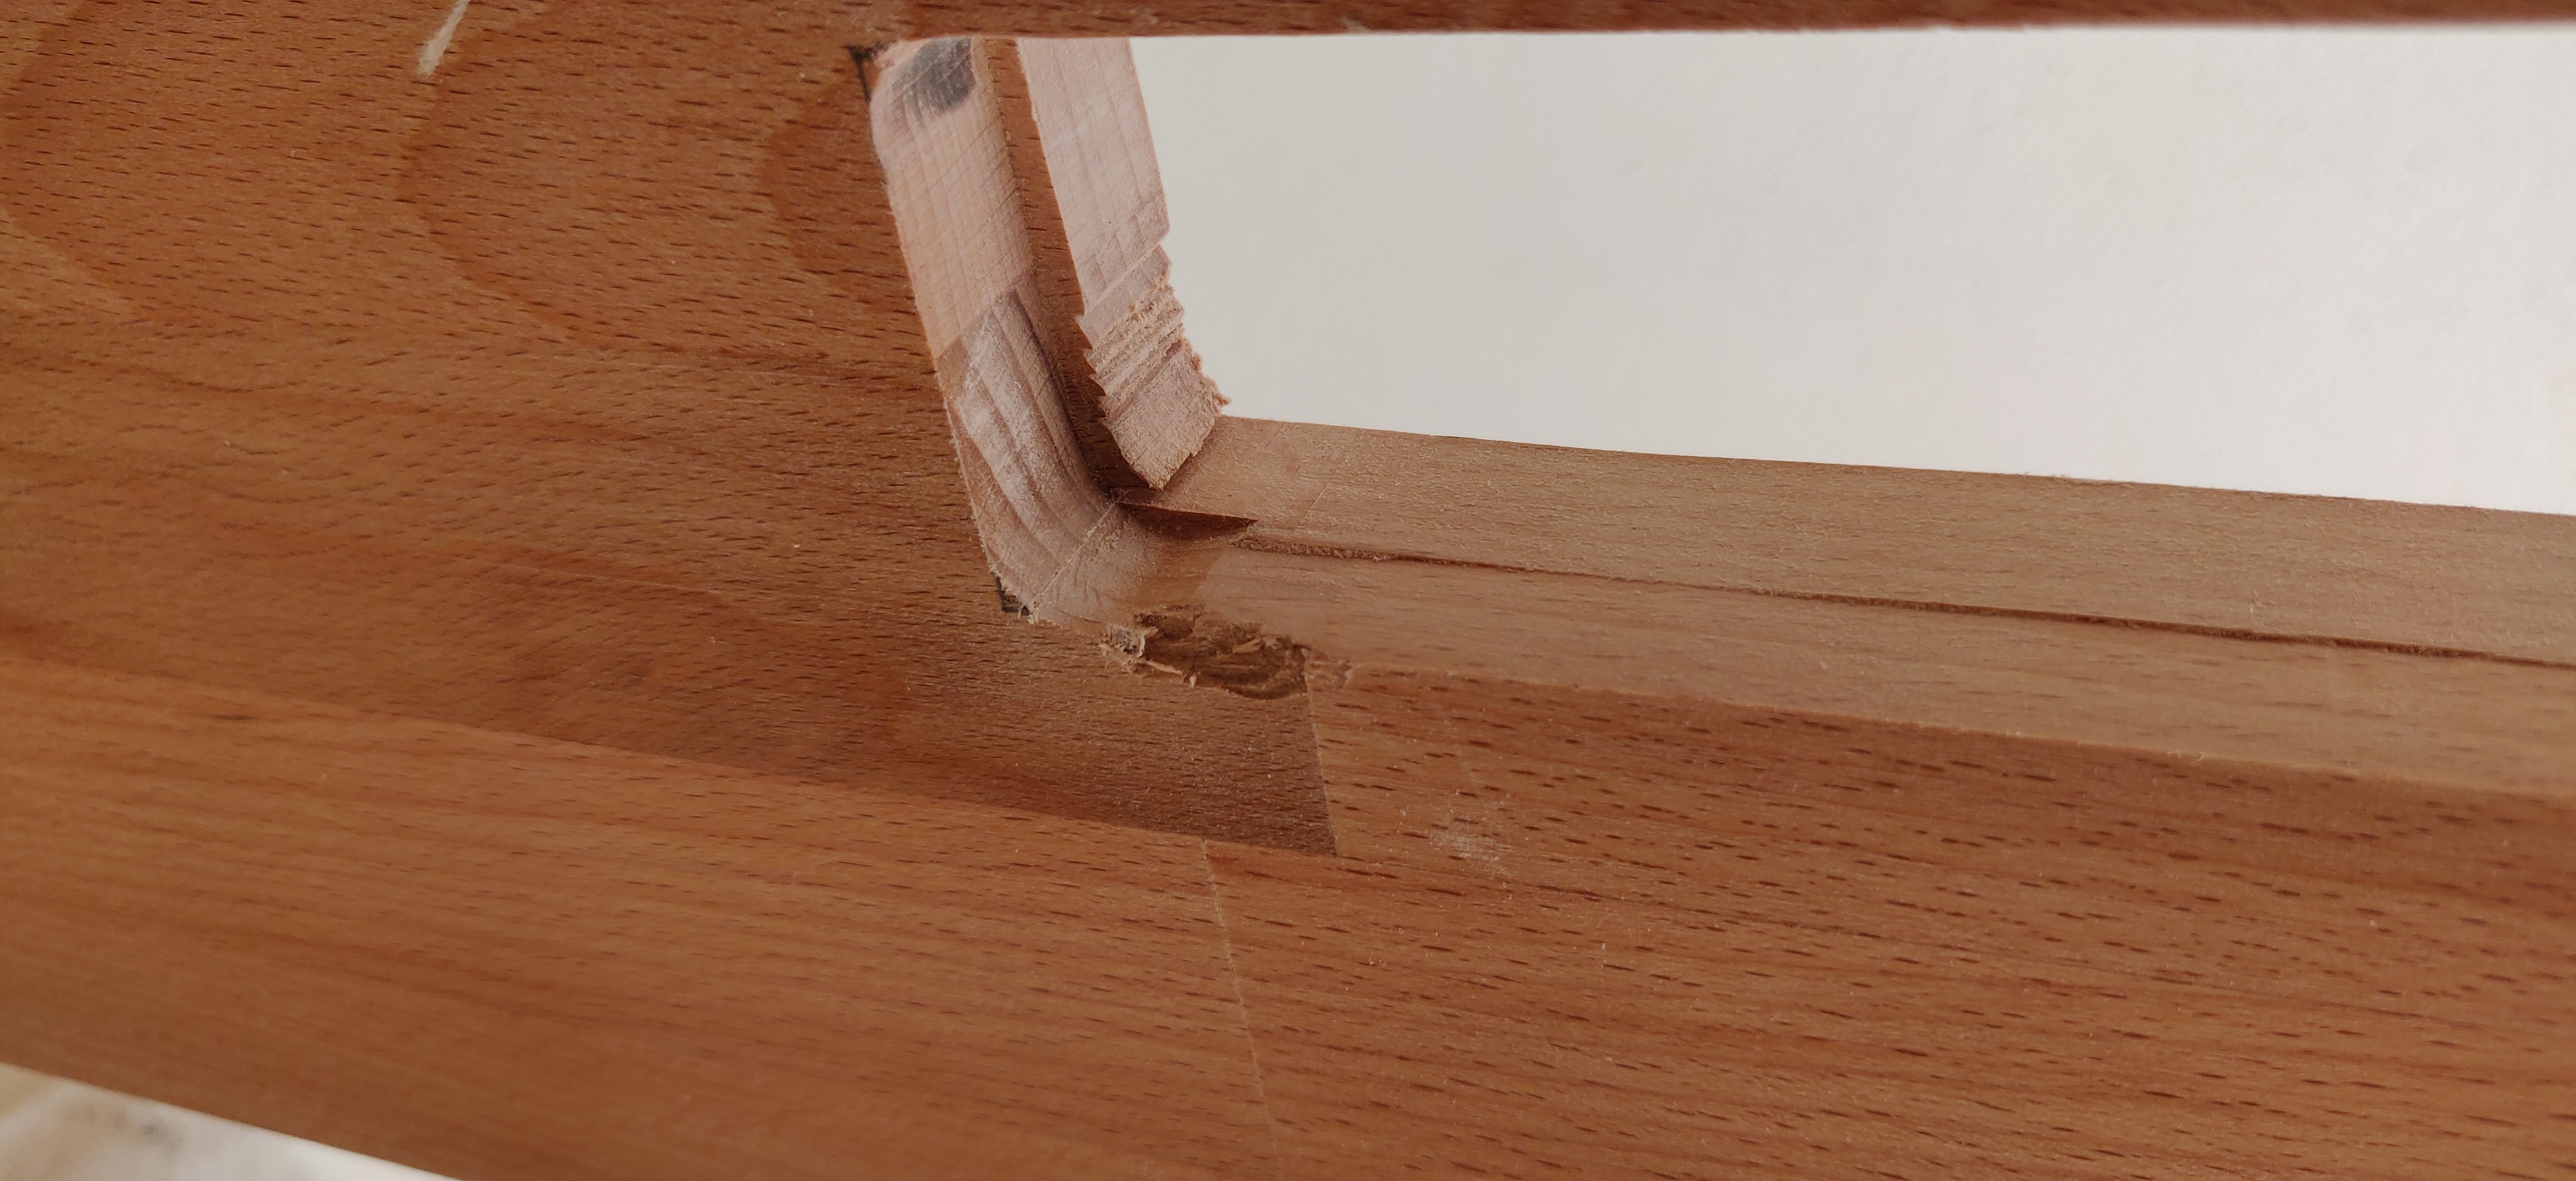
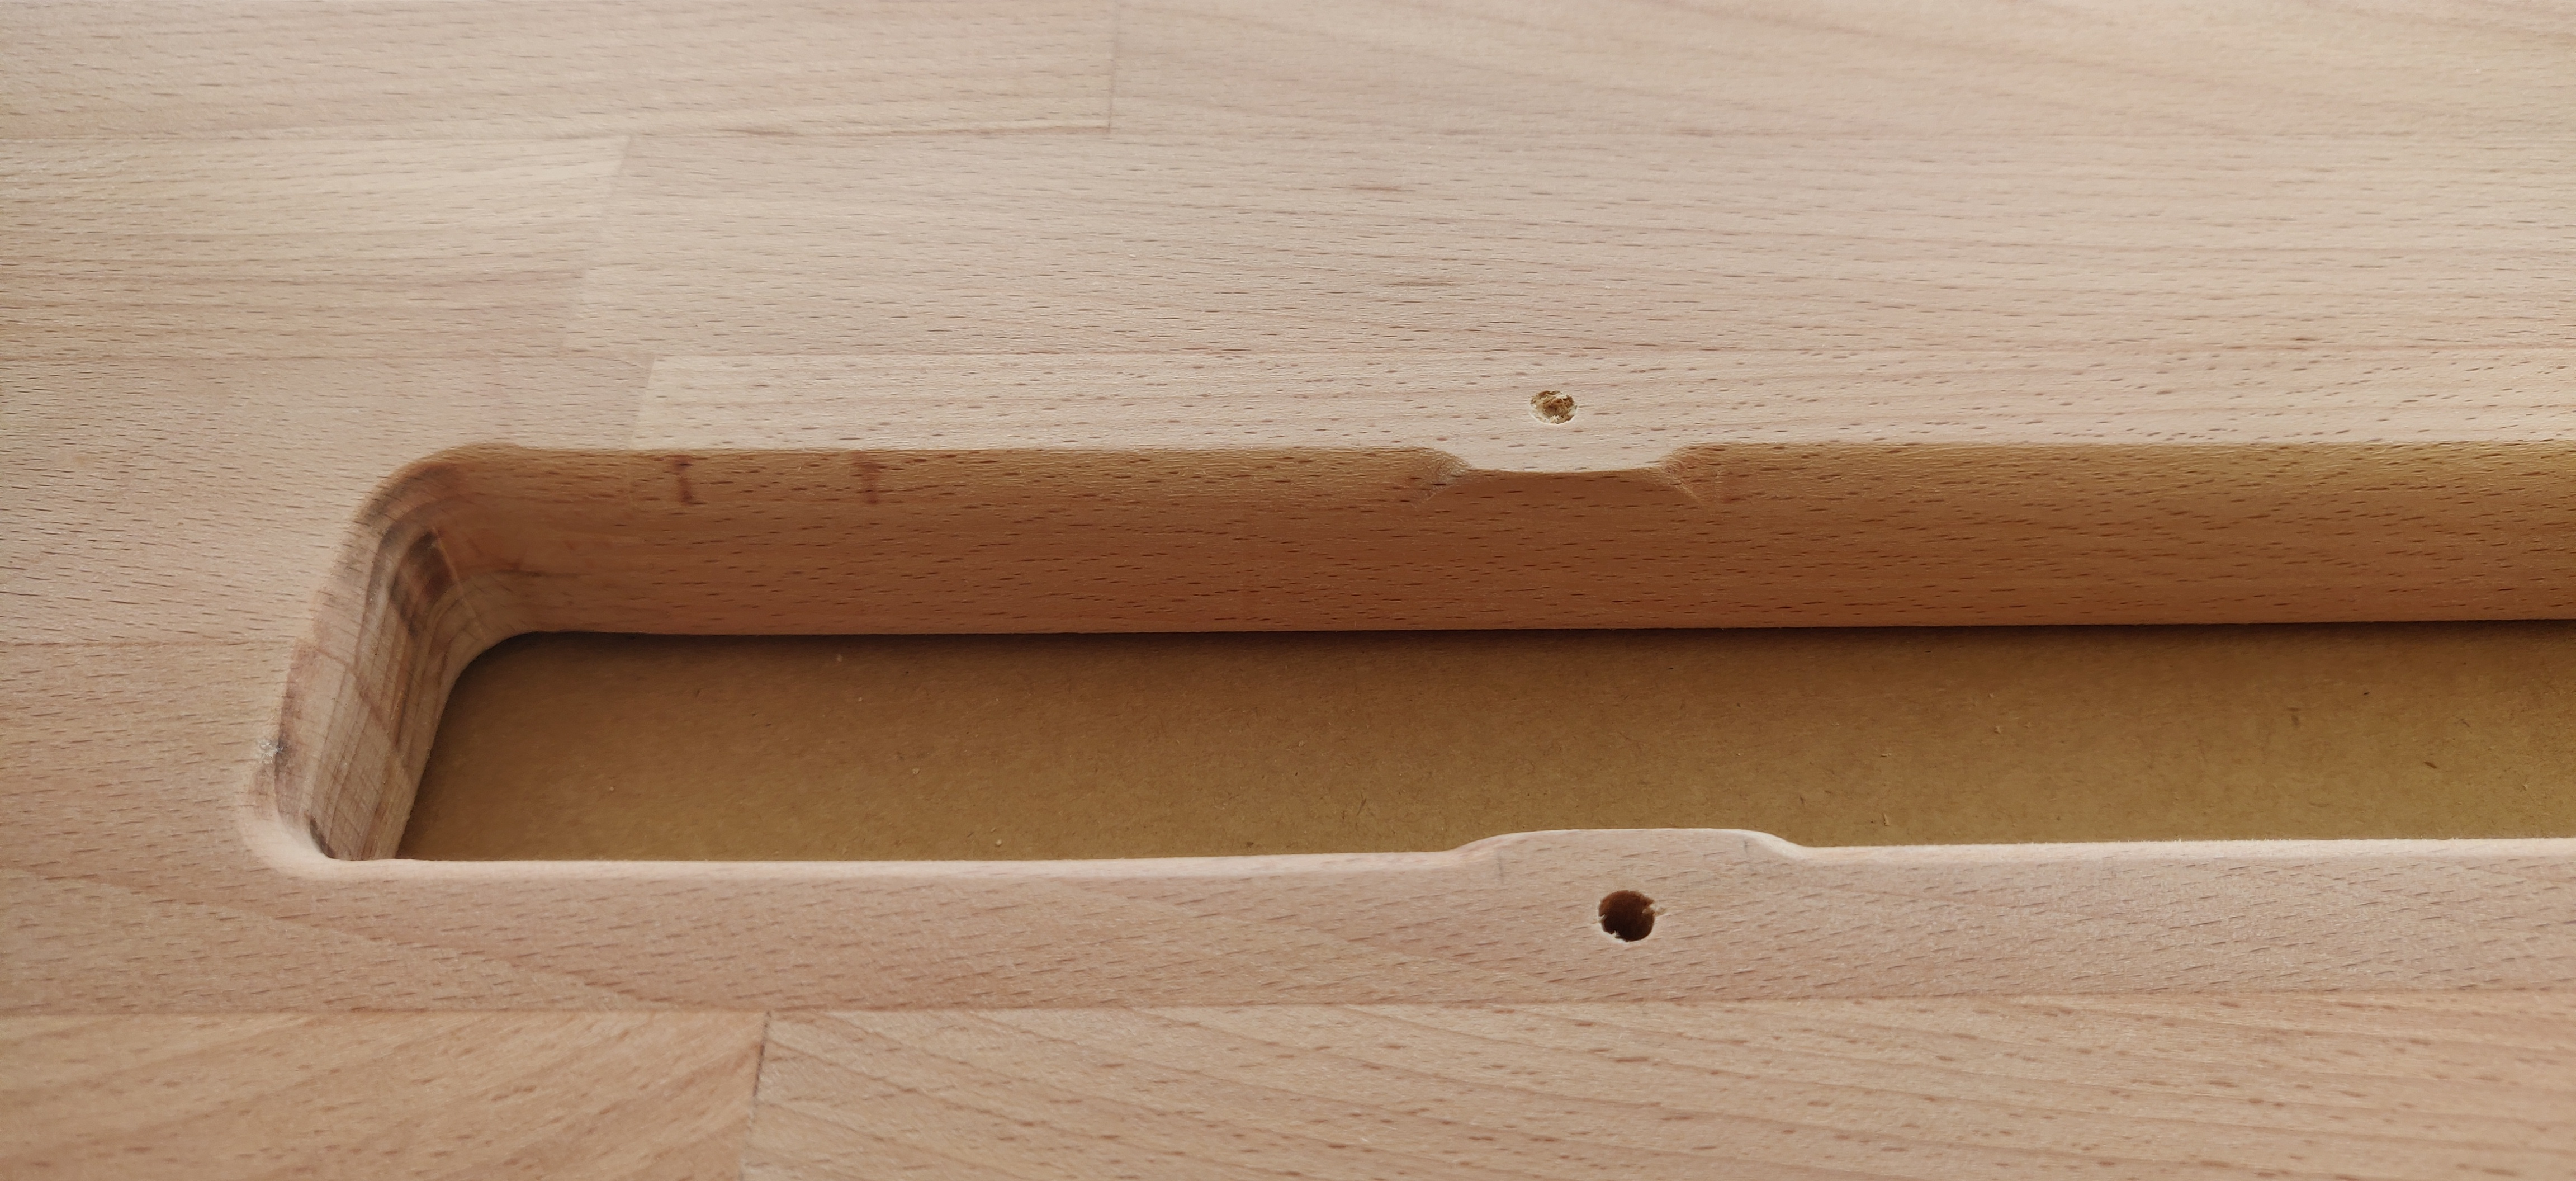
Next up is rounding the edges of the pass through, you want this to avoid cables snagging on shard edges of the wood.
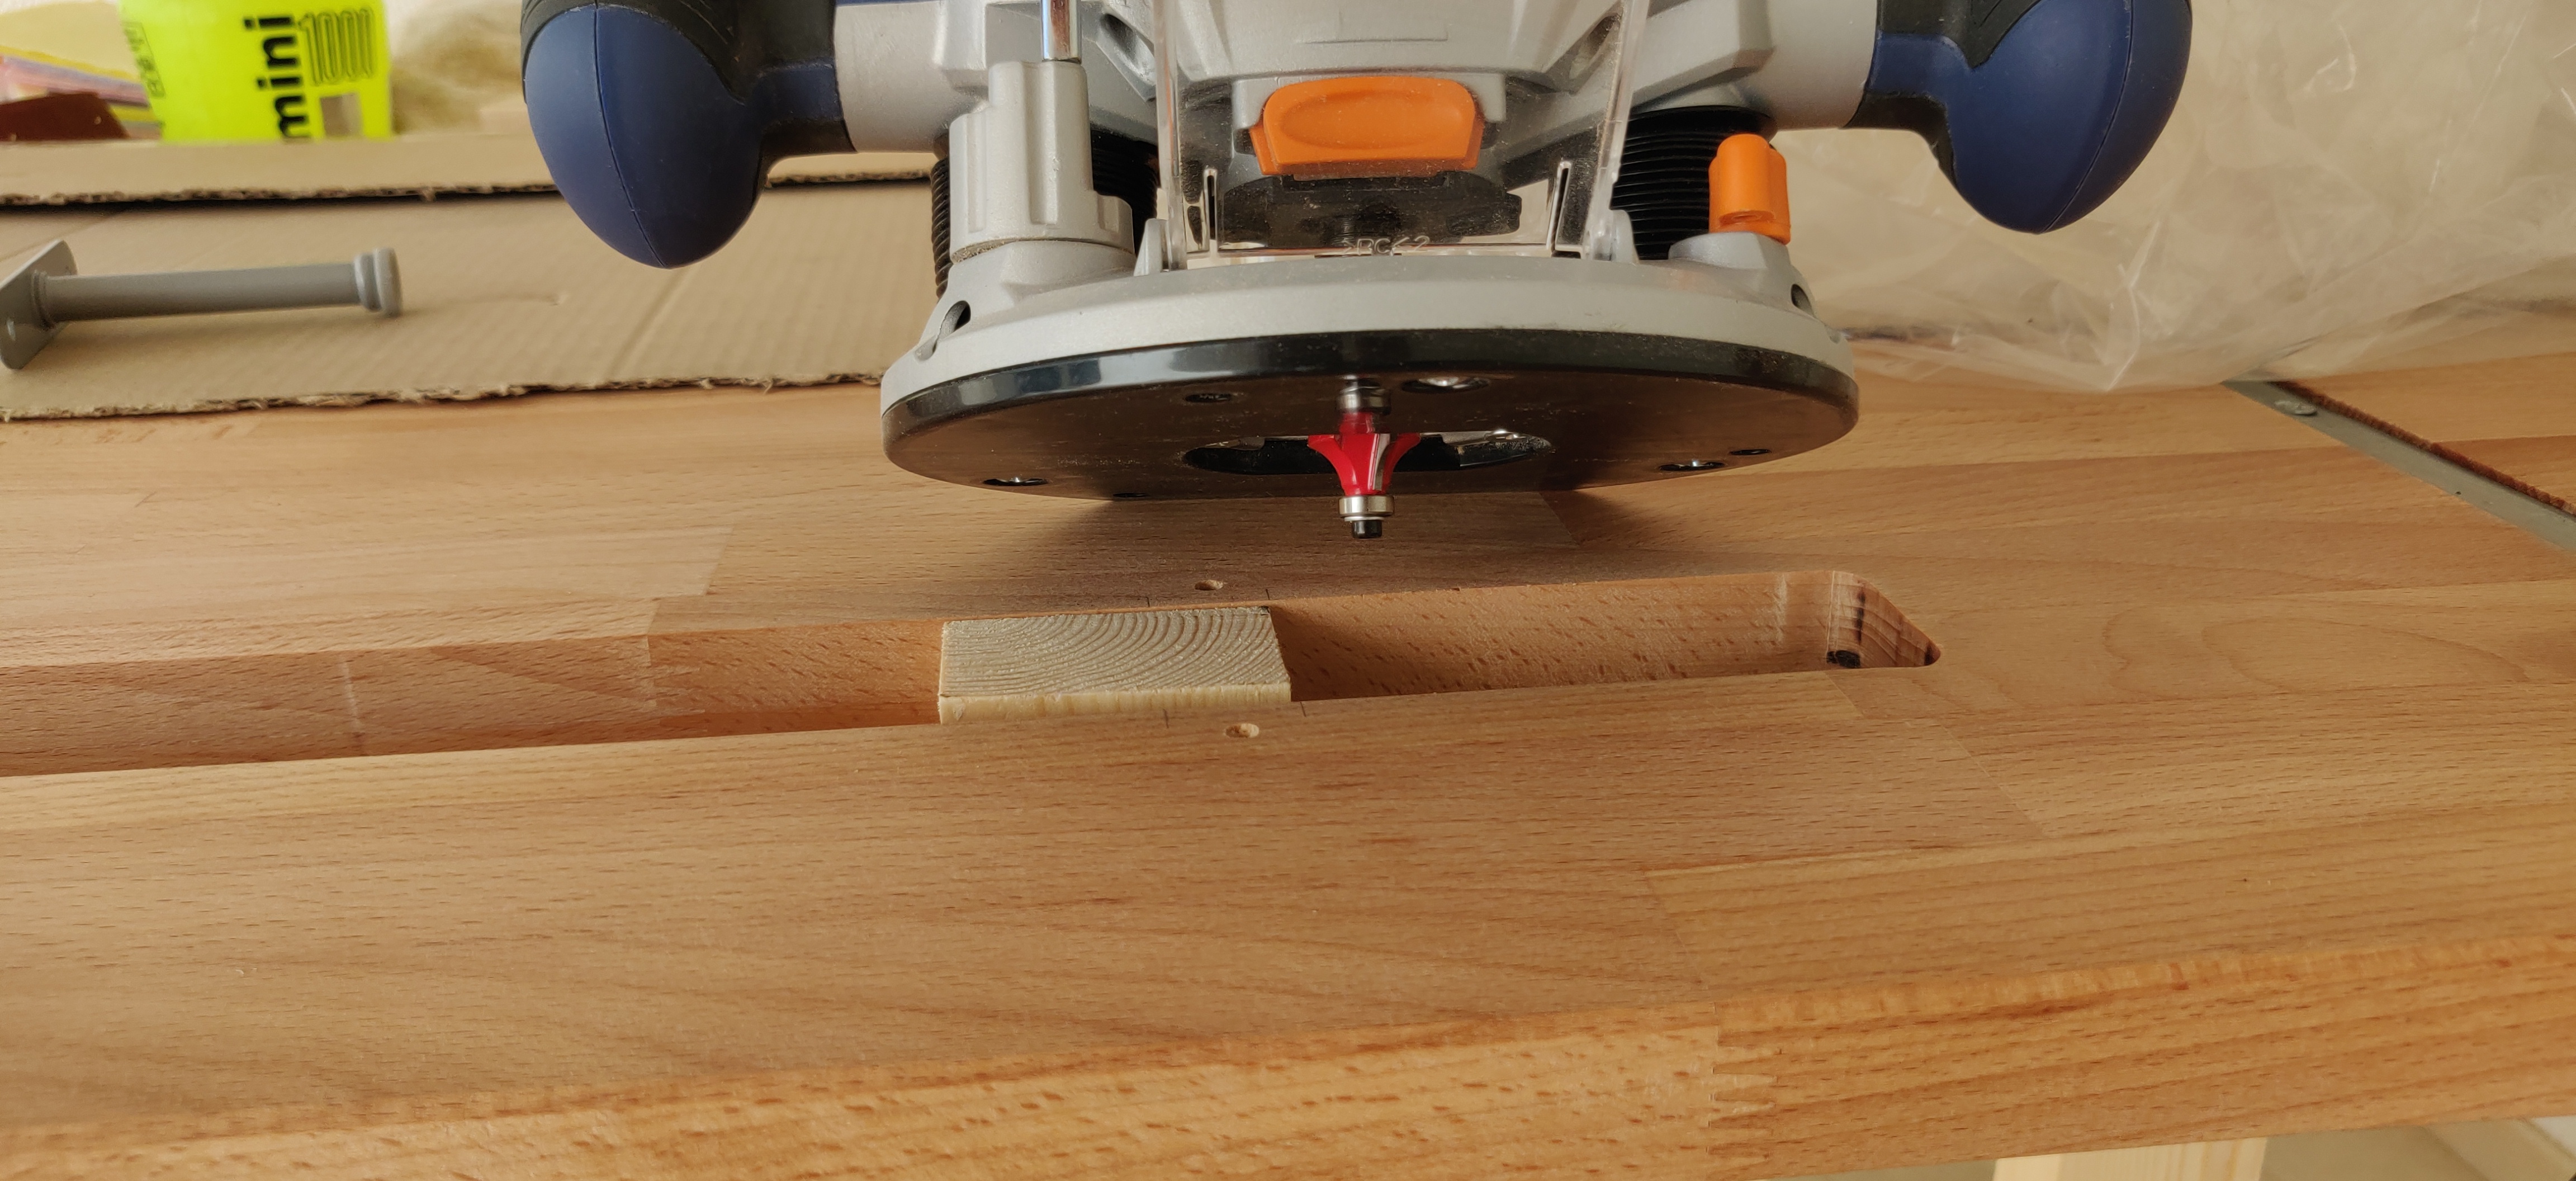
Final result.
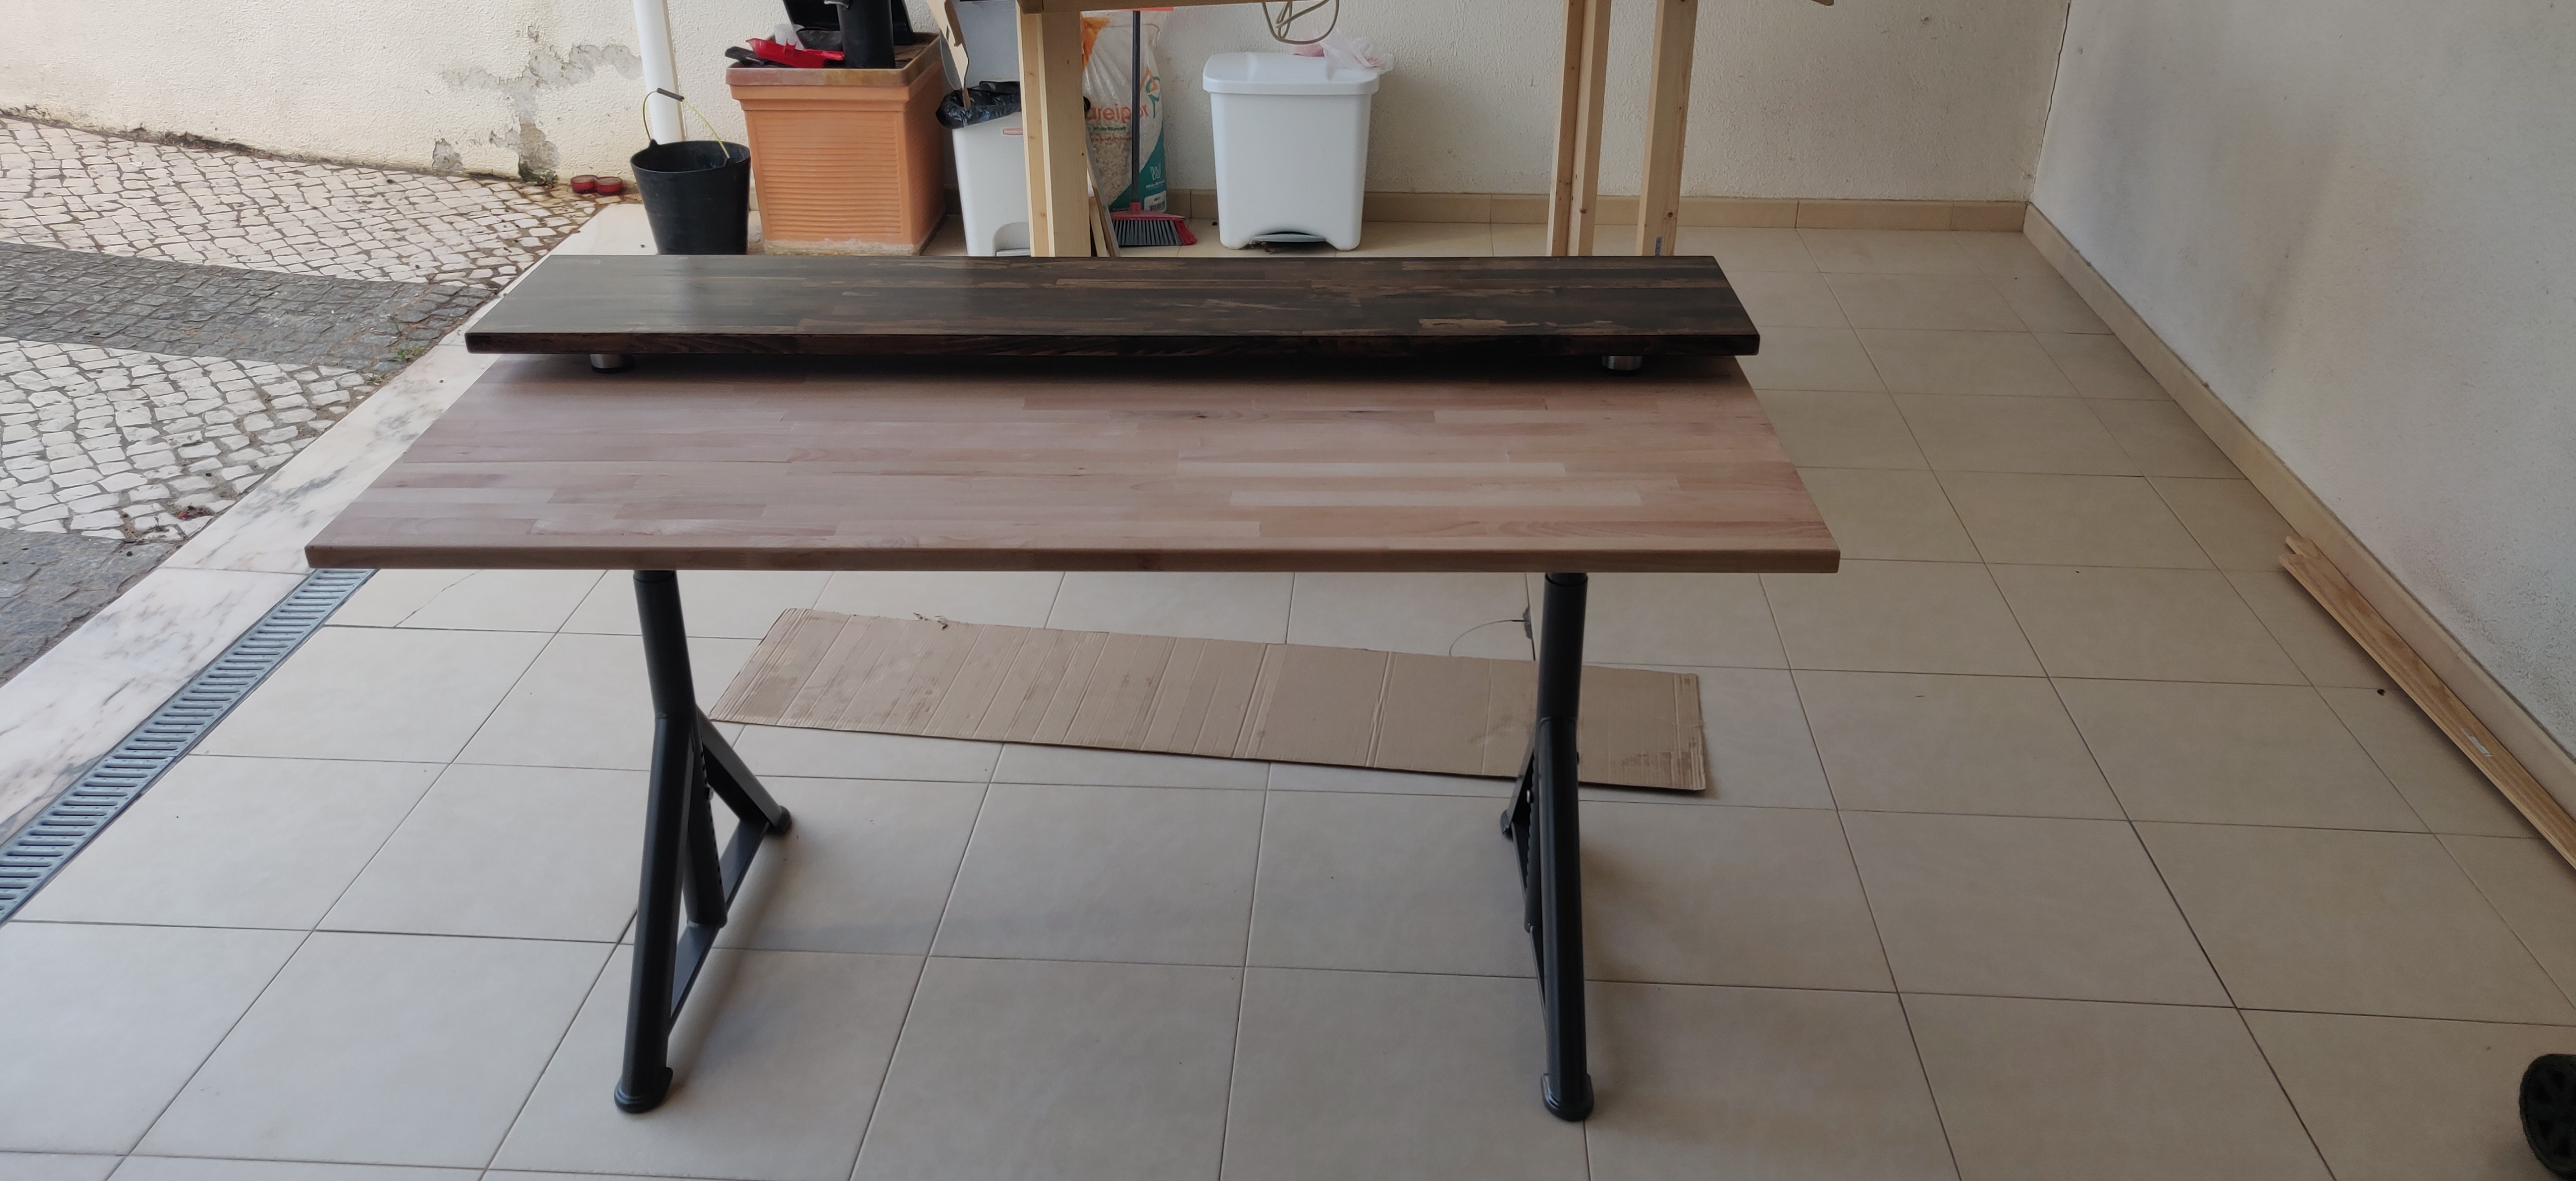
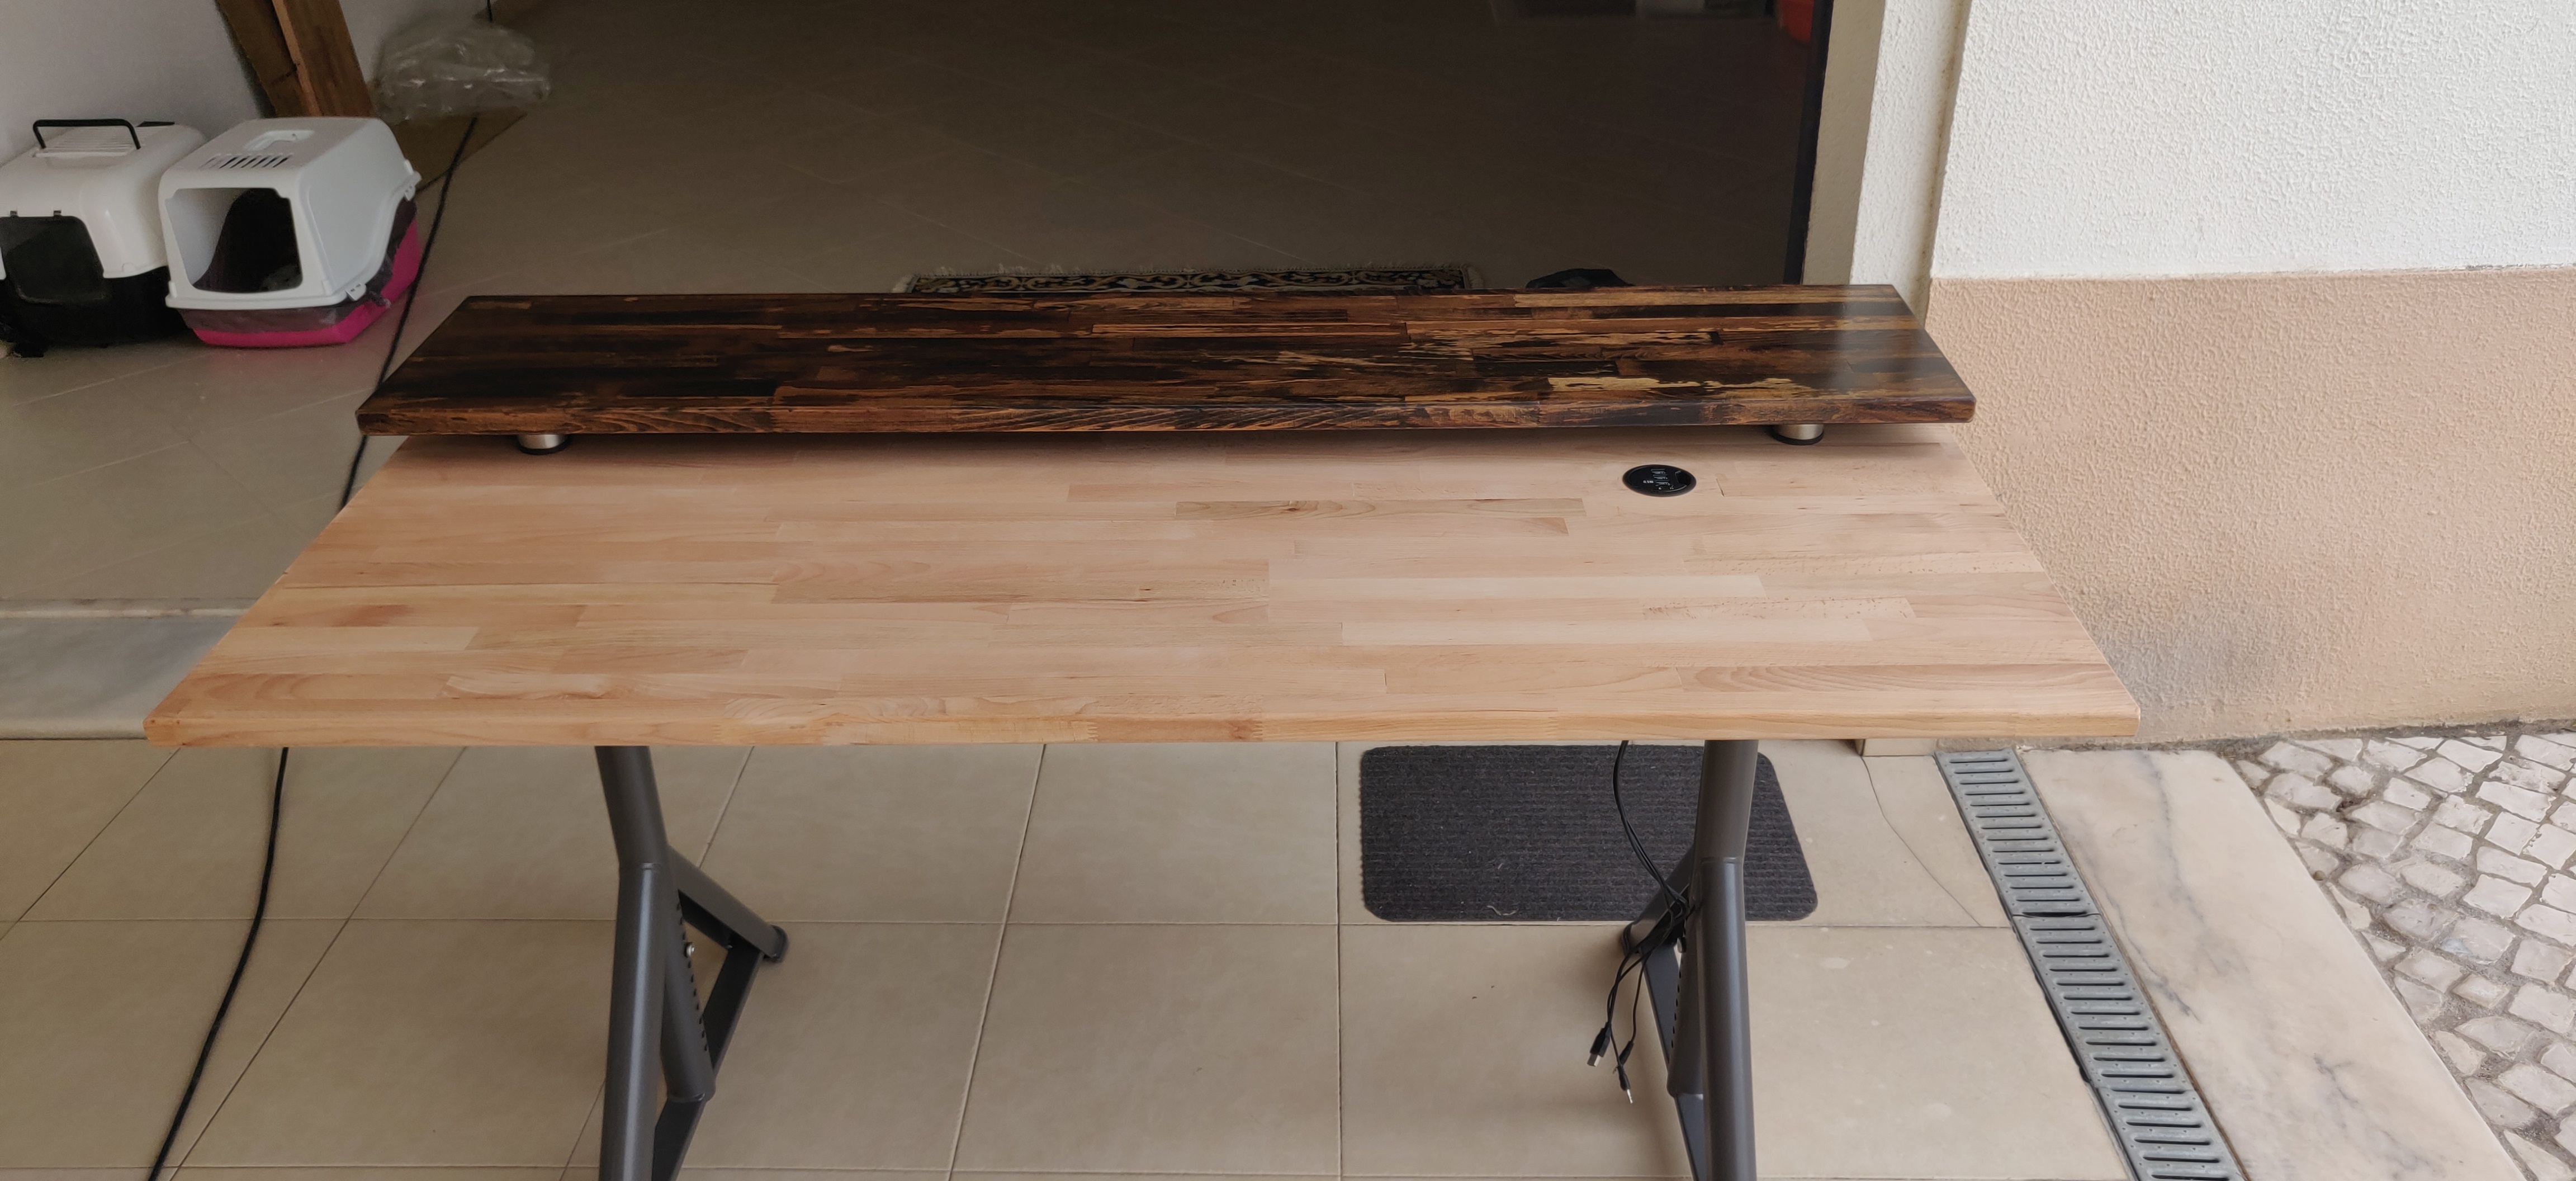
Now comes the first dryfit to ensure that what was done so far works well. The small supports you see holding up the first floor are simple furniture supports i got from Amazon, they’re around 4cm in height which matches what i was going for.
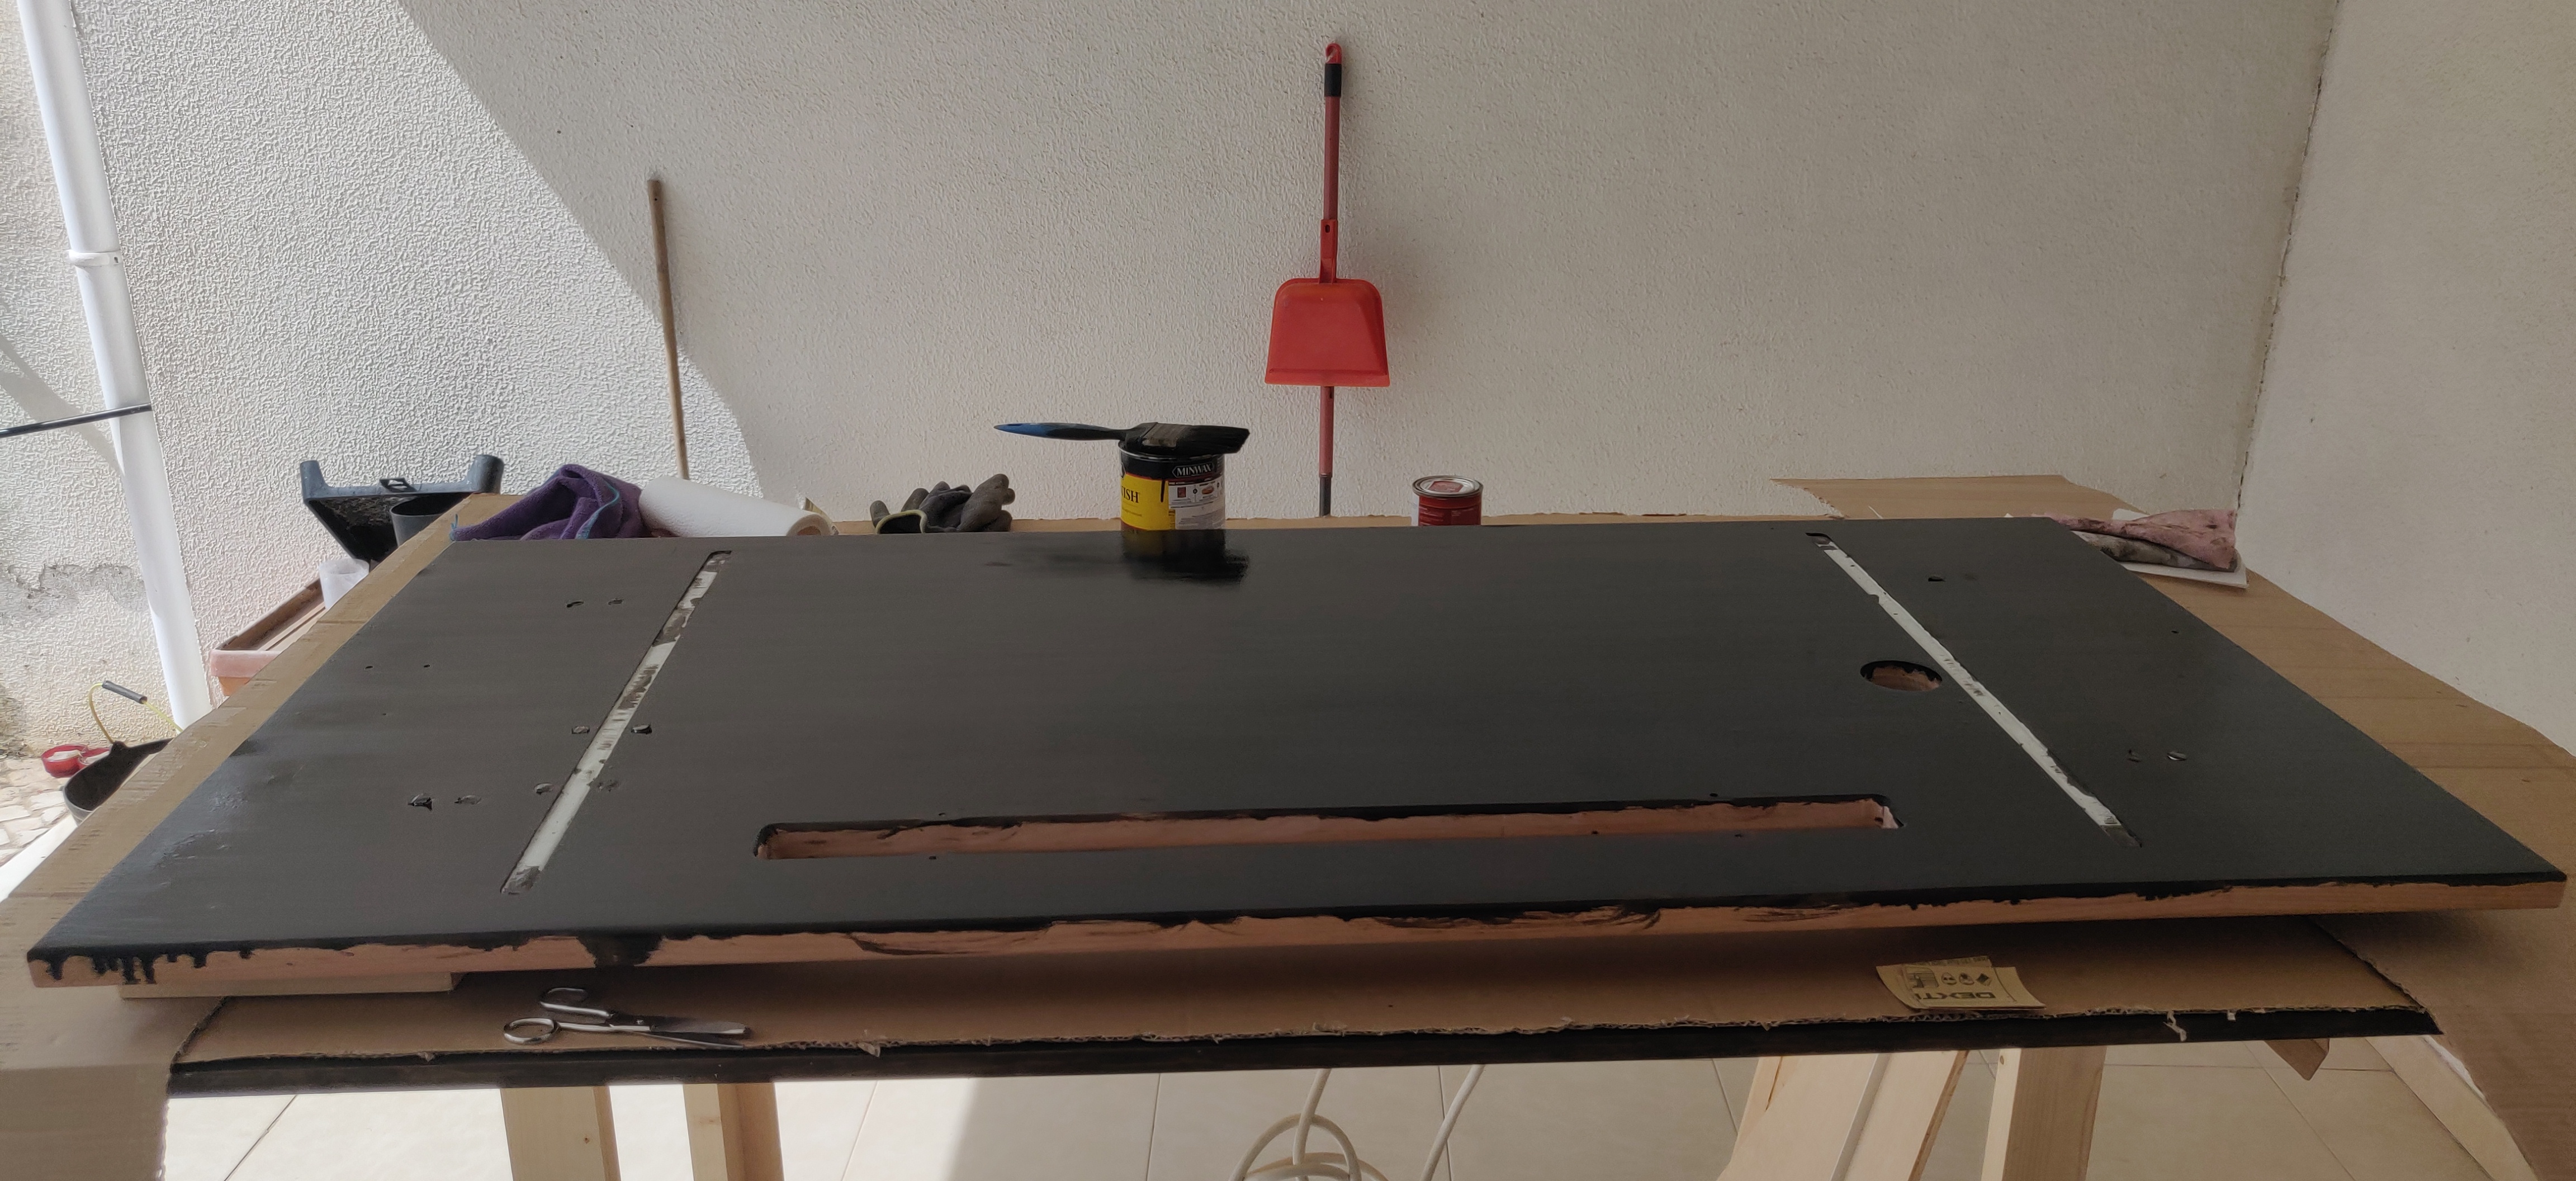
Now comes the staining, i like dark woods so i went with MinWax Dark Walnut stain, i also got MinWax’s pre-stain conditioner but found it to be unnecessary if you do a proper job of sanding the table beforehand.
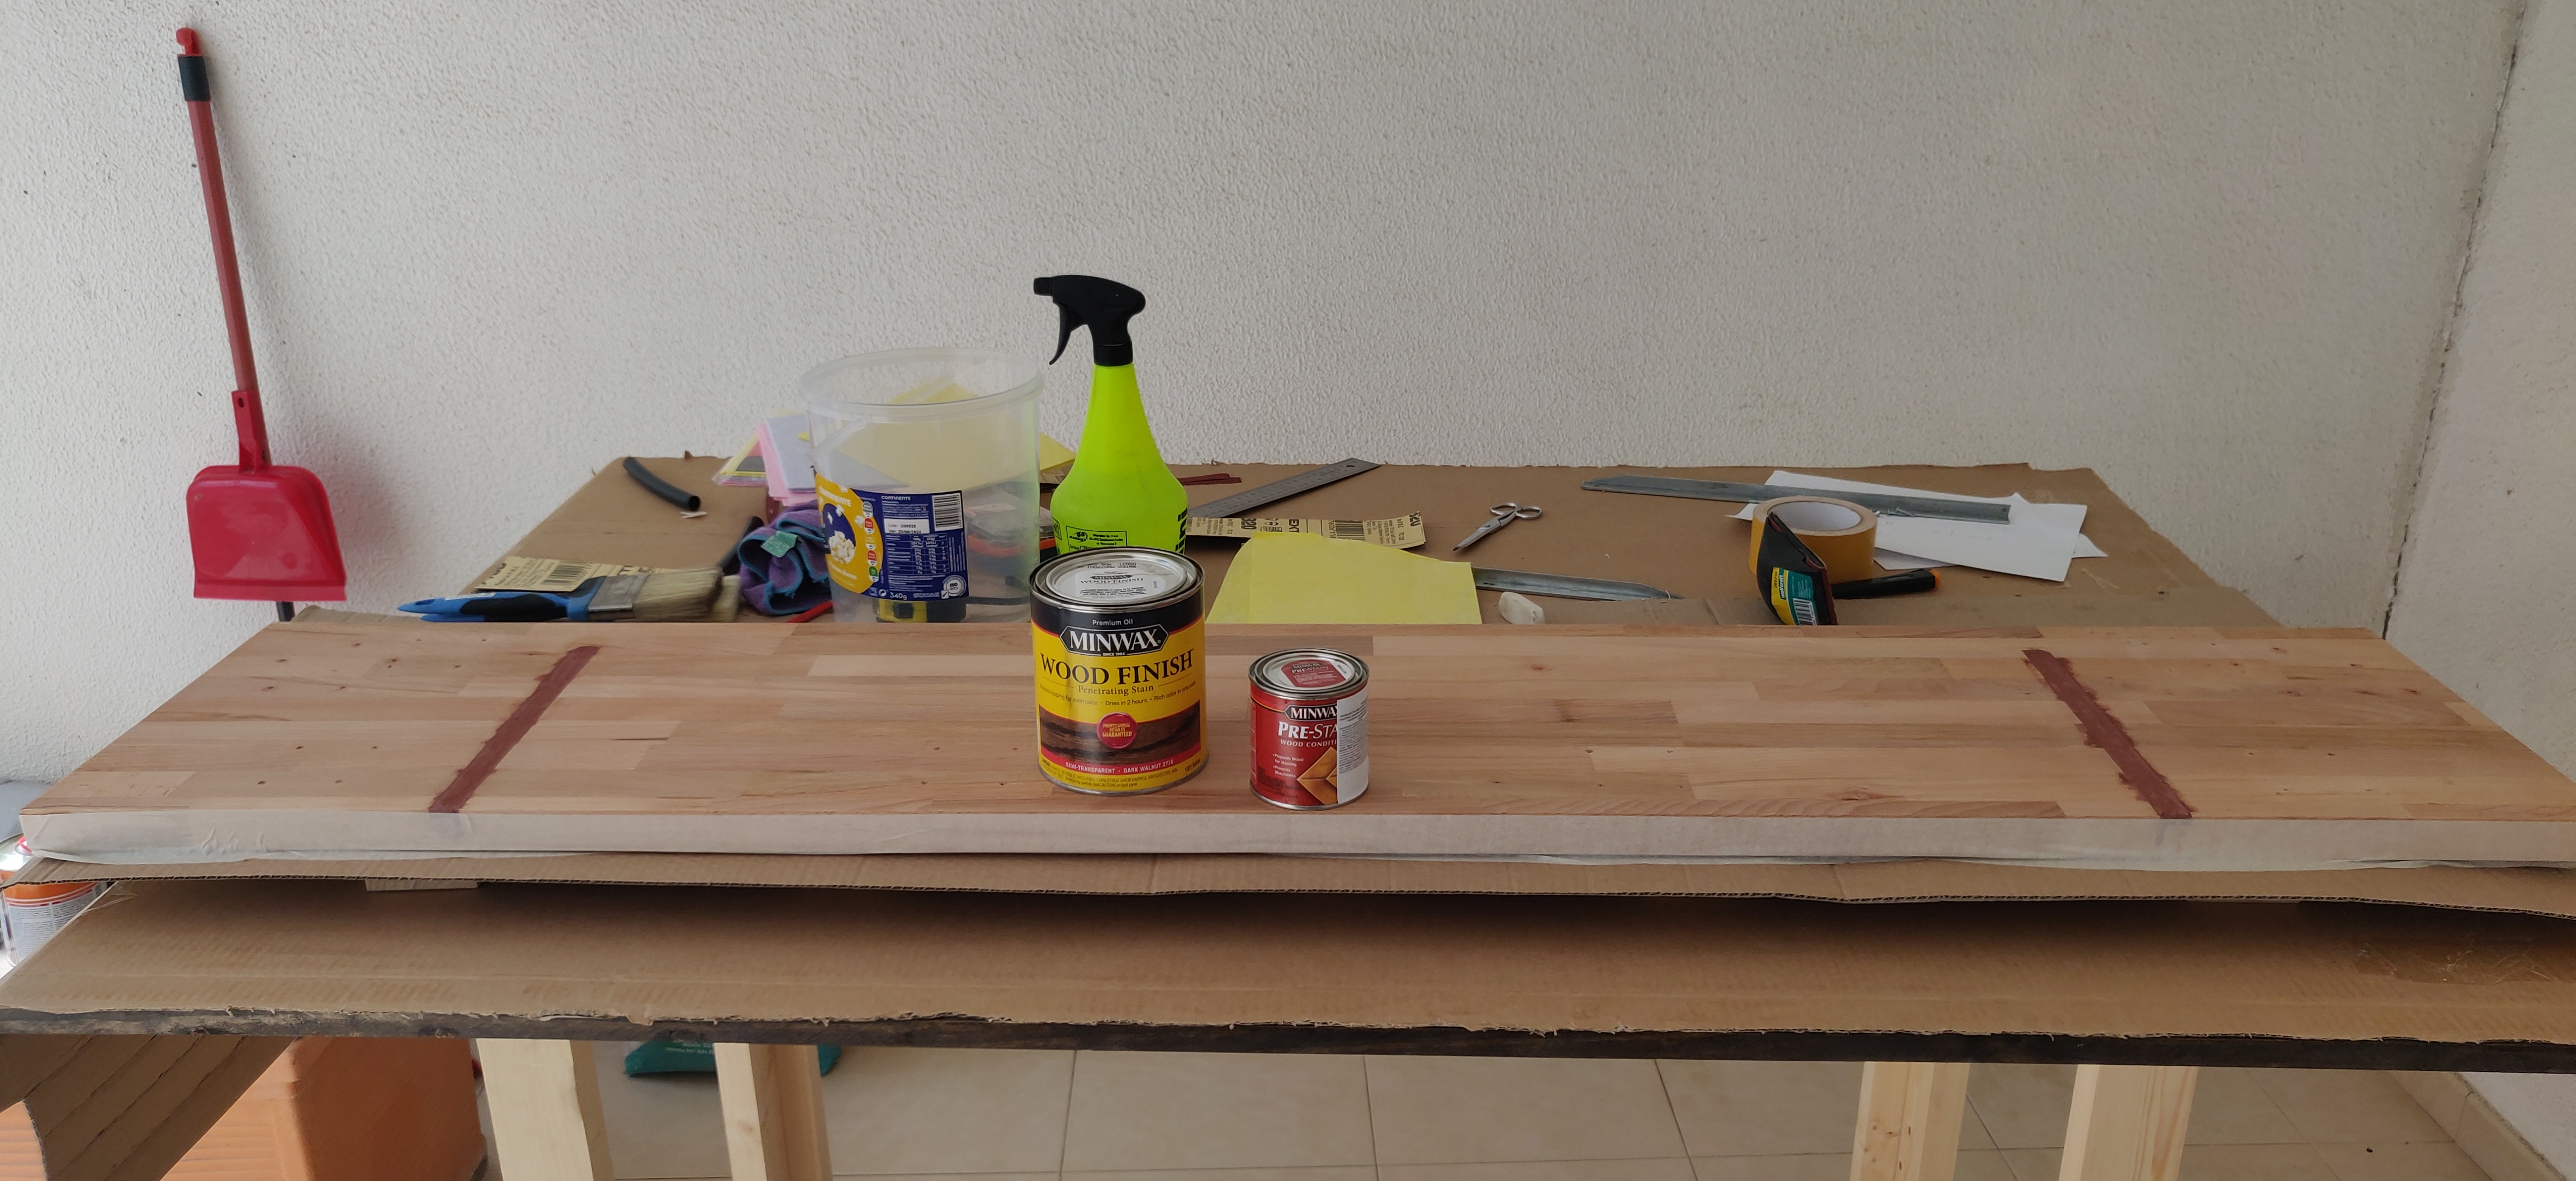
Staining is a simple process of applying enough stain to cover the wood, waiting a bit (~5m) and then wiping the excess, the stain will penetrate into the wood grain. If you’re not happy with the colour, you can apply a second coat for it to become darker.
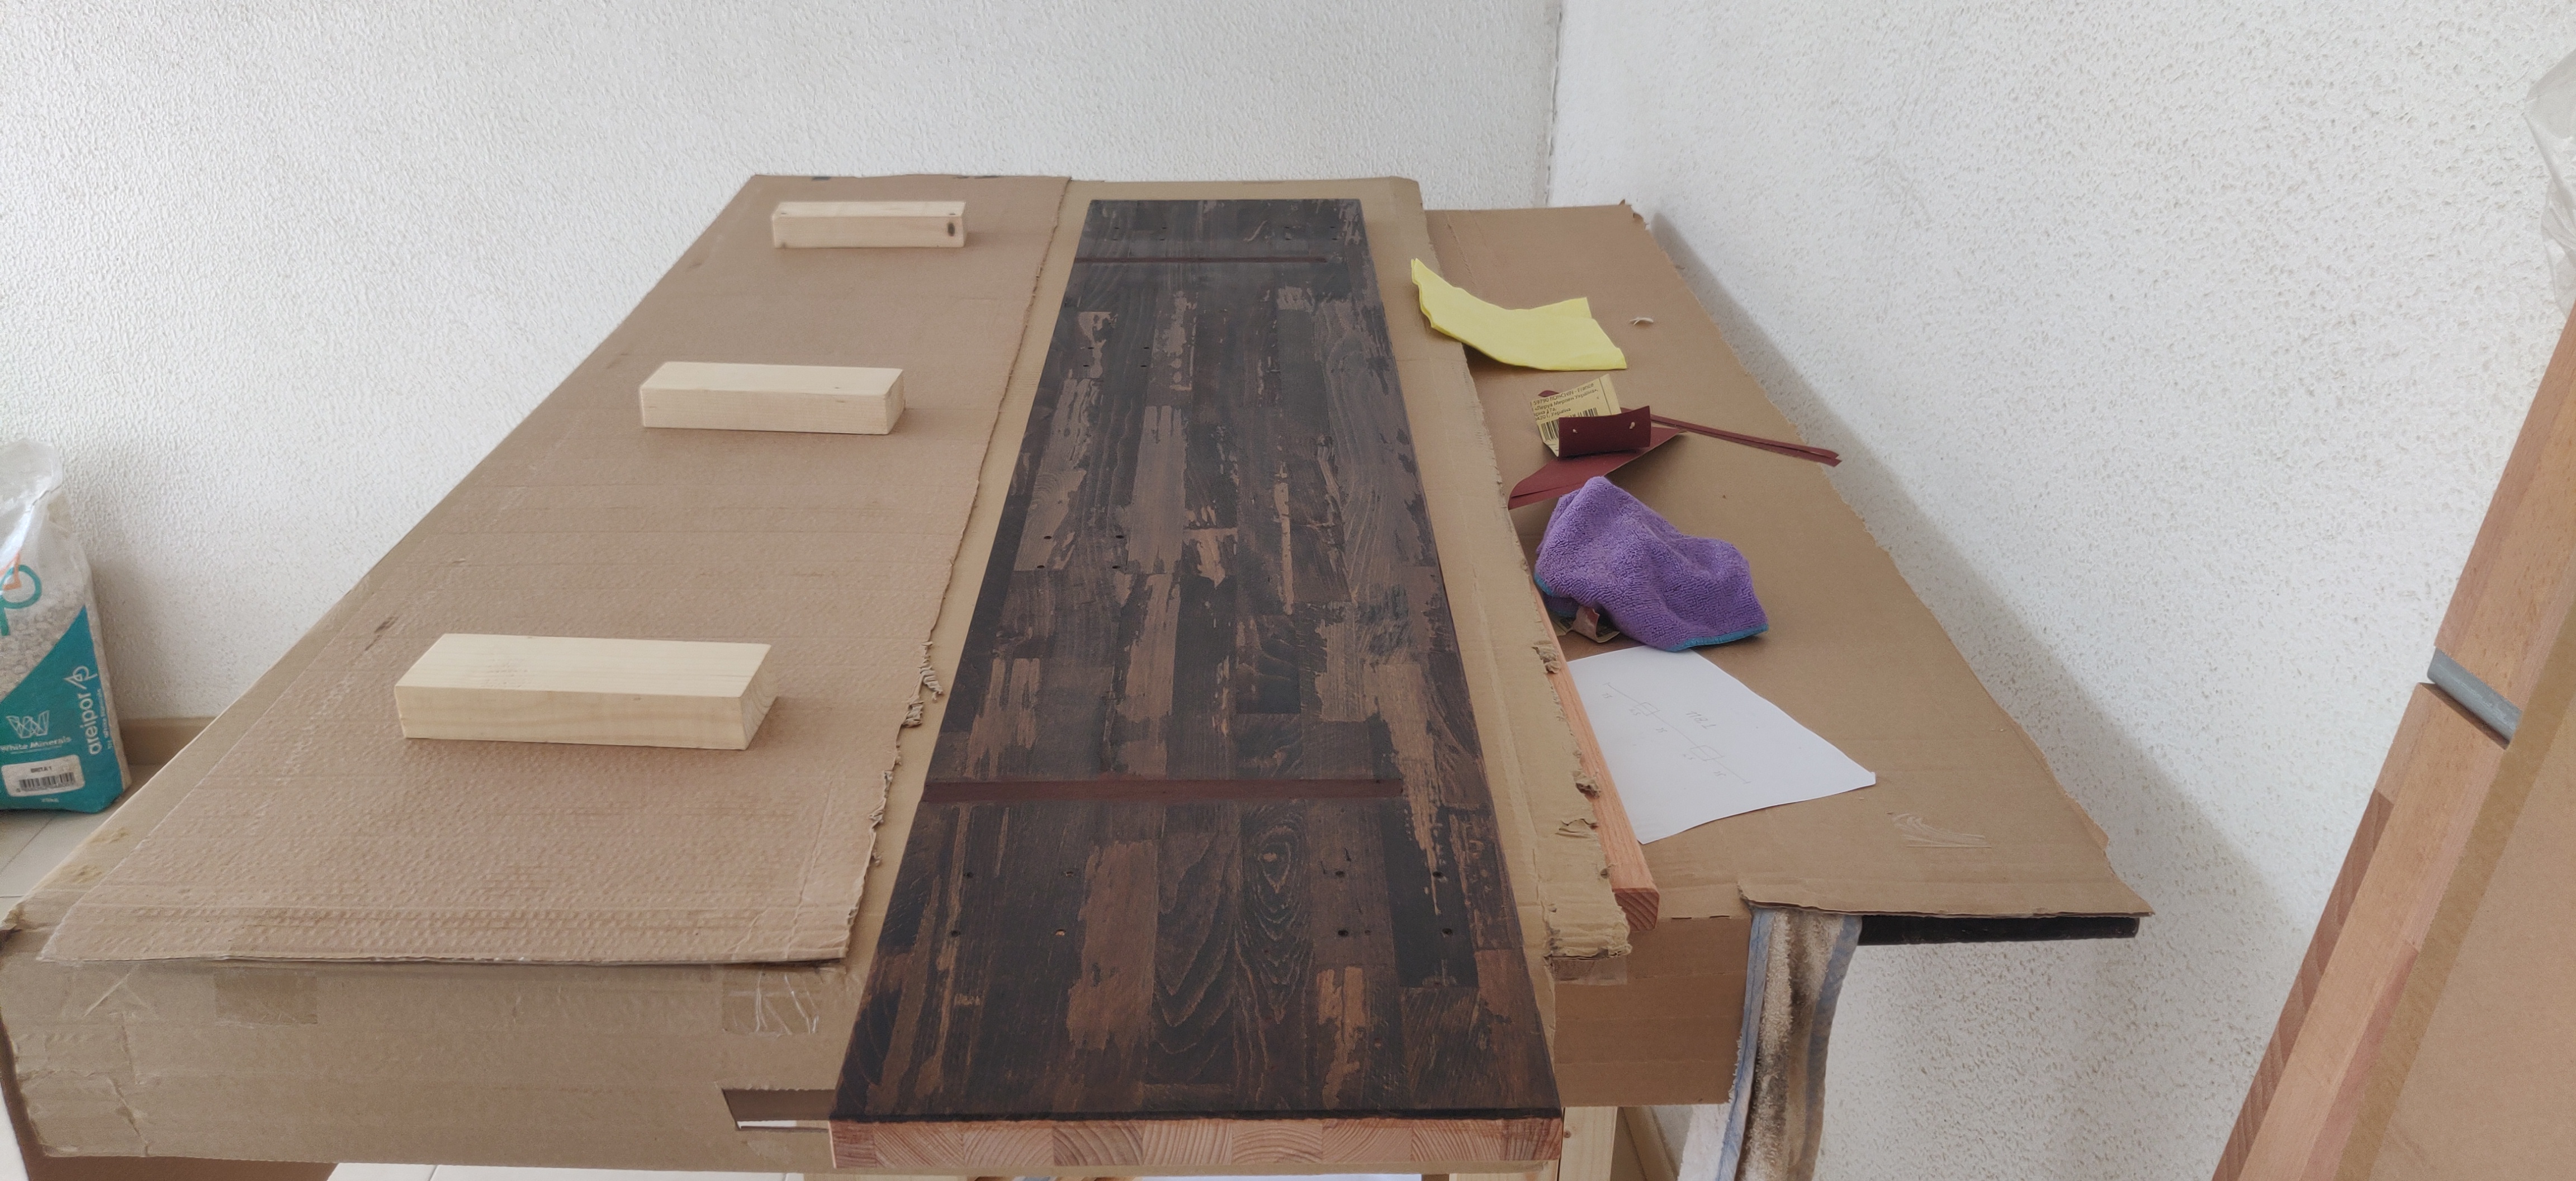
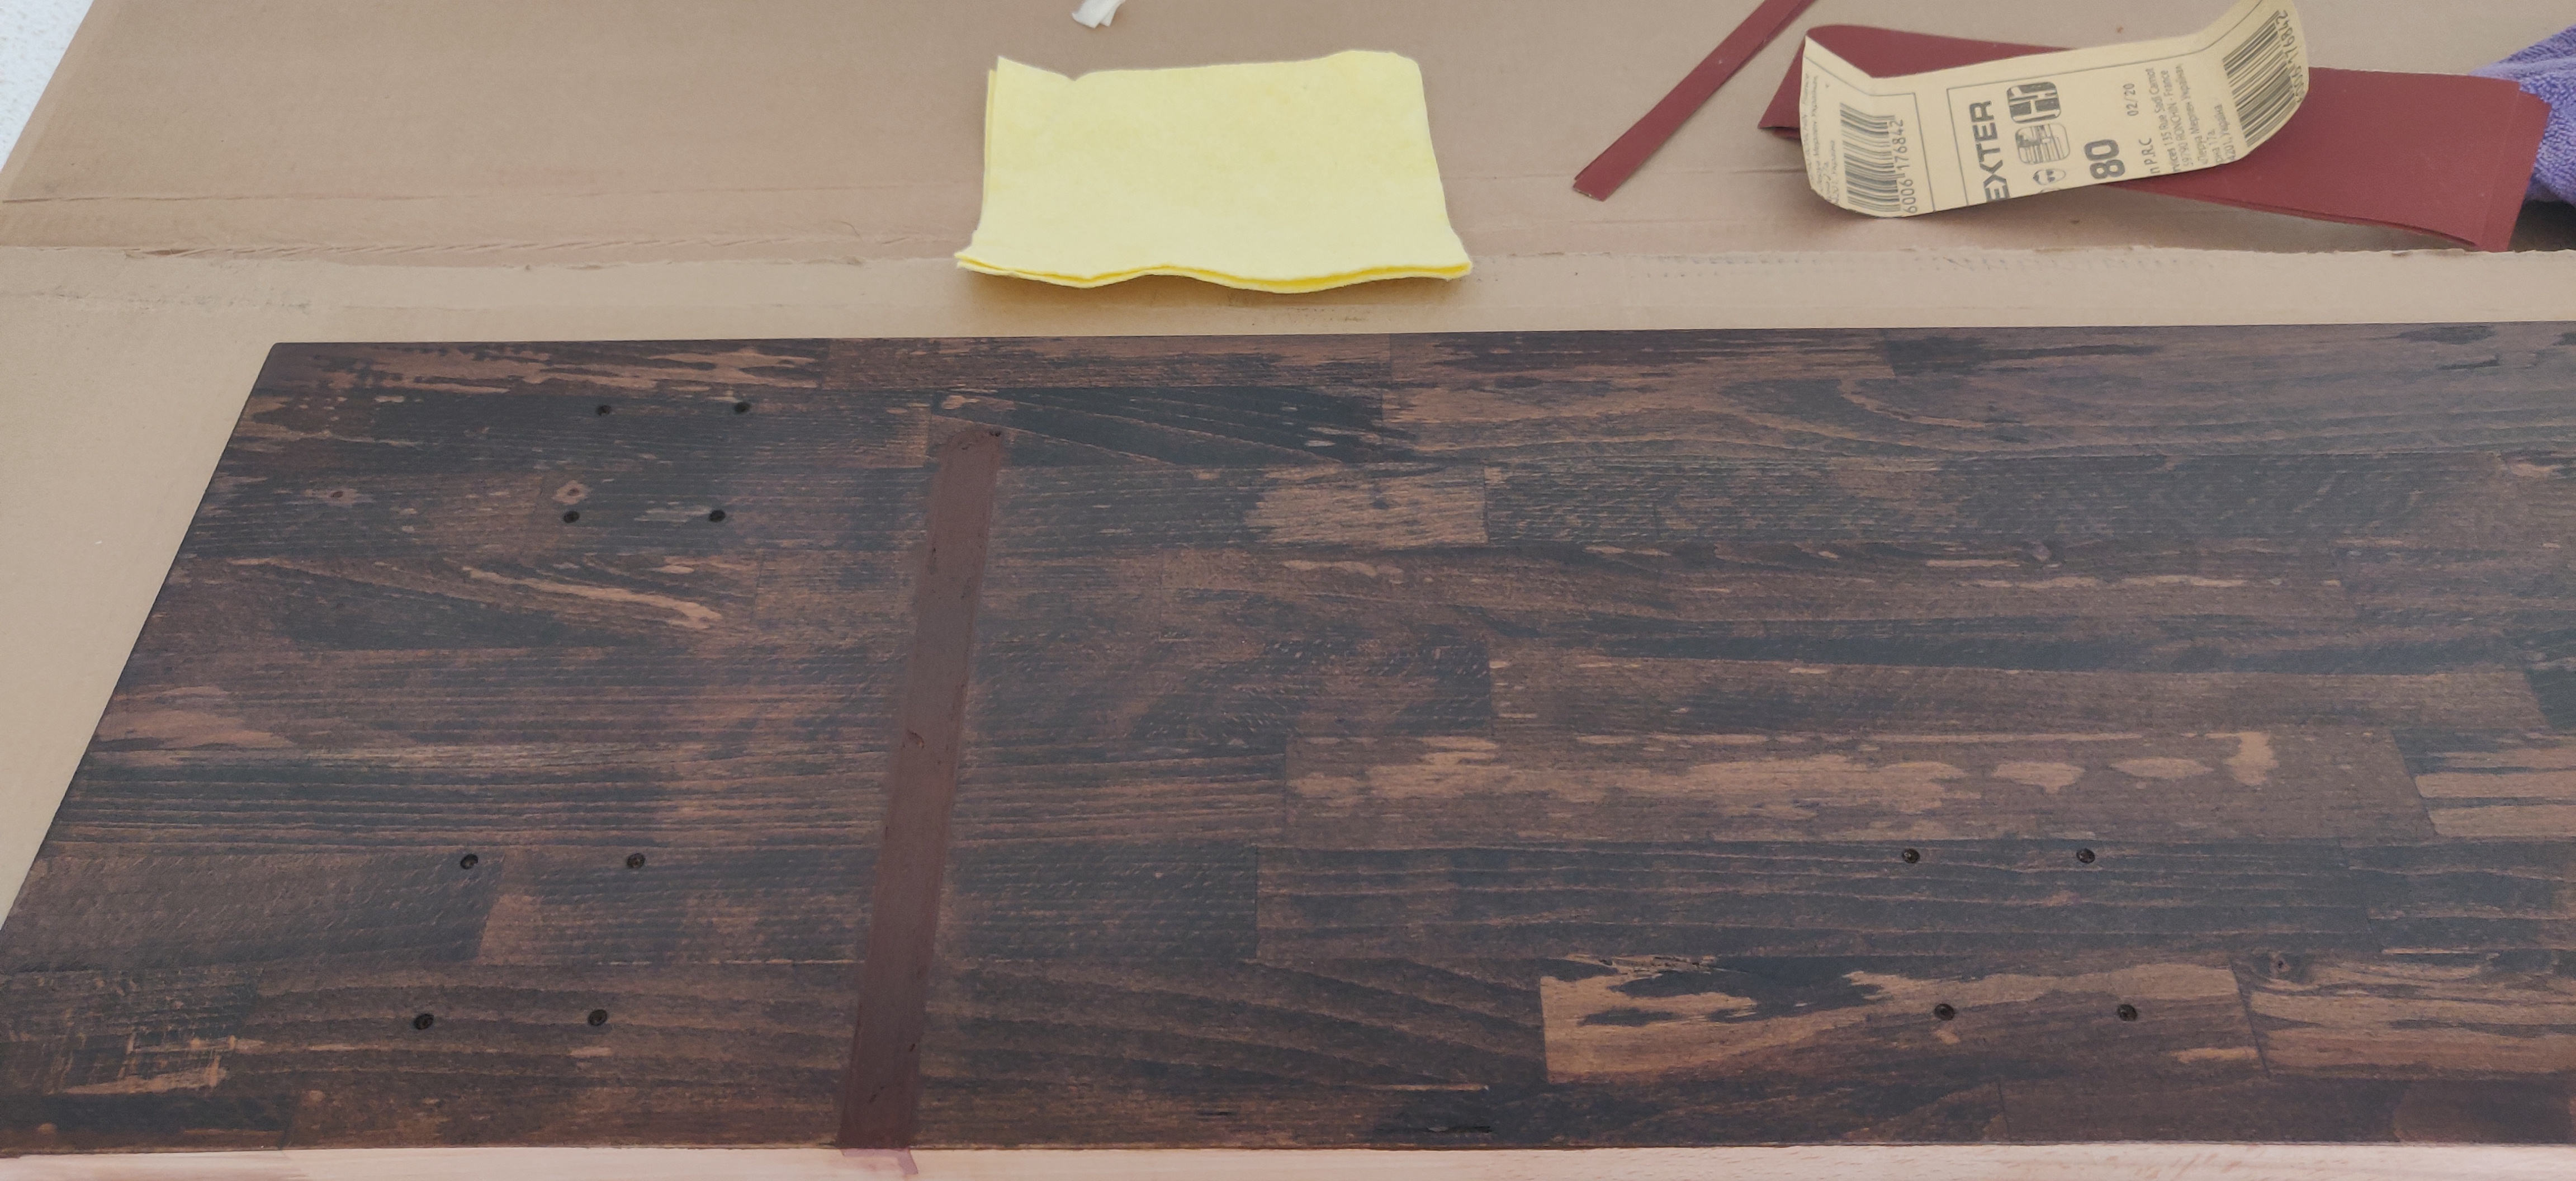
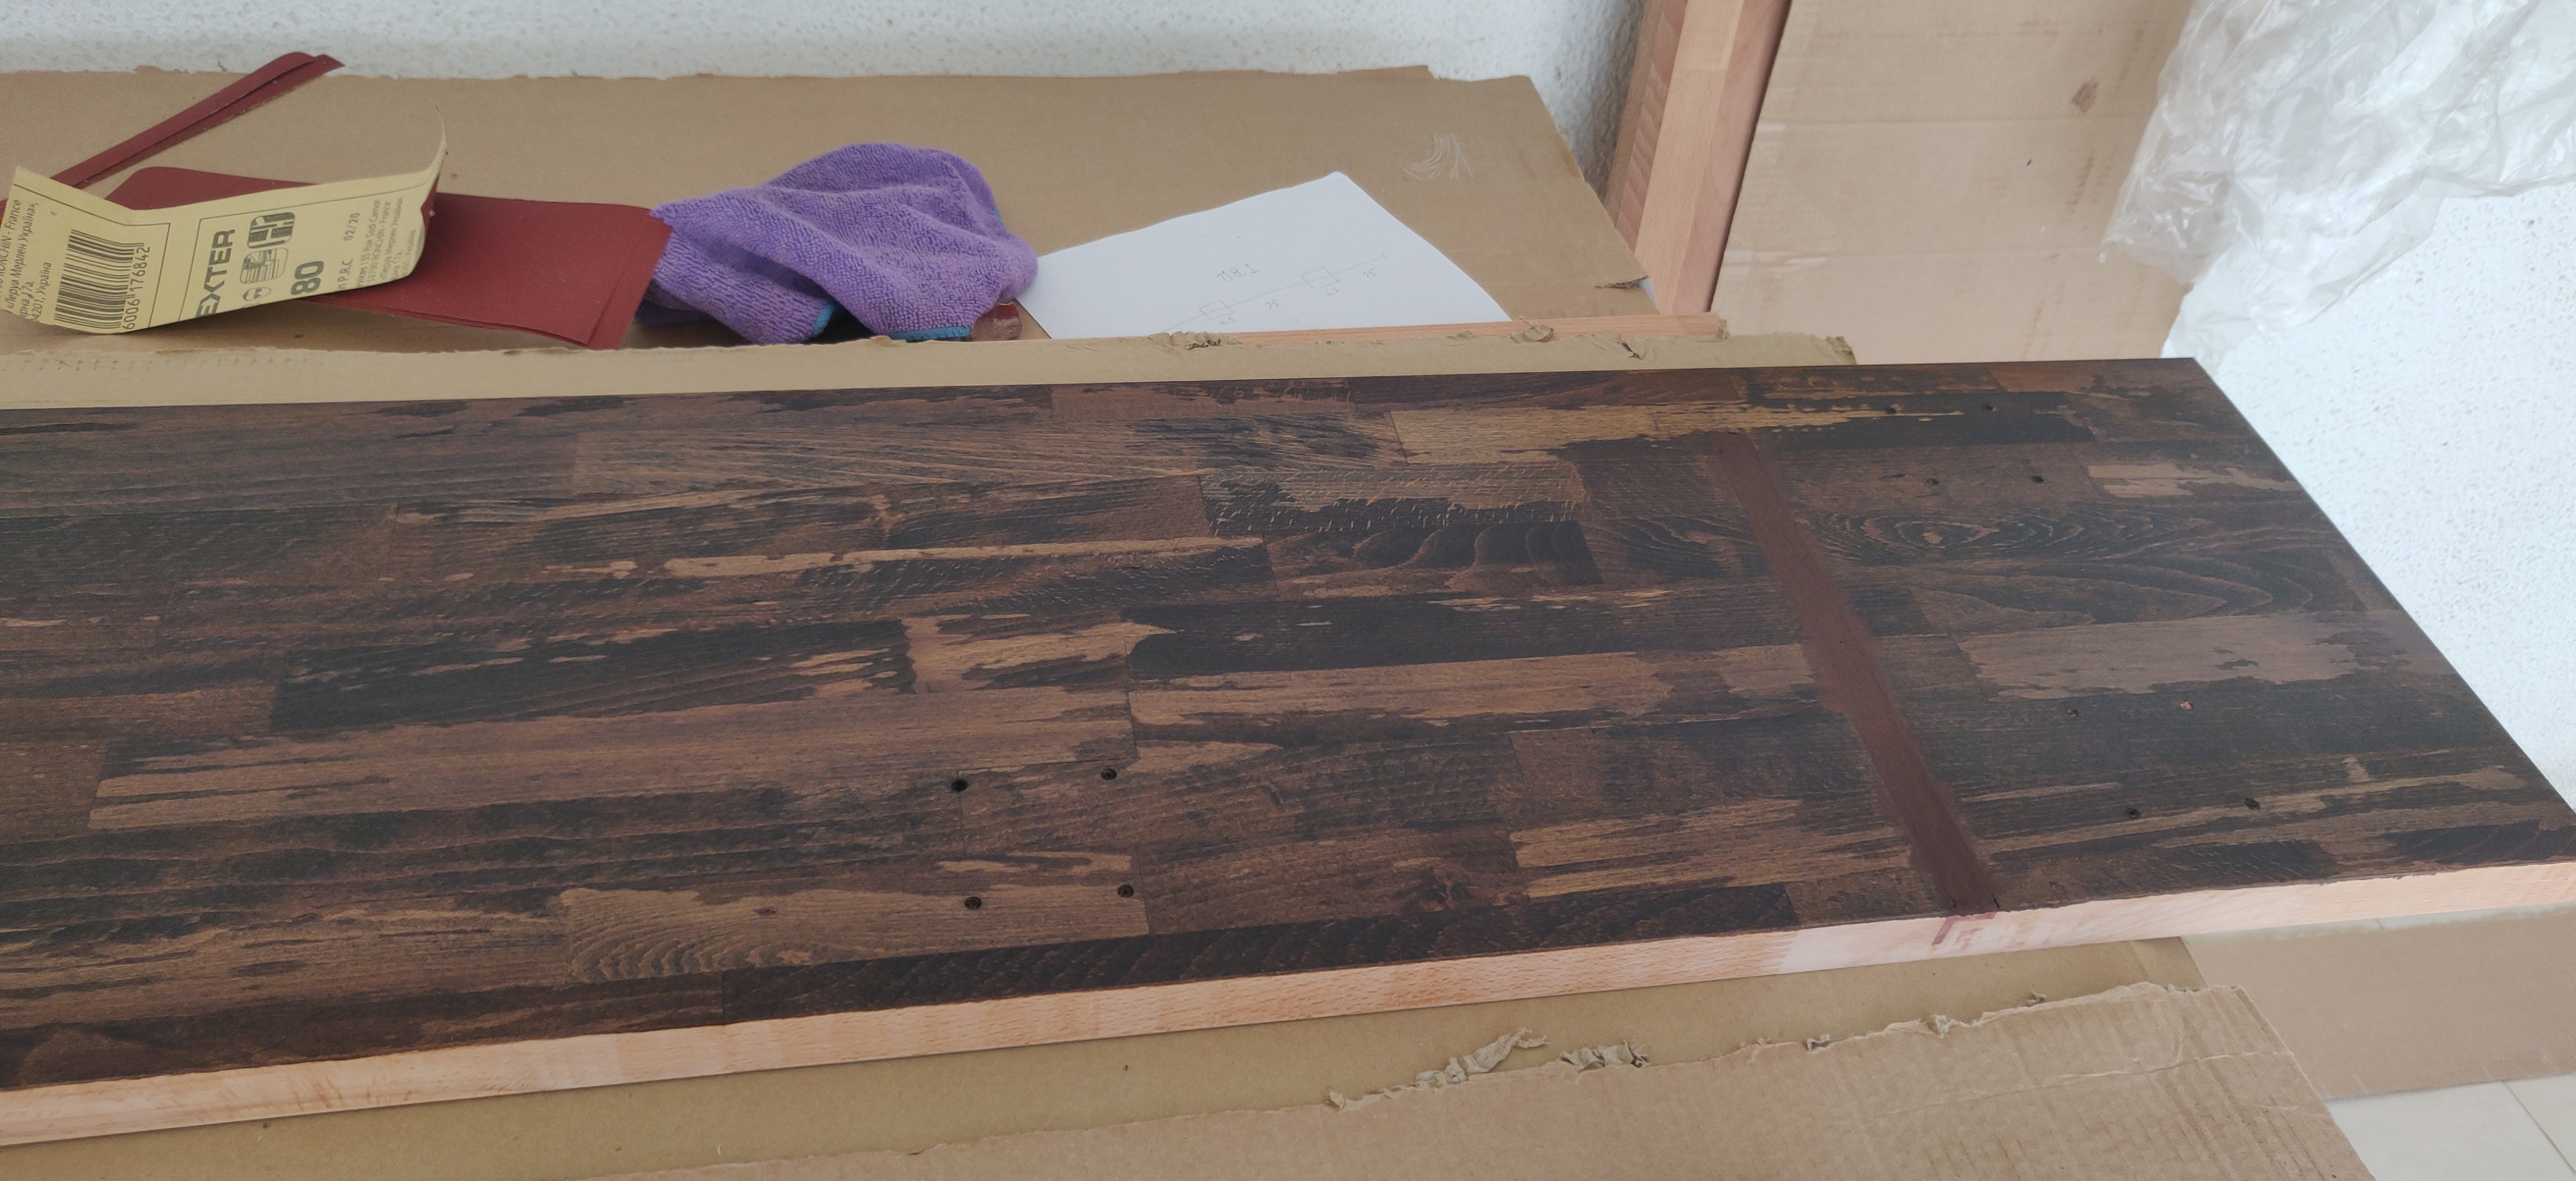
You’ll need to wait a few days for the stain to completely dry, it should not be tacky to the touch. Next up comes the clear coat to protect the wood from scratches, i used MinWax Water based Polycrilic Finish.
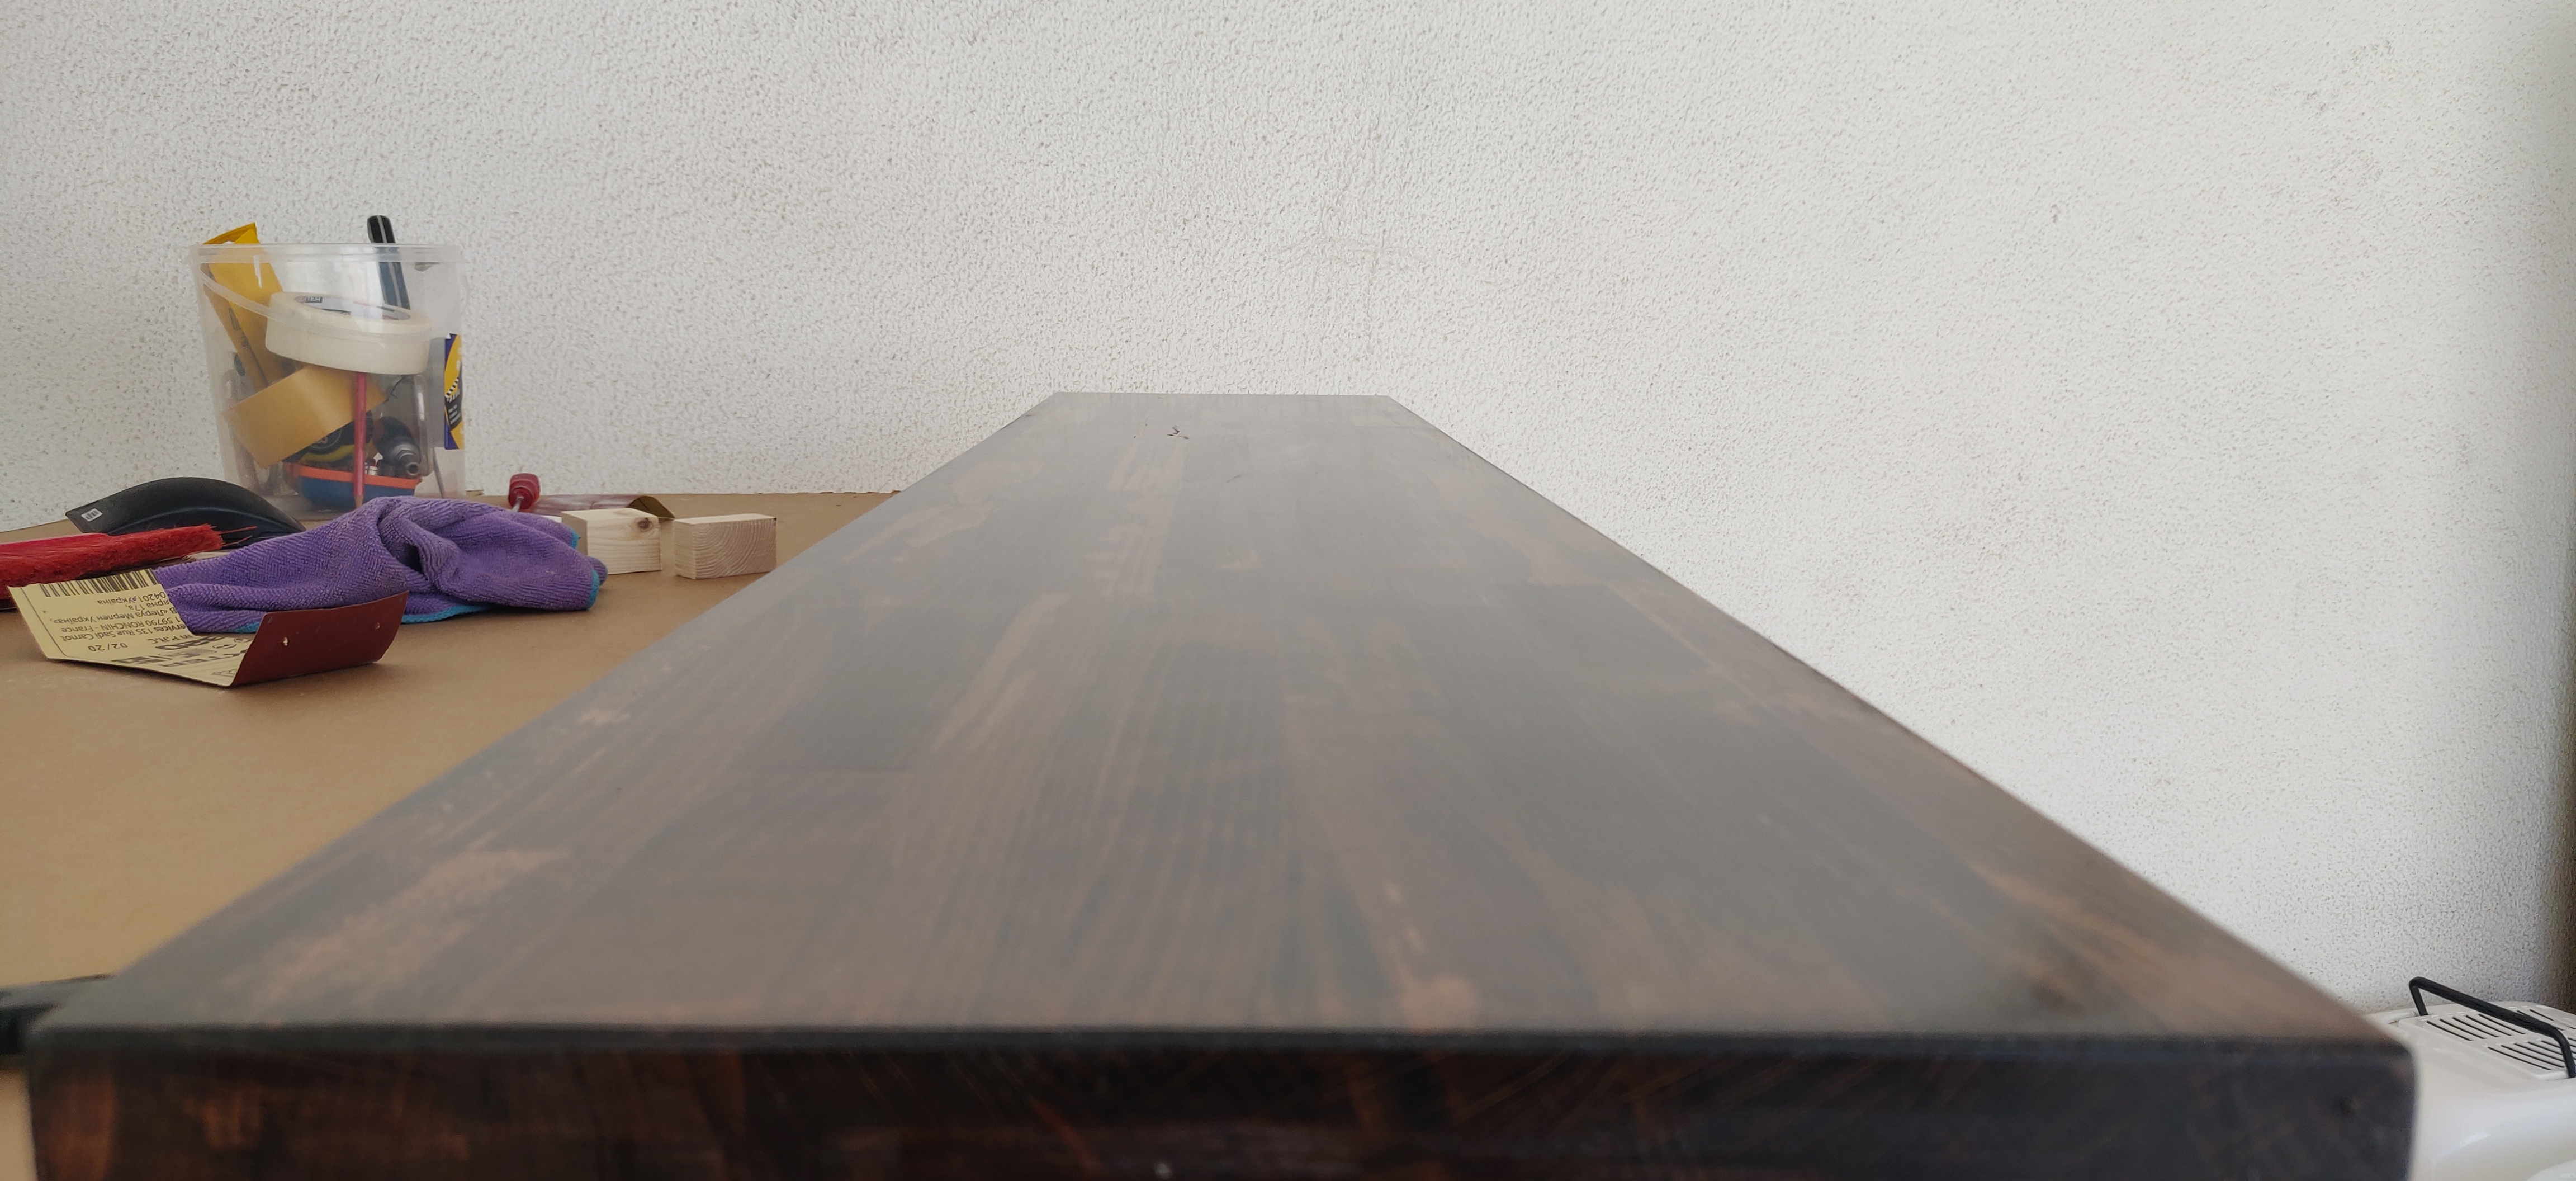
Here it is after the first coat.
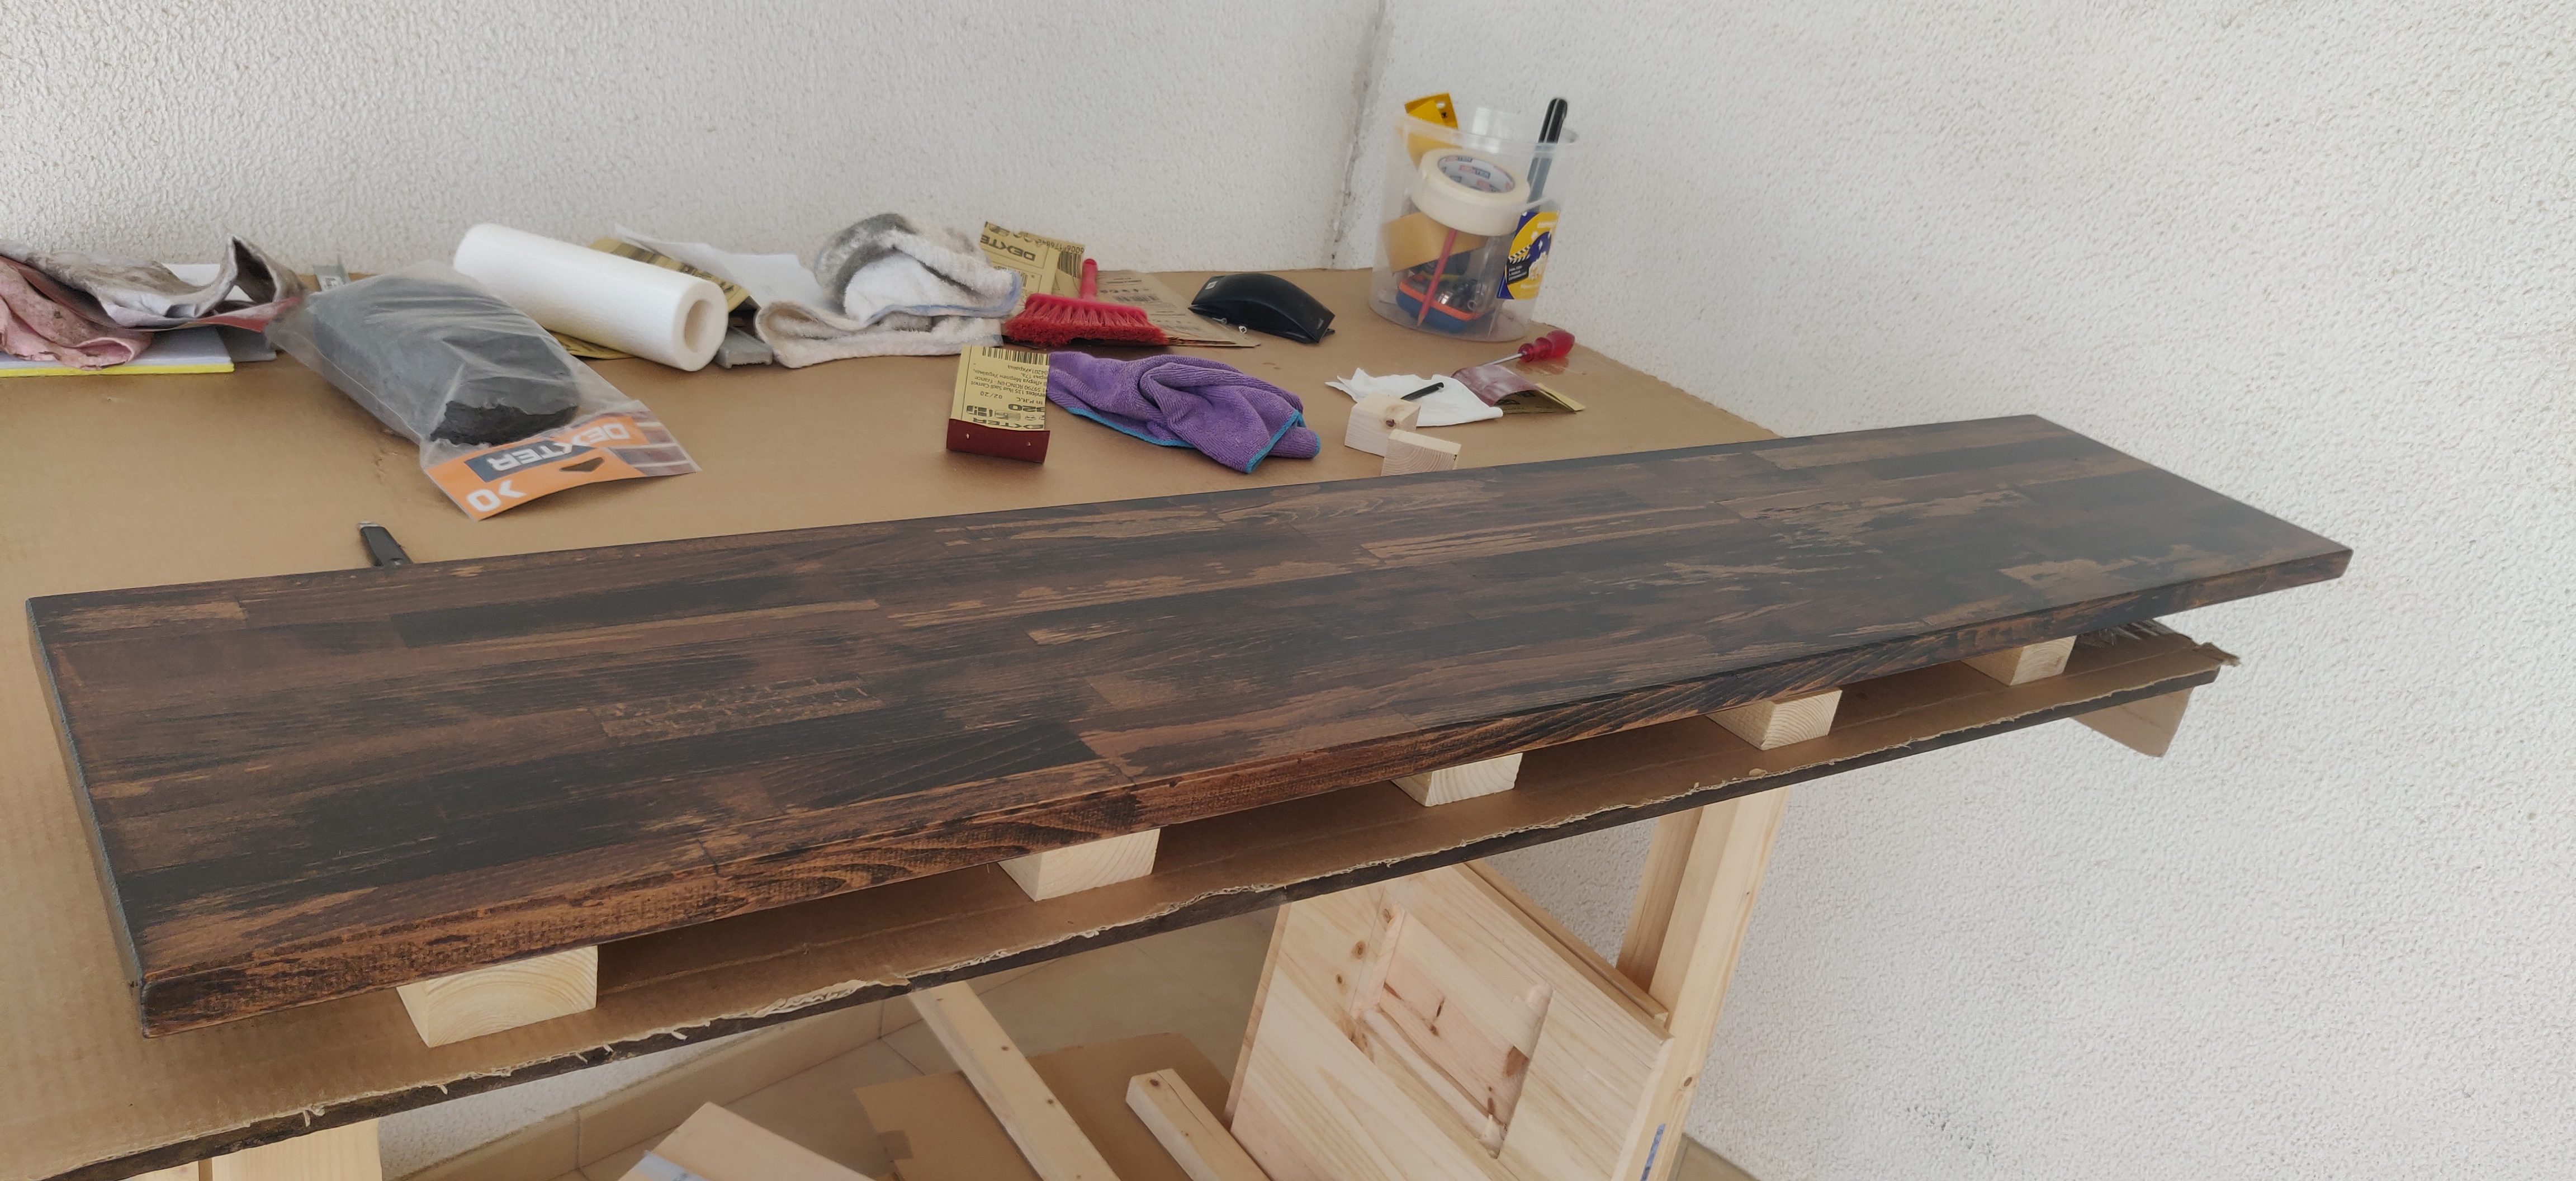
And the final result, i ended up applying 6 coats of poly with light sanding in between each coat.
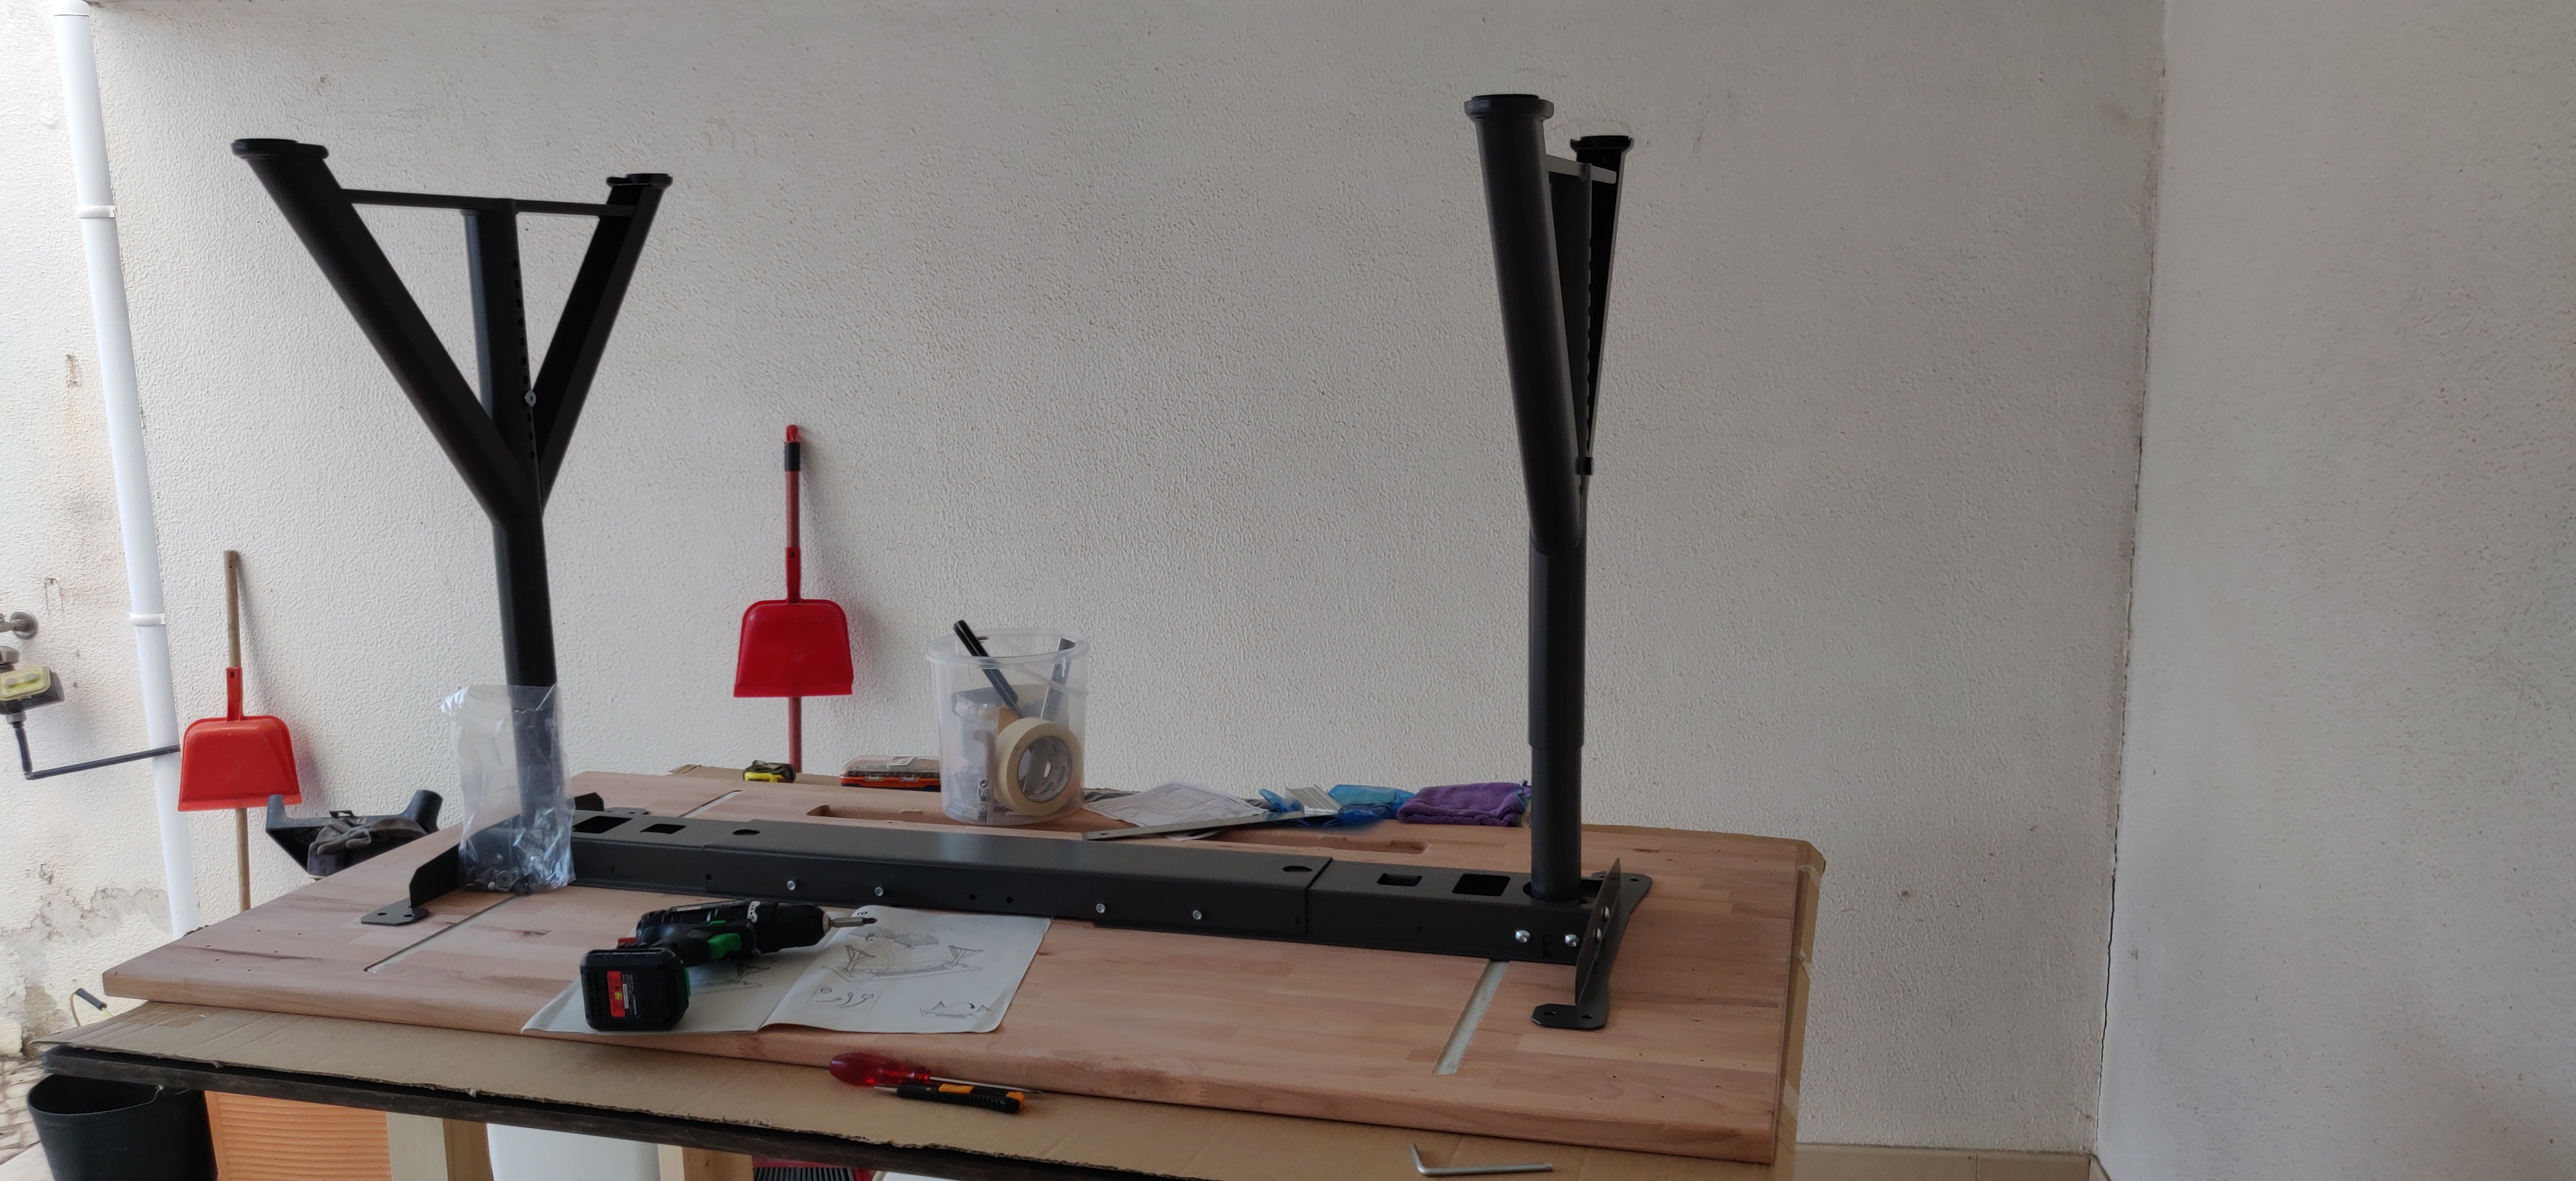
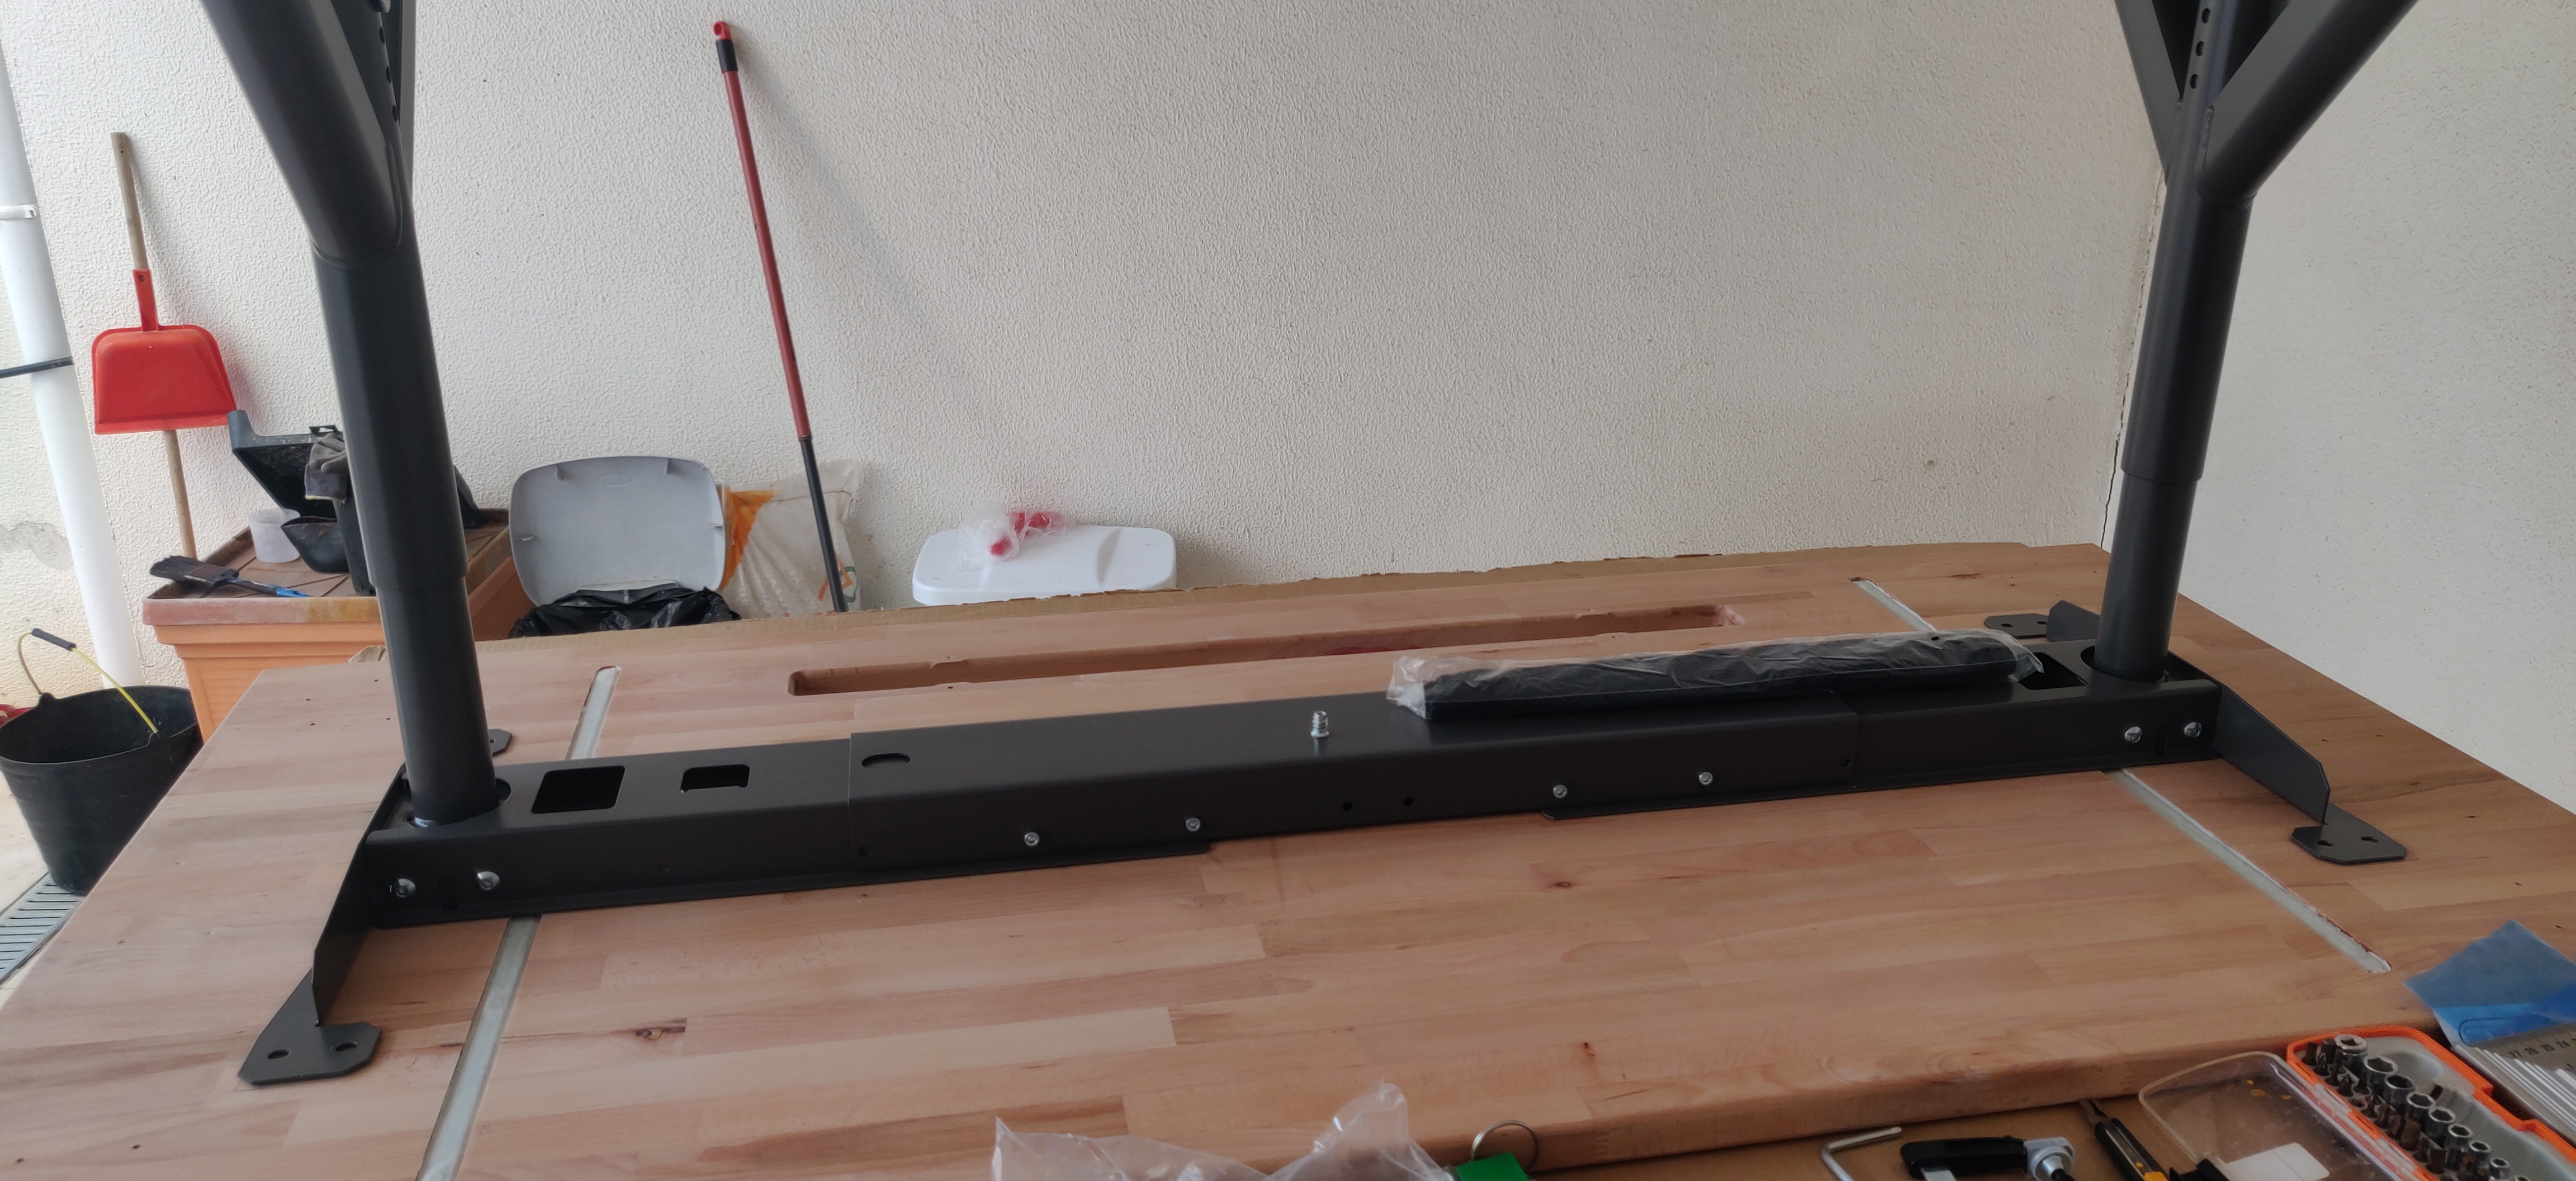
Now that the first floor is done, it’s time to move to the table top, for support i went with Ikea’s Idasen support, it’s sturdy and with height adjustment which was a requirement.
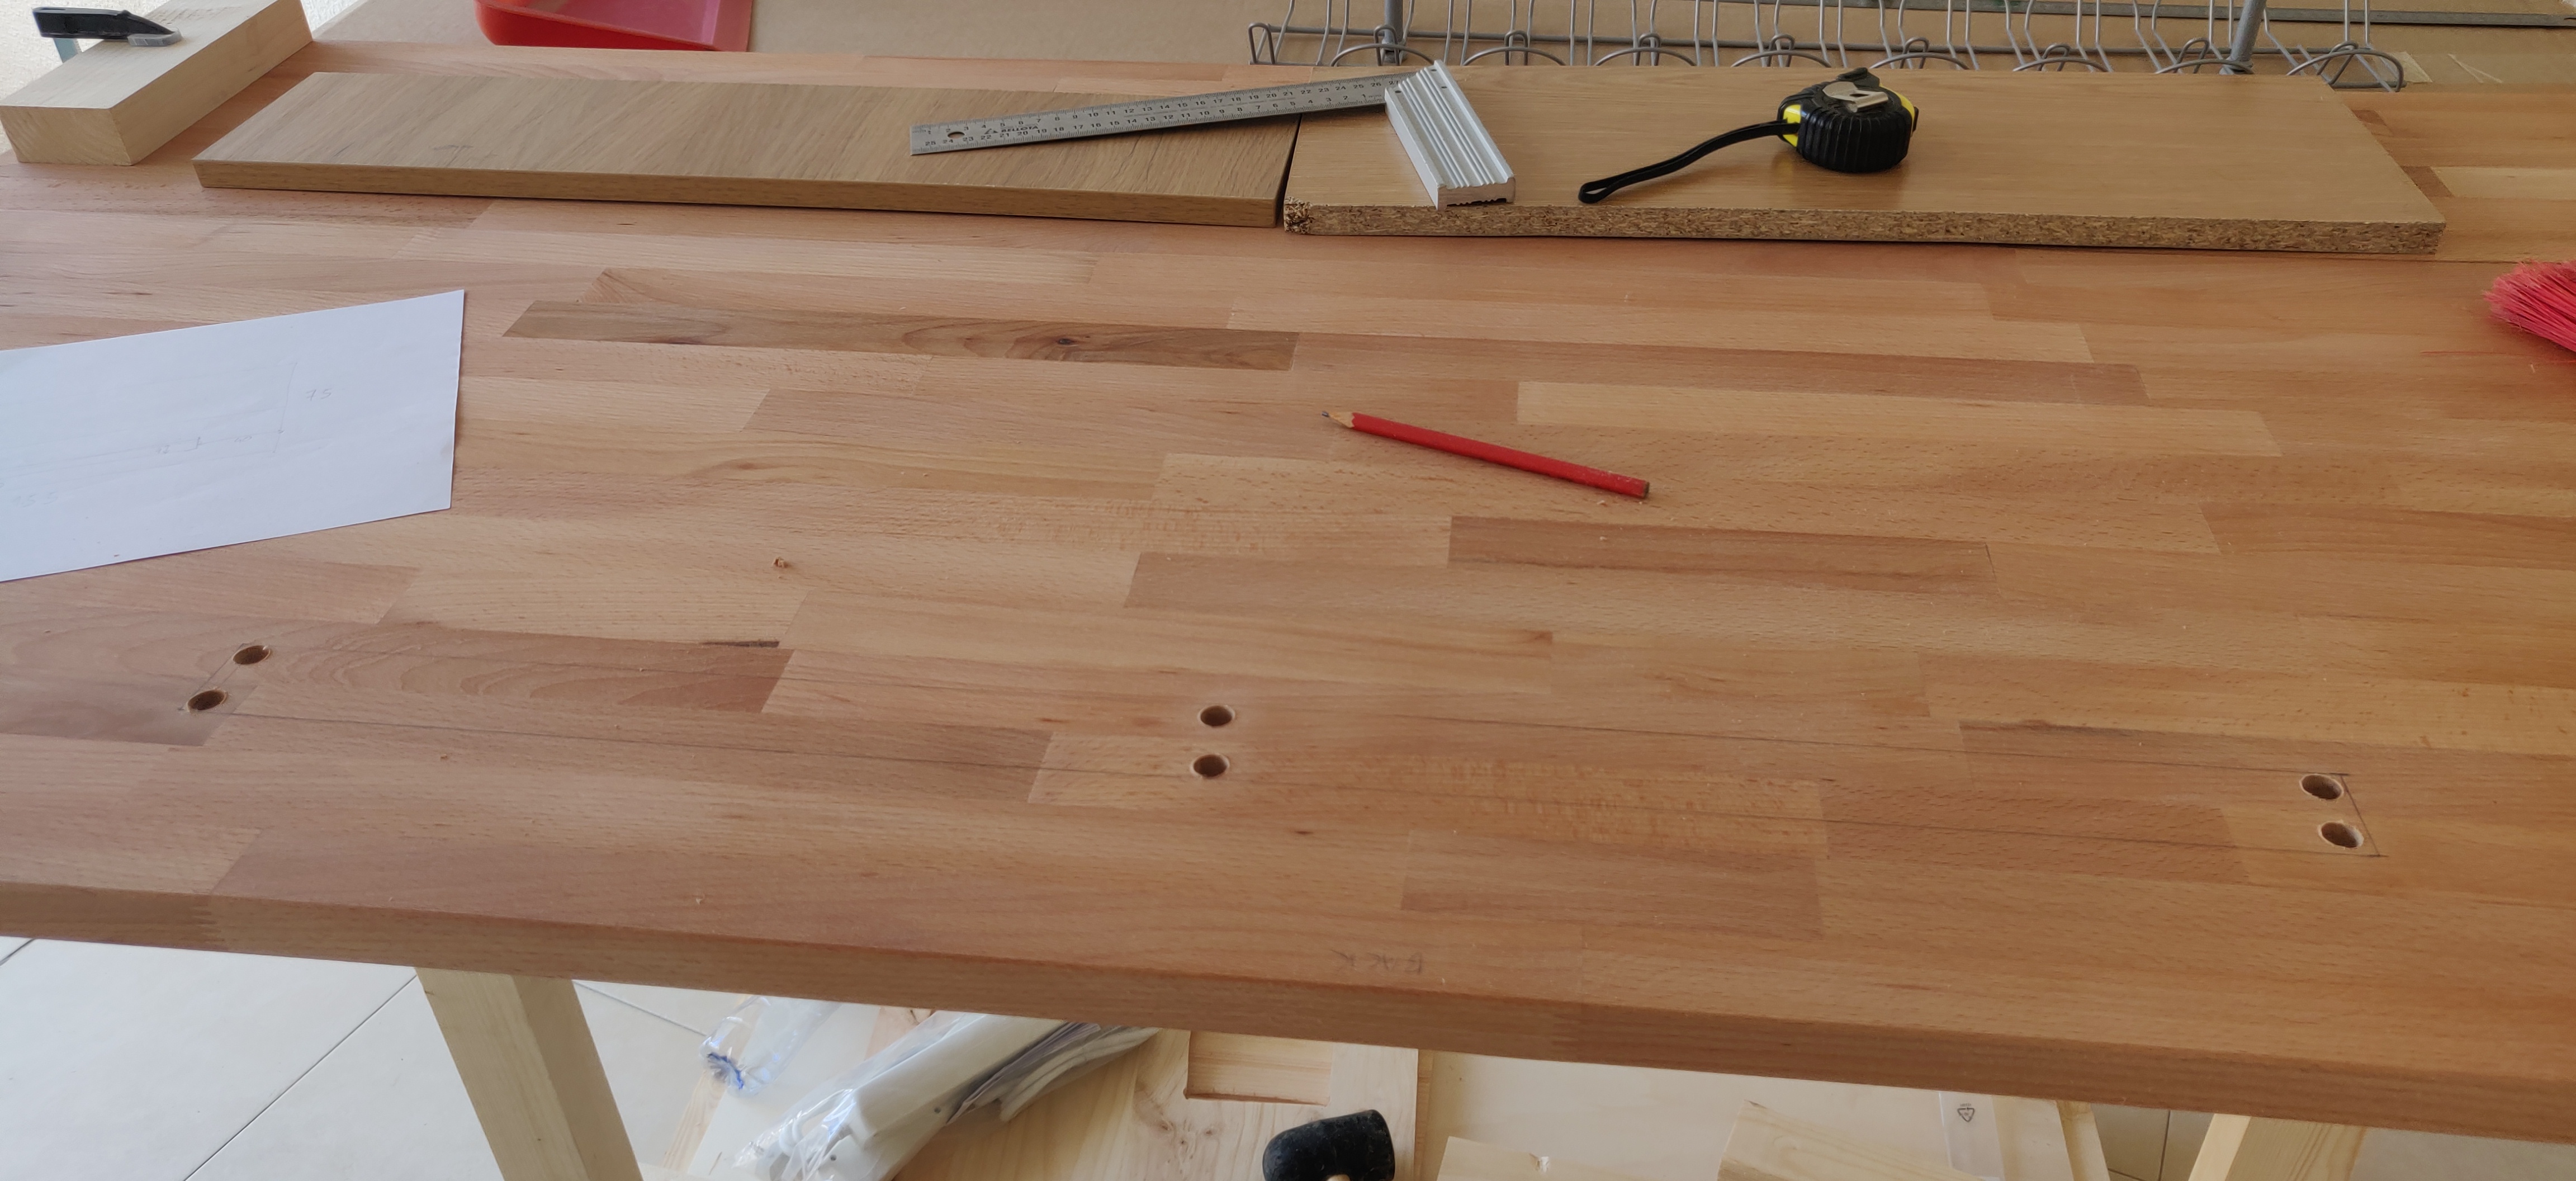
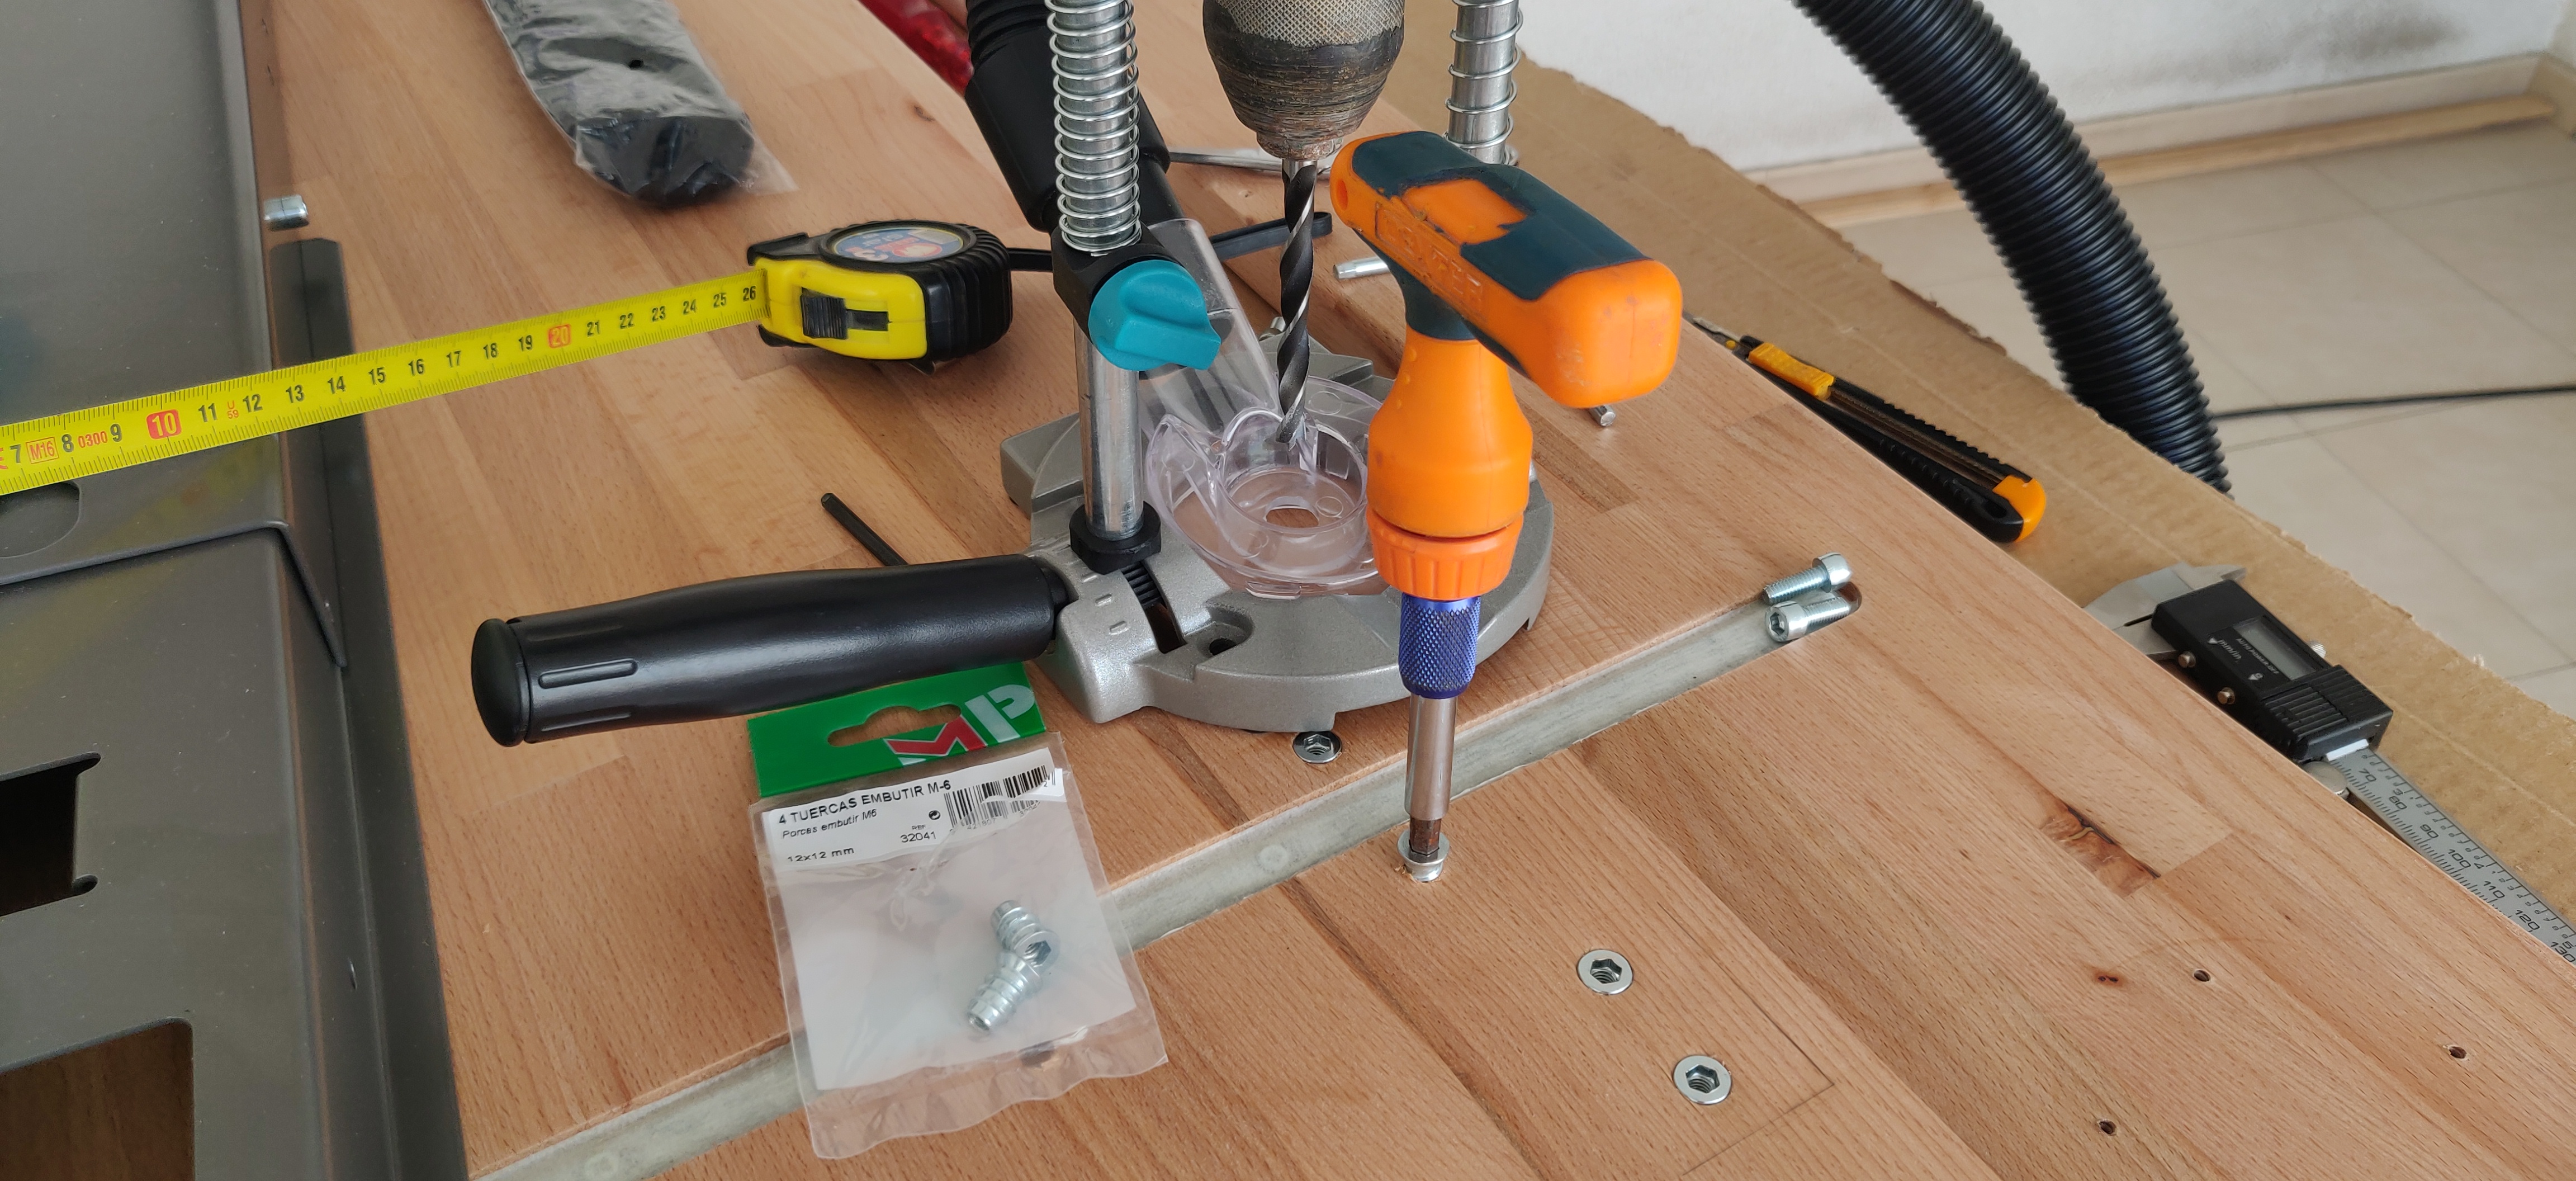
Finding the right place to drill the threaded inserts that will hold the leg support.
I opted for threaded inserts as they’re much cleaner and won’t eat up wood on every screwing/unscrewing. At this point i’m also adding threaded inserts for the CPU holder that will keep the computer off the ground.
Time for the second dry fit, good so far.
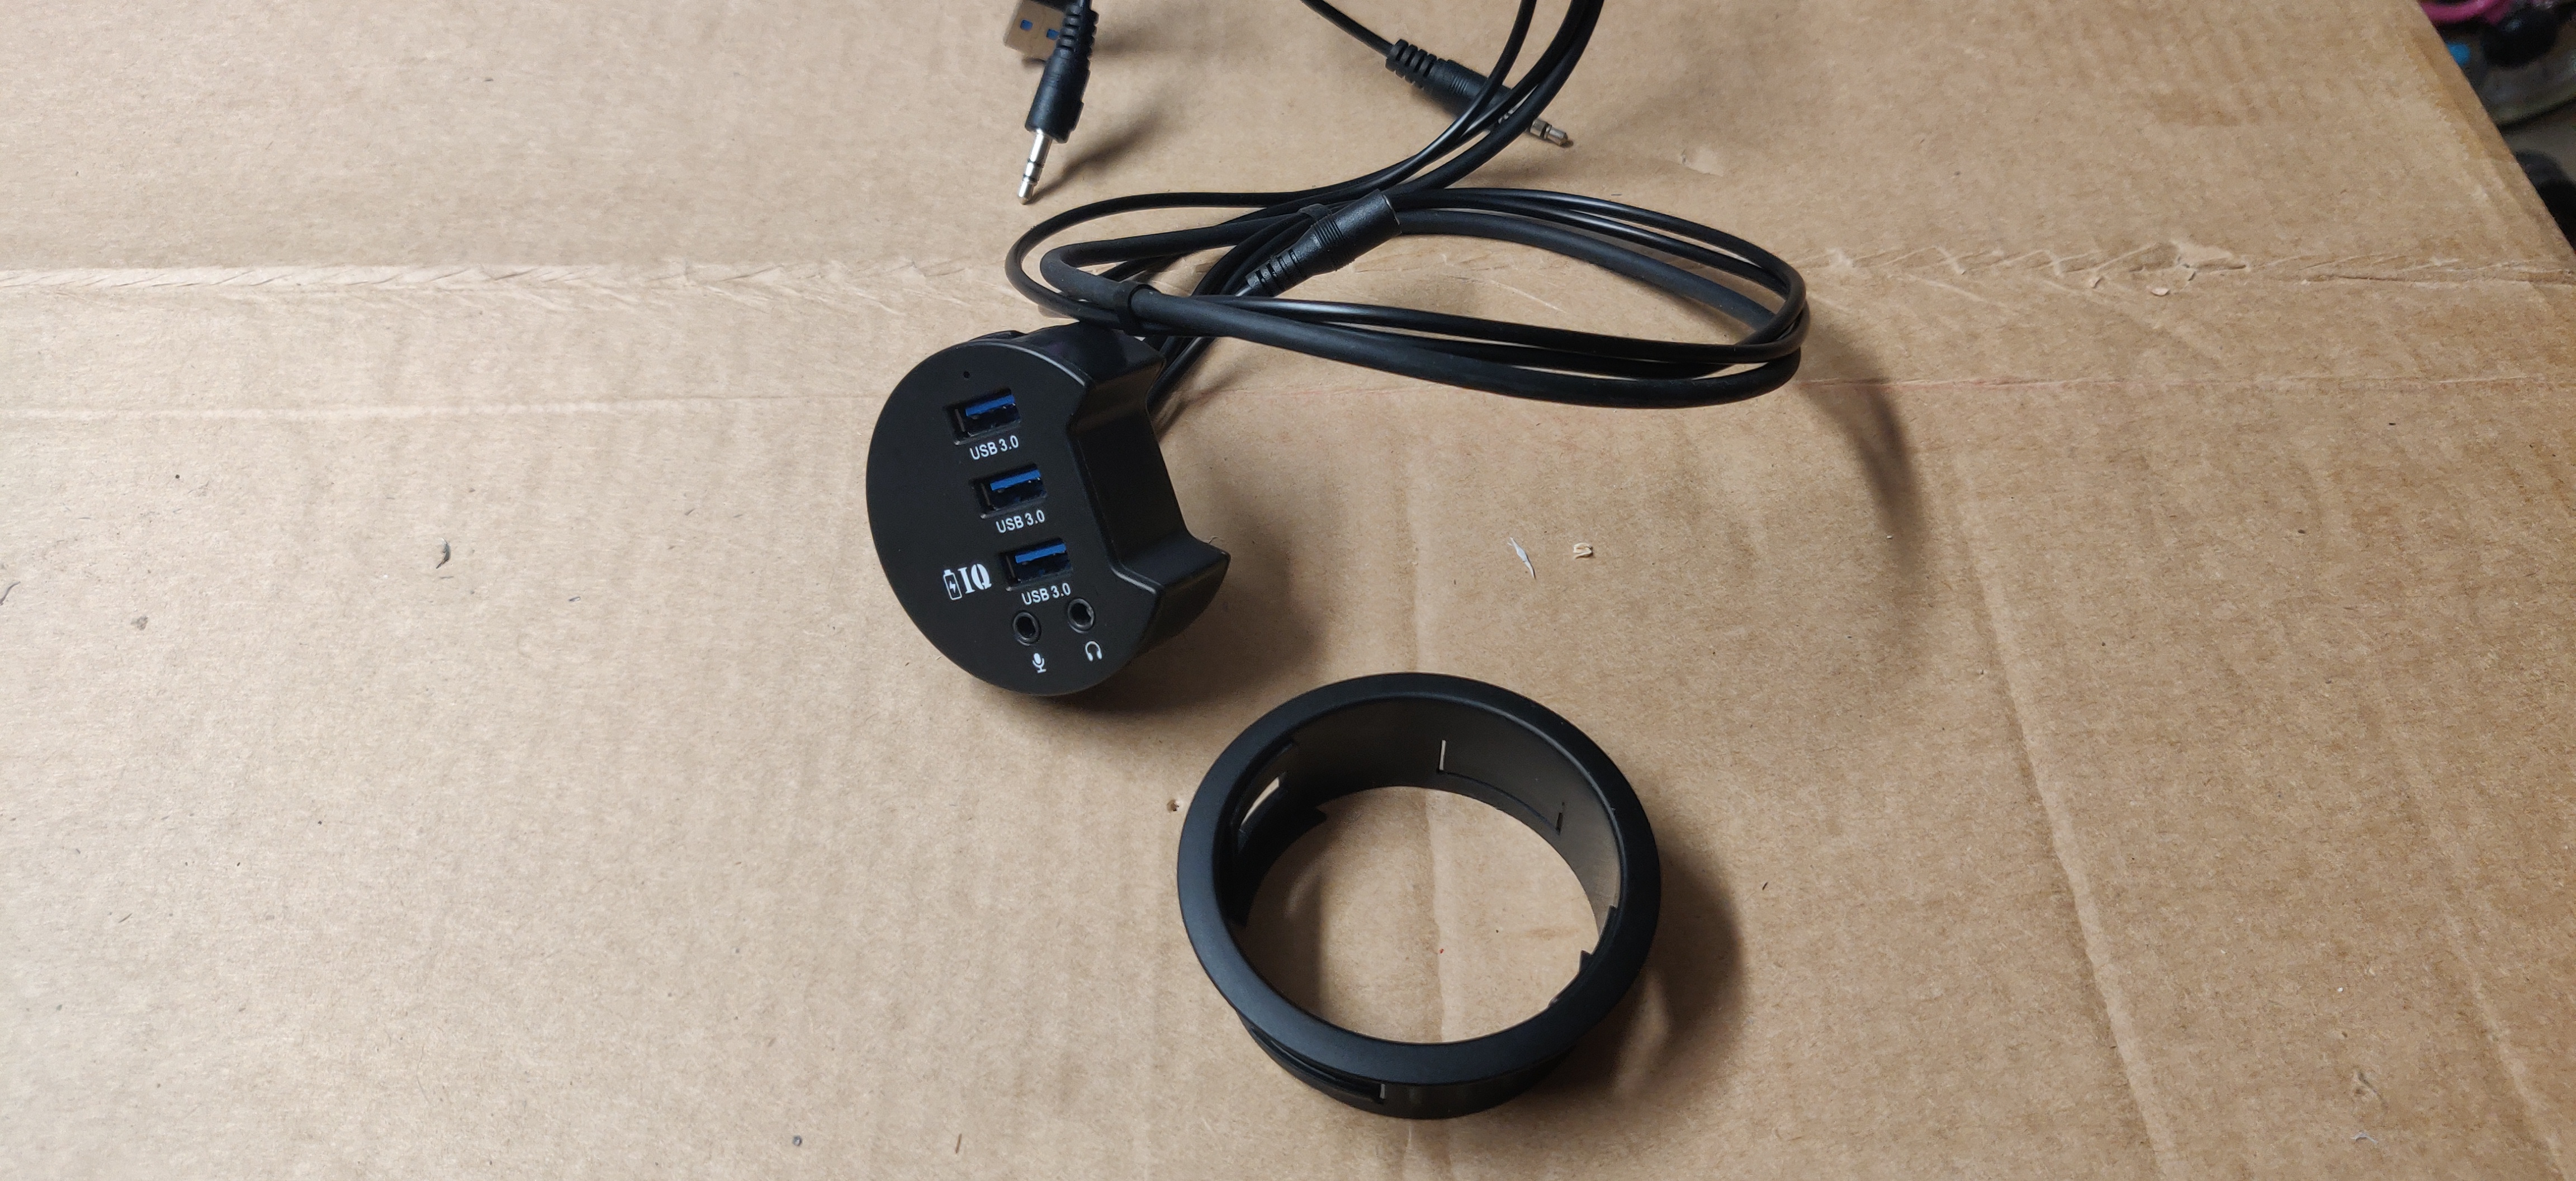
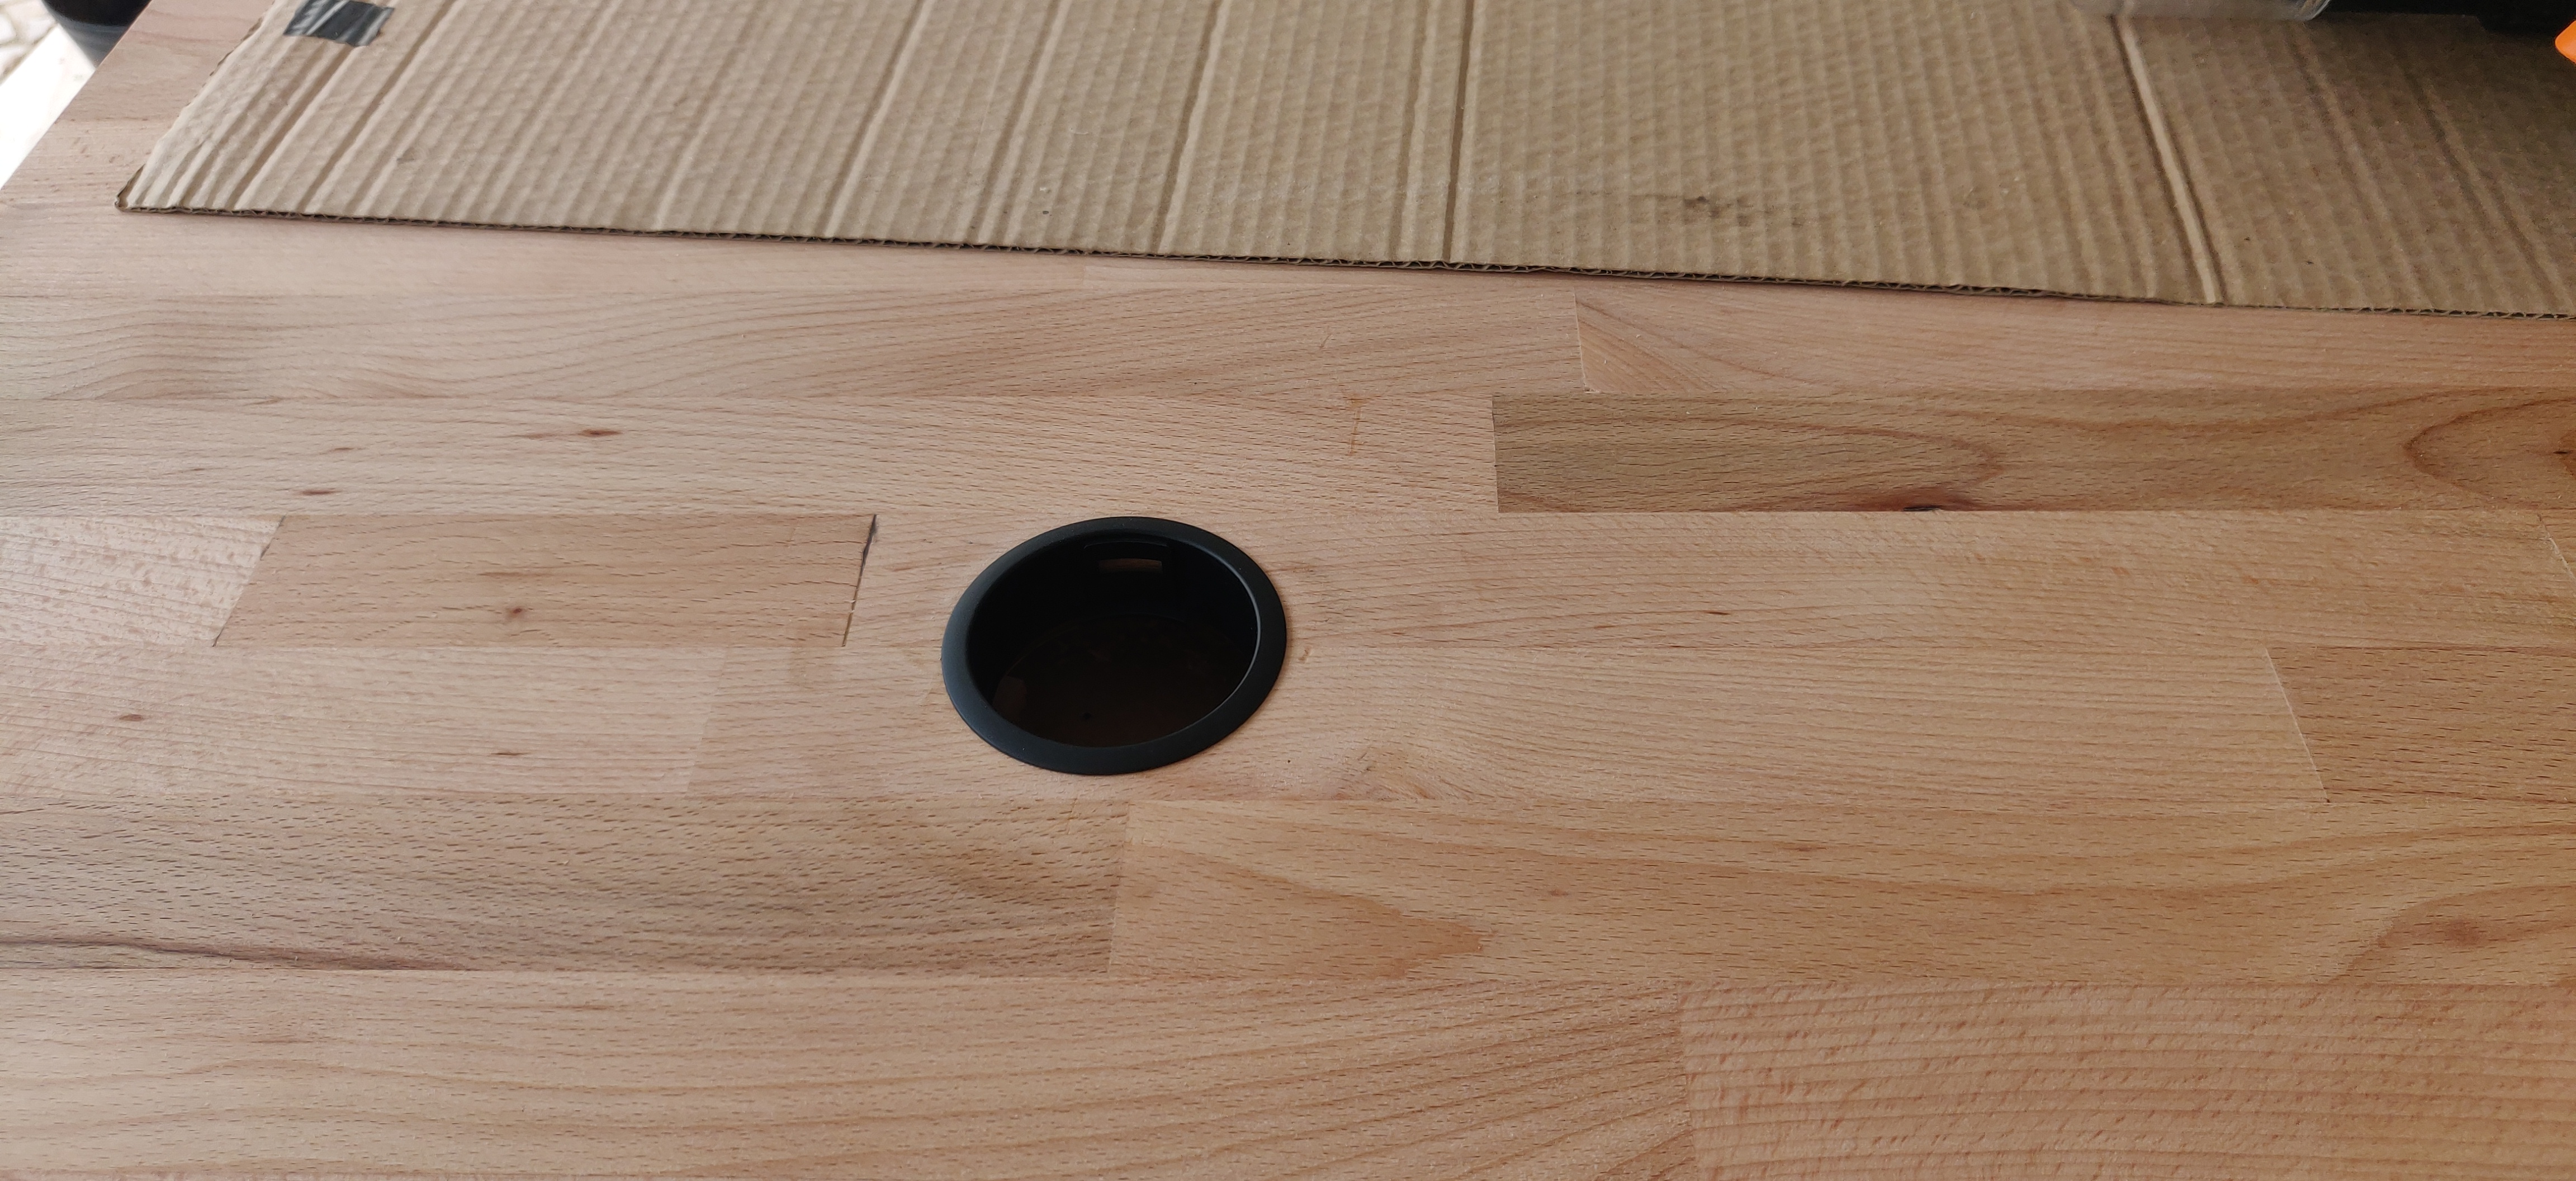
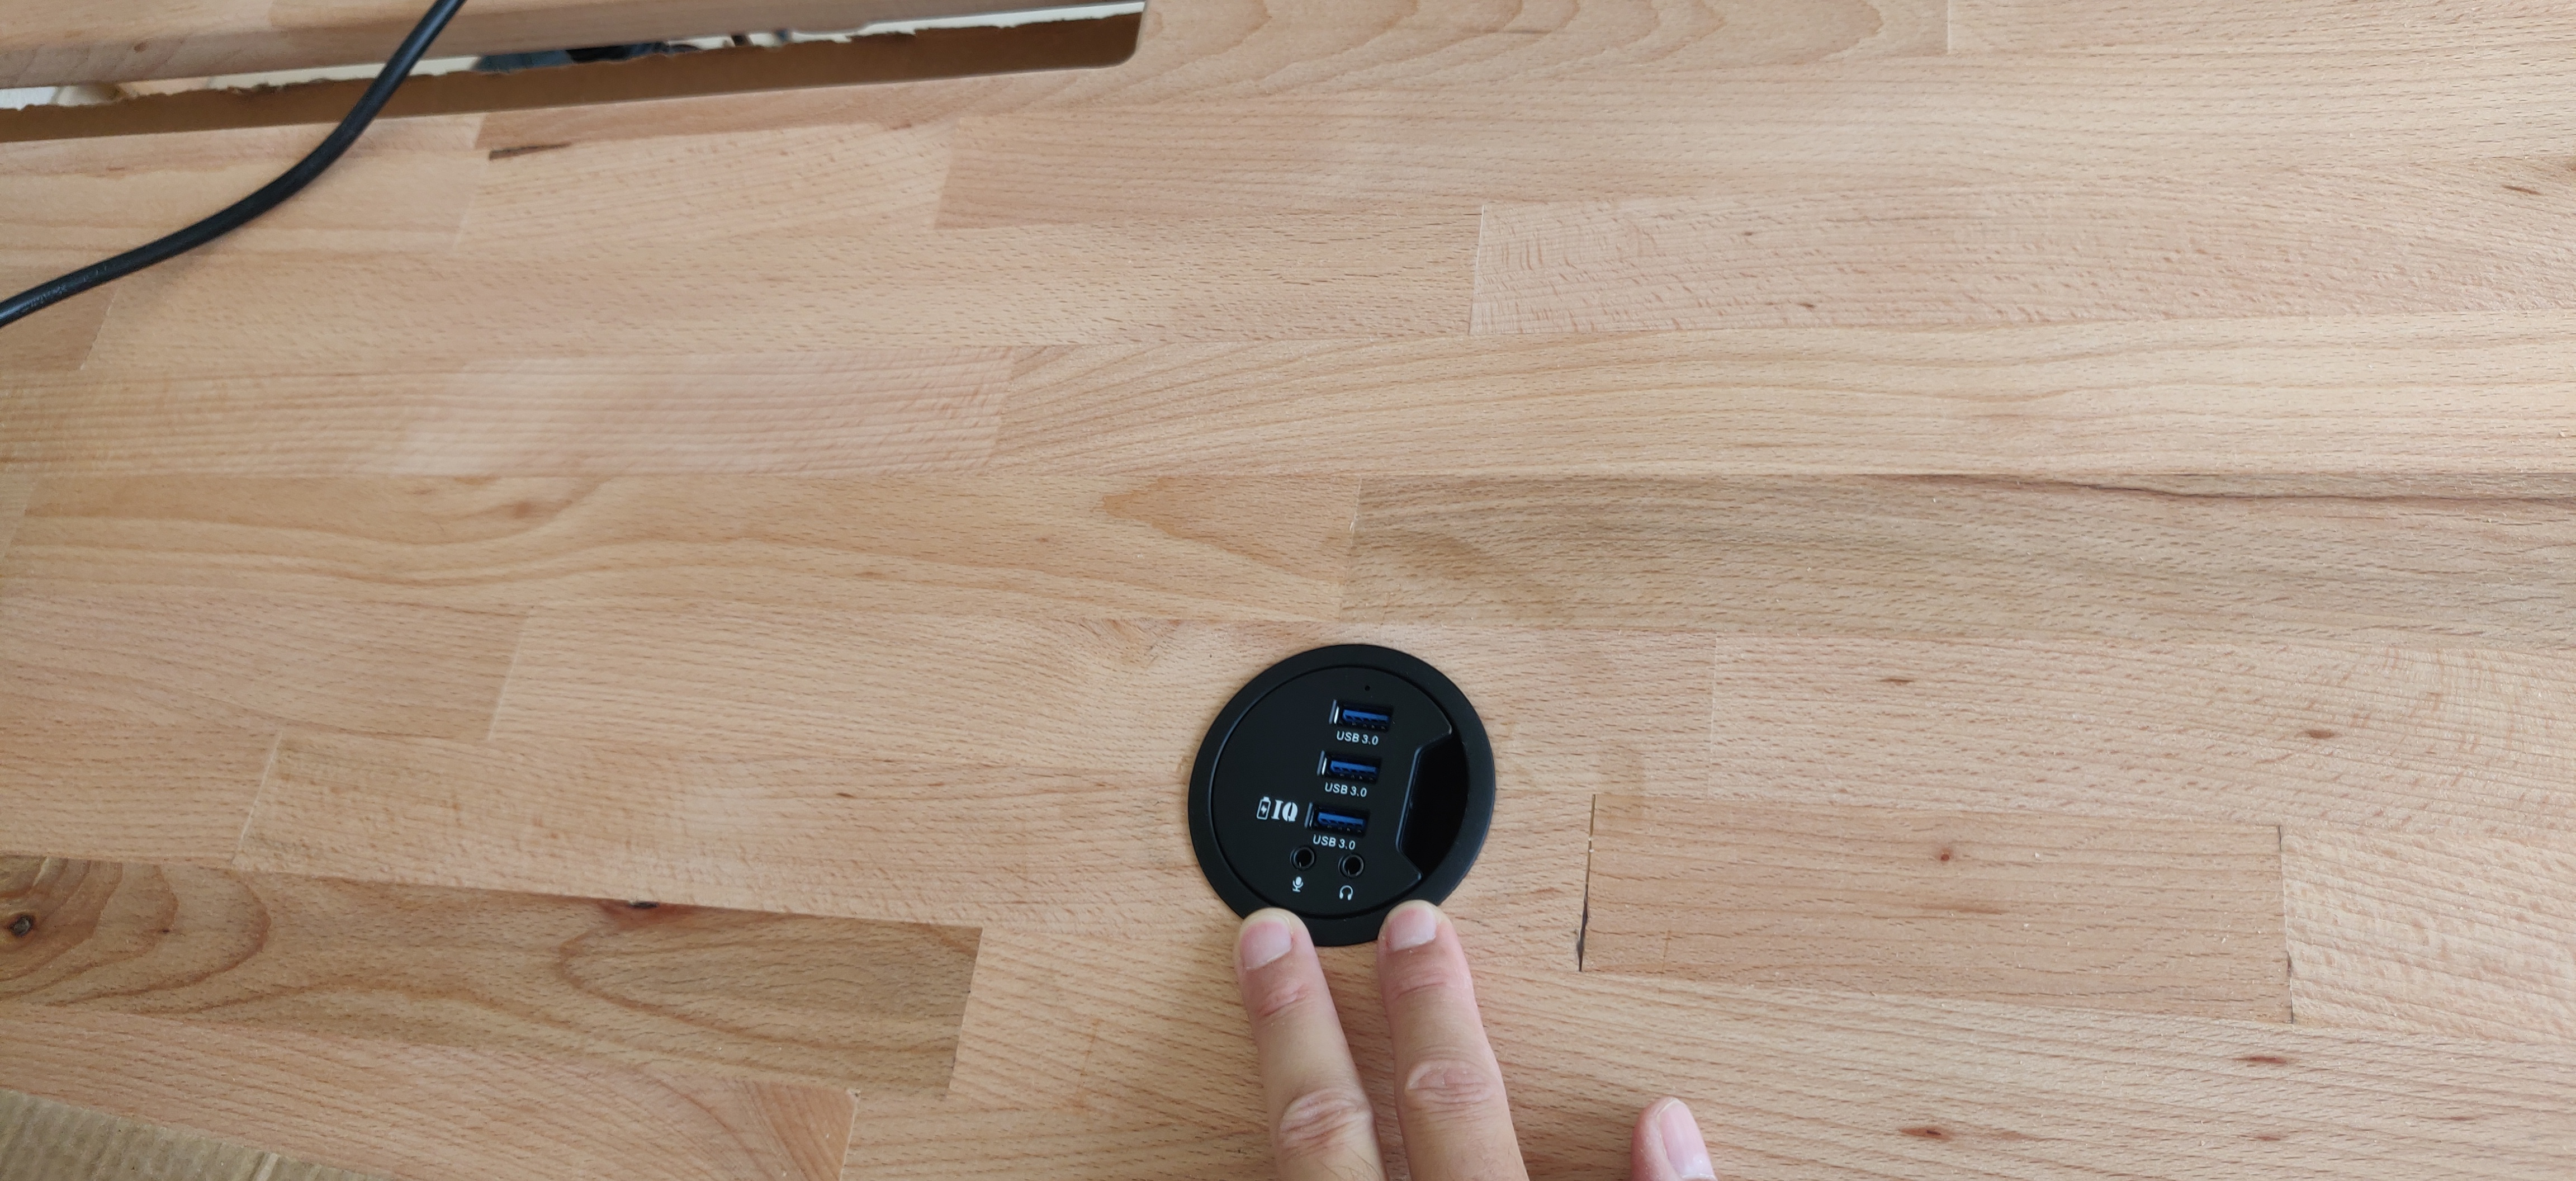
This is the USB desk hub that will end up embedded in the desk, USB 3.0 with charging capability.
After cutting the right sized hold for it, i used the router to clean up.
And the confirmation that i didn’t screw up.
Another dry fit.
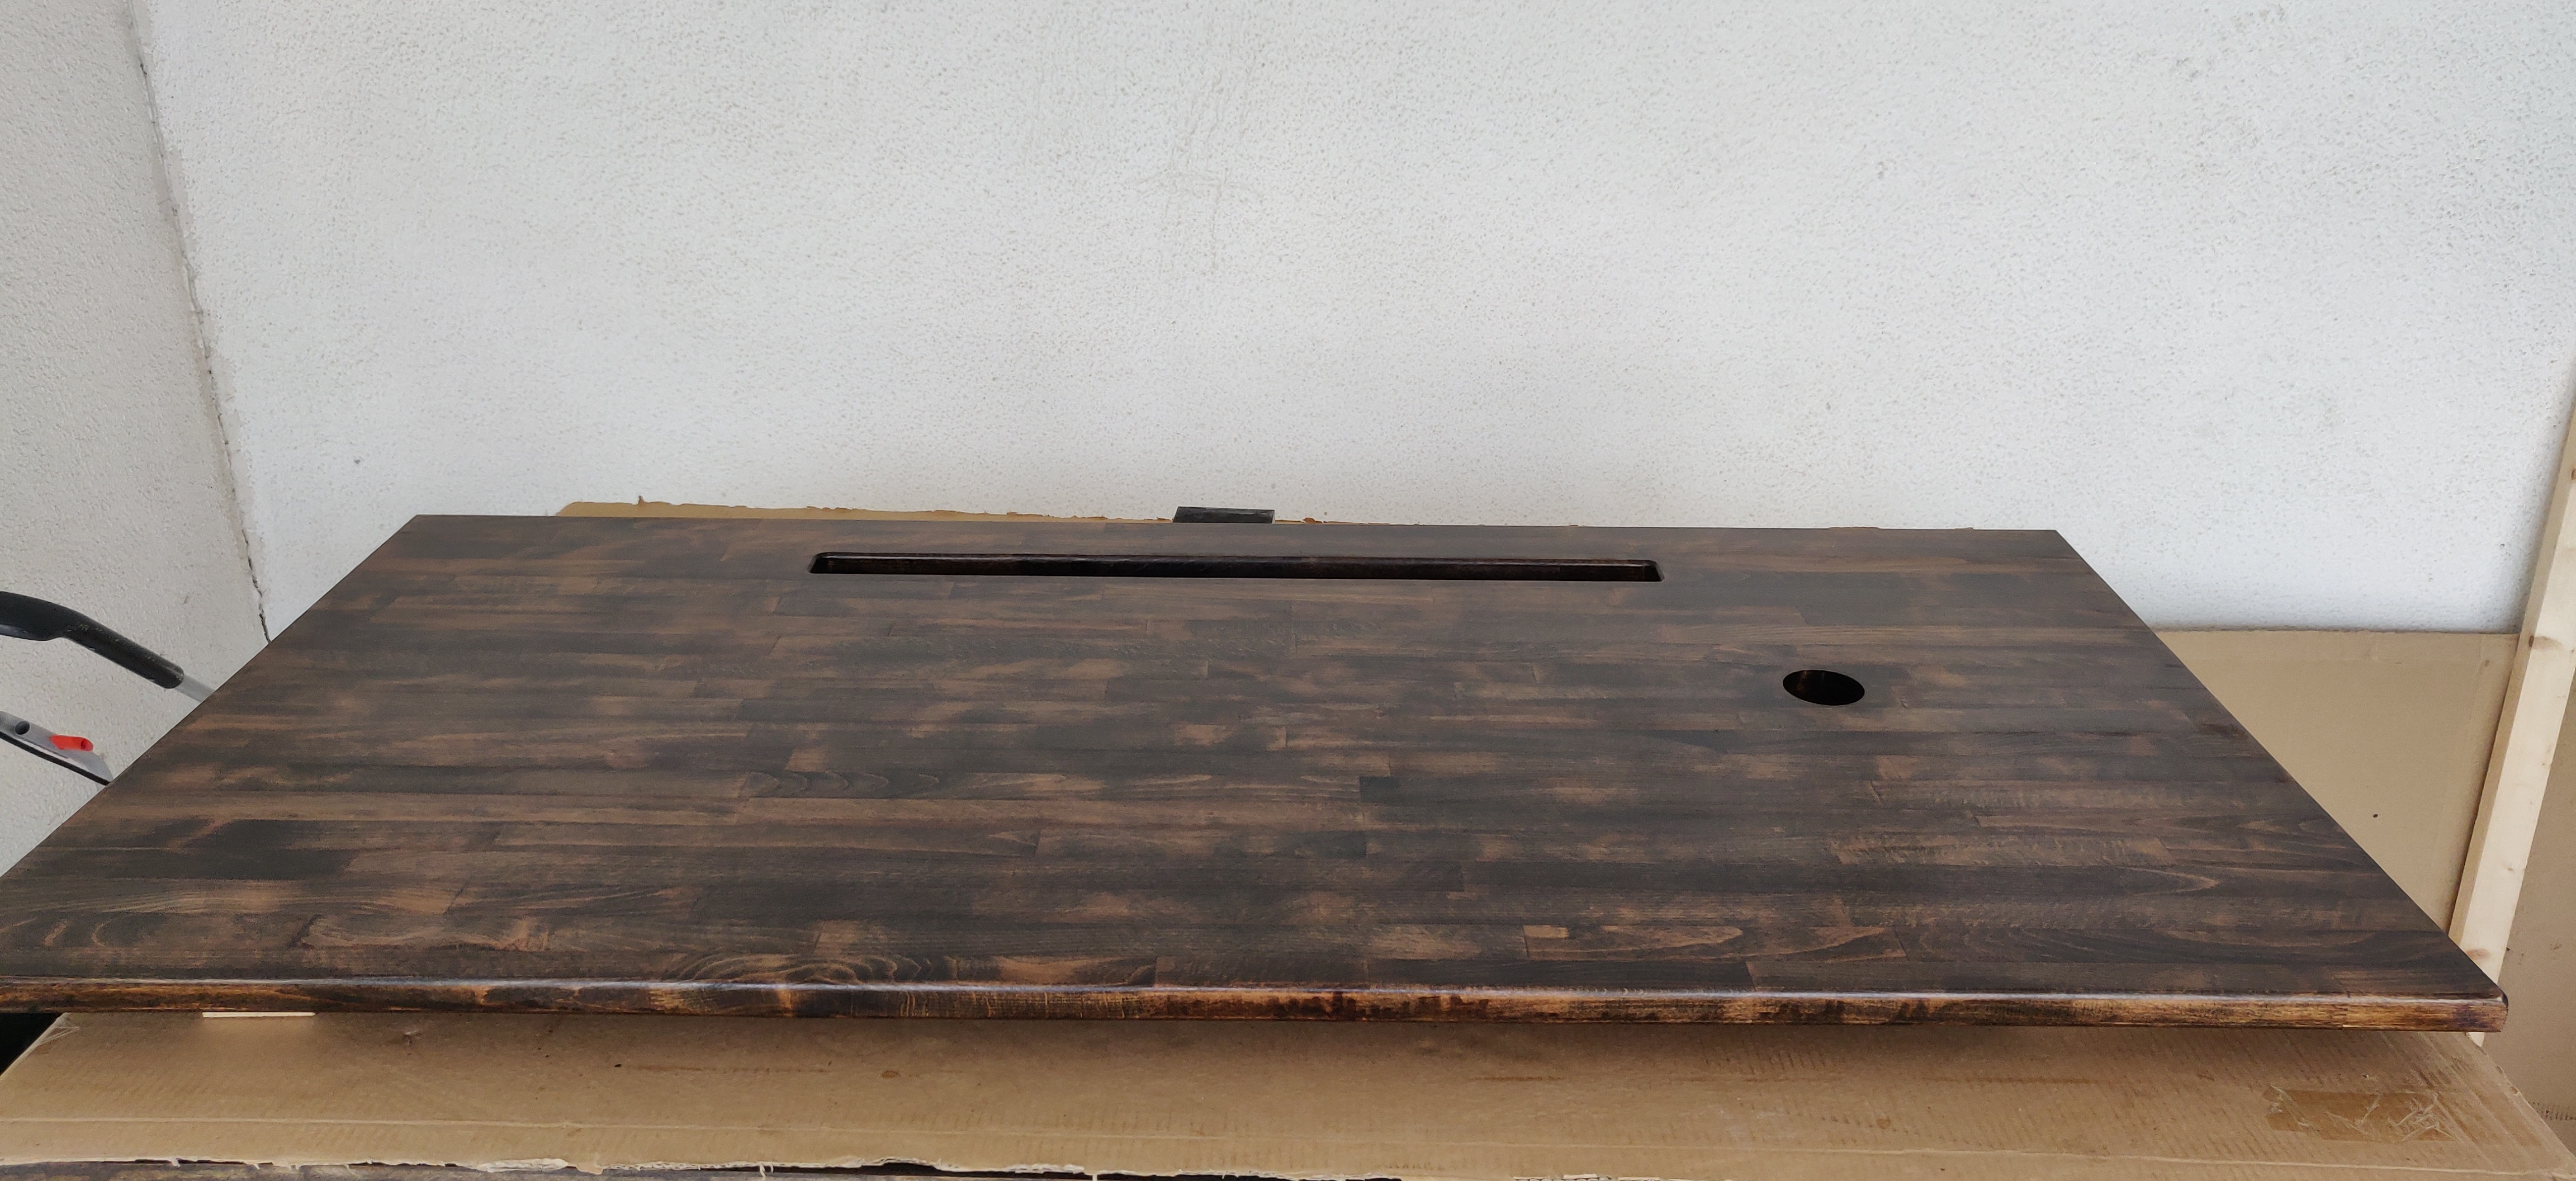
Now comes the staining of the table top, exact same procedure as the first floor.
and 6 coats of poly.
One last dry fit, now with the monitor arm
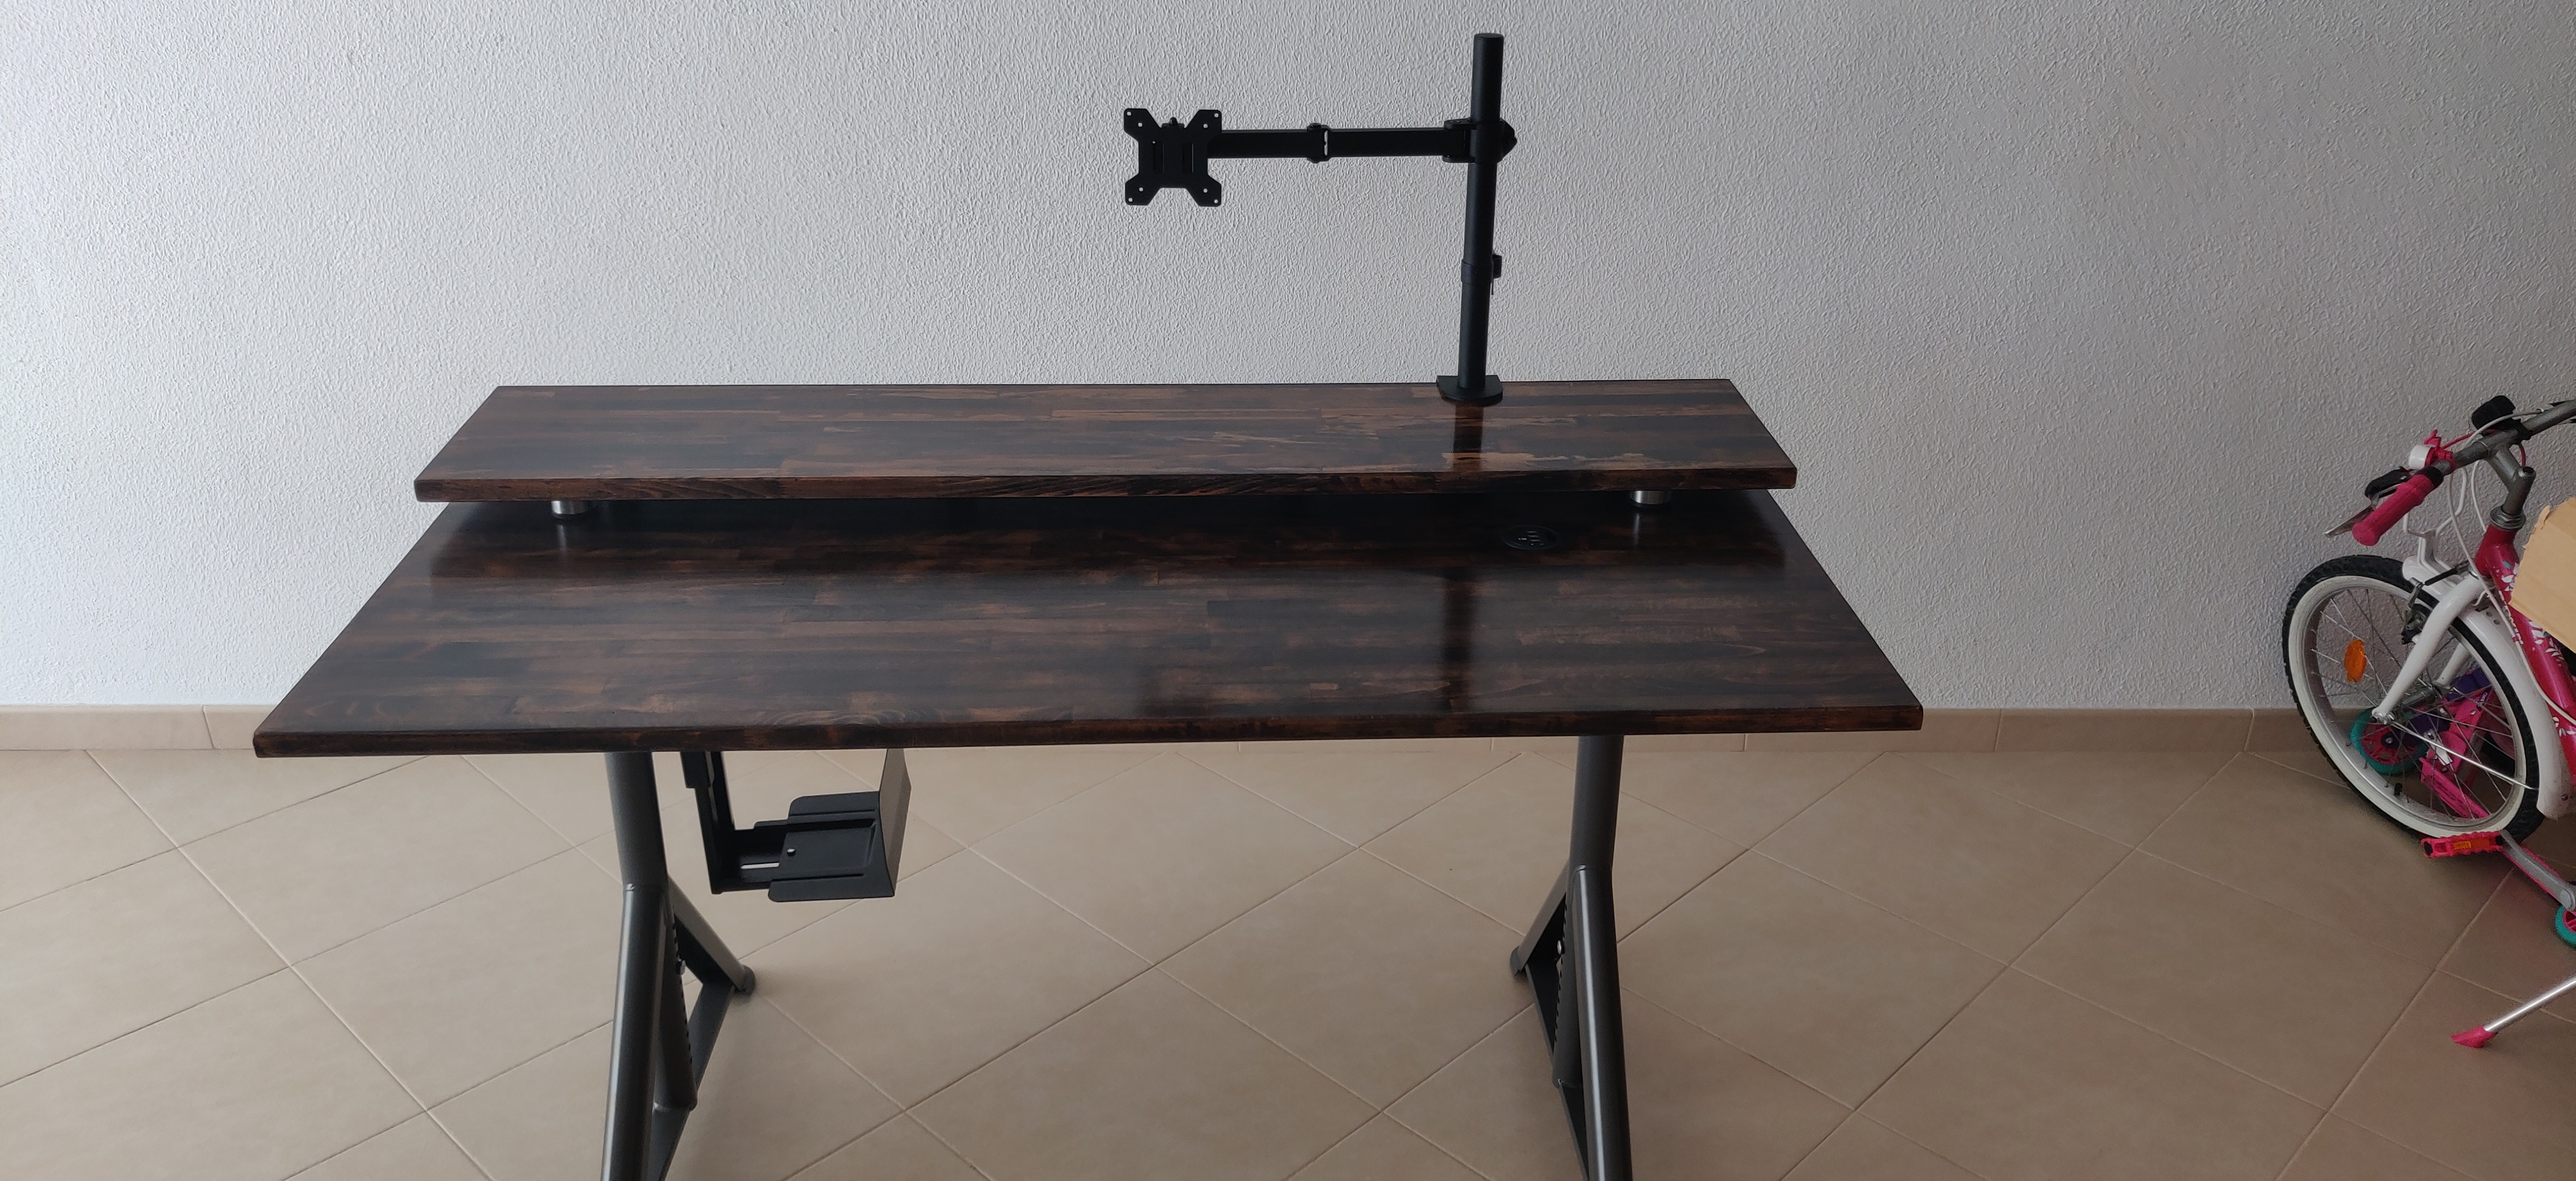
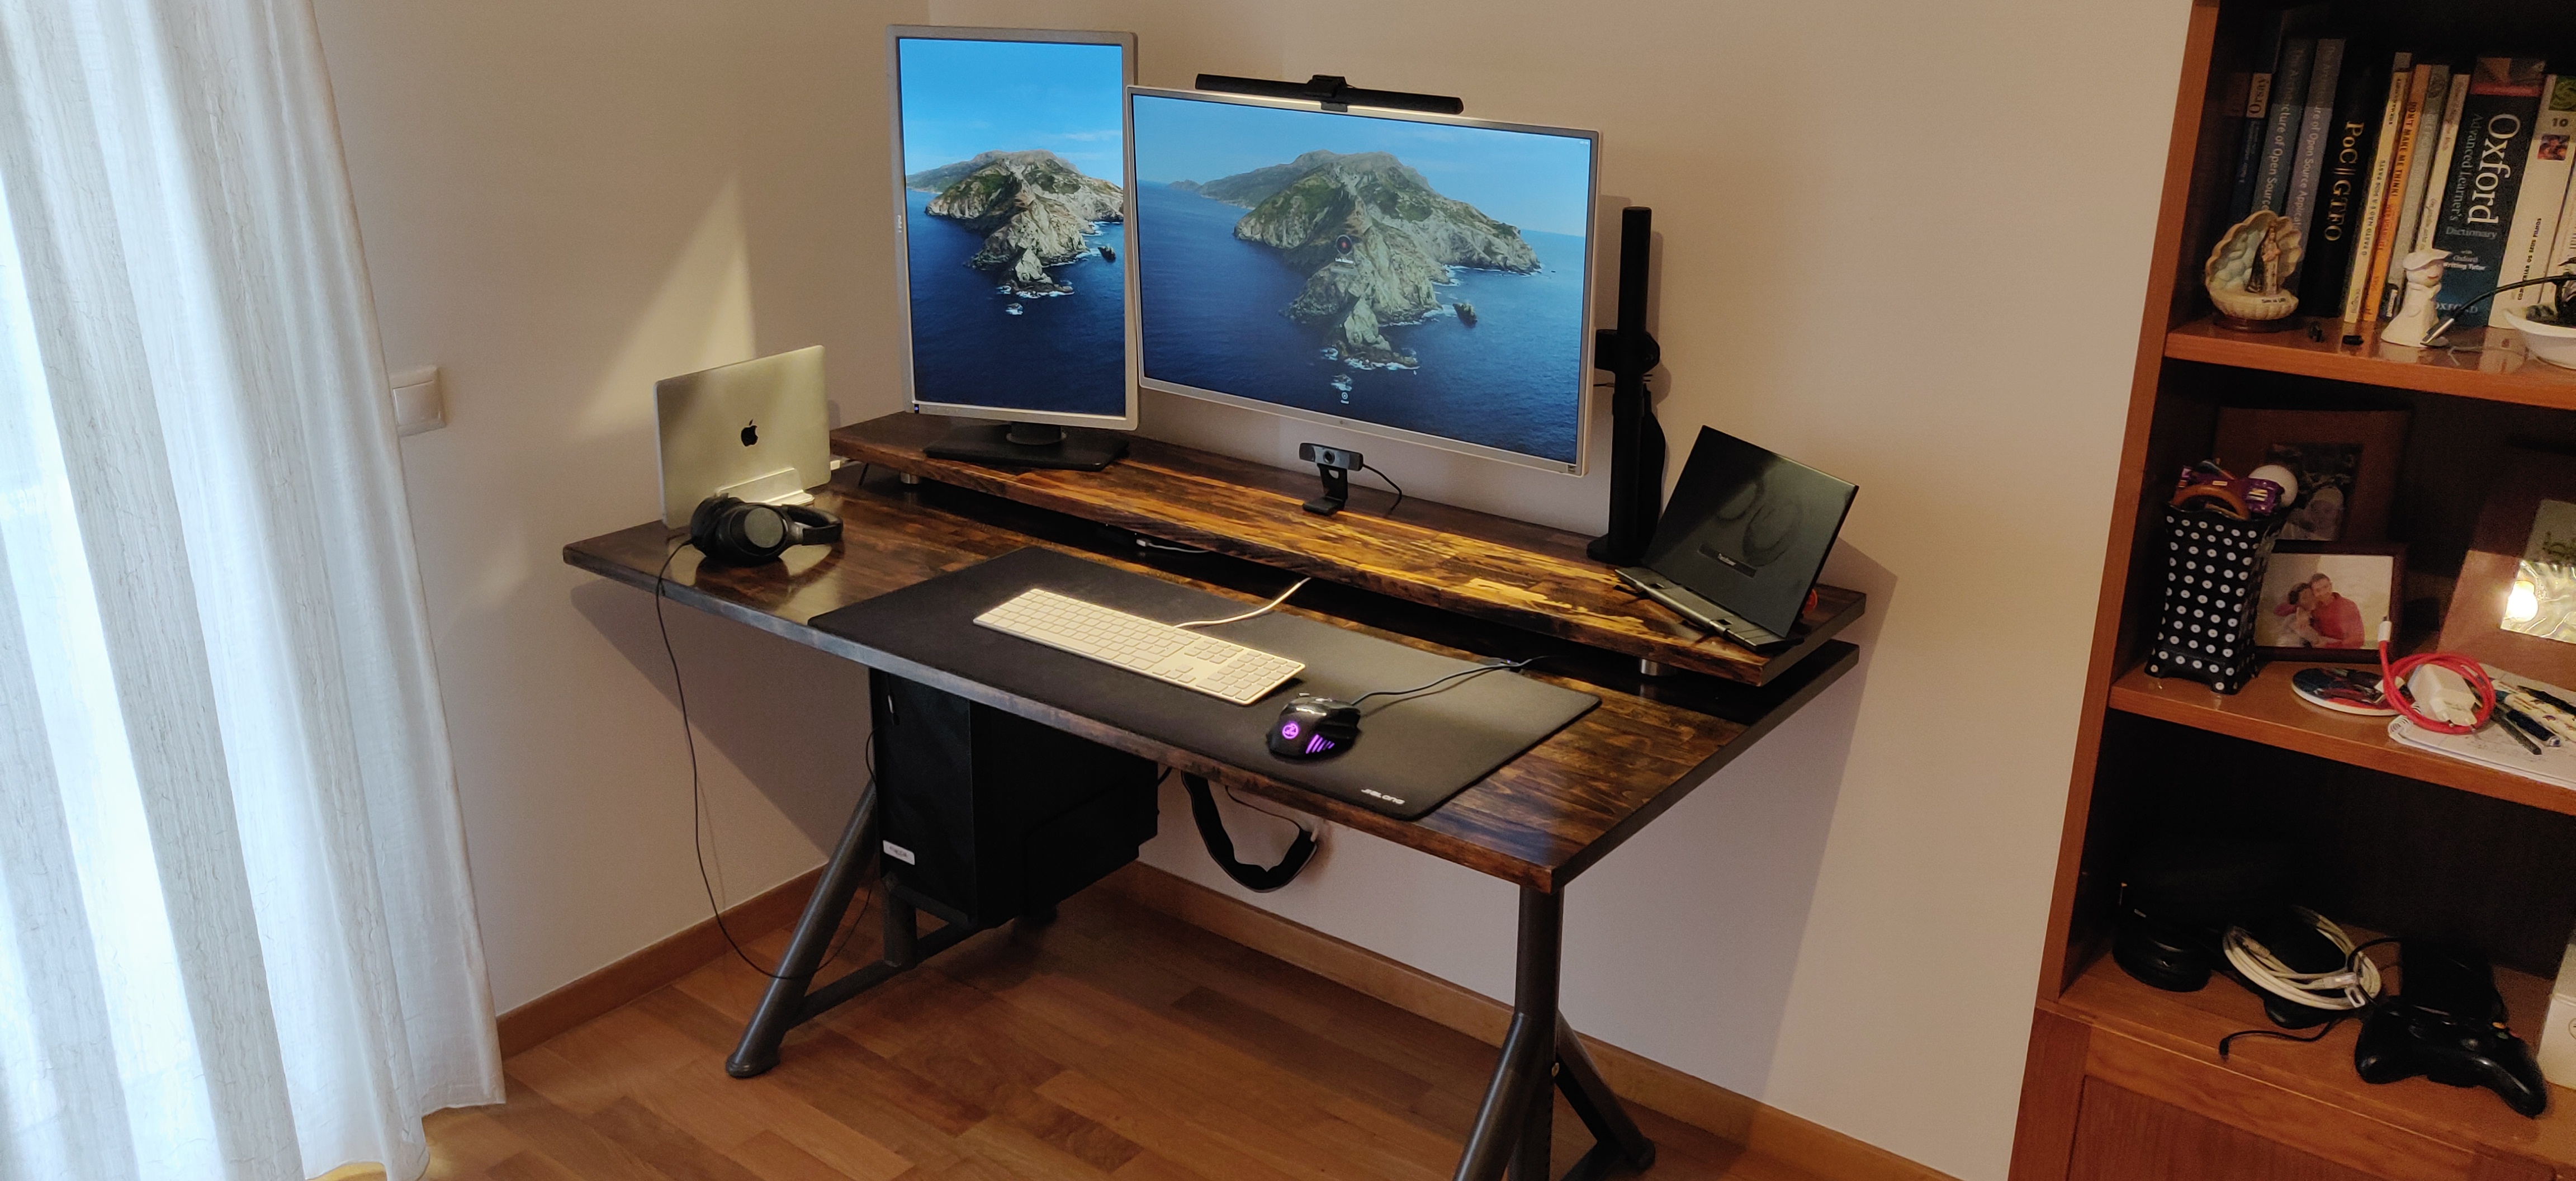
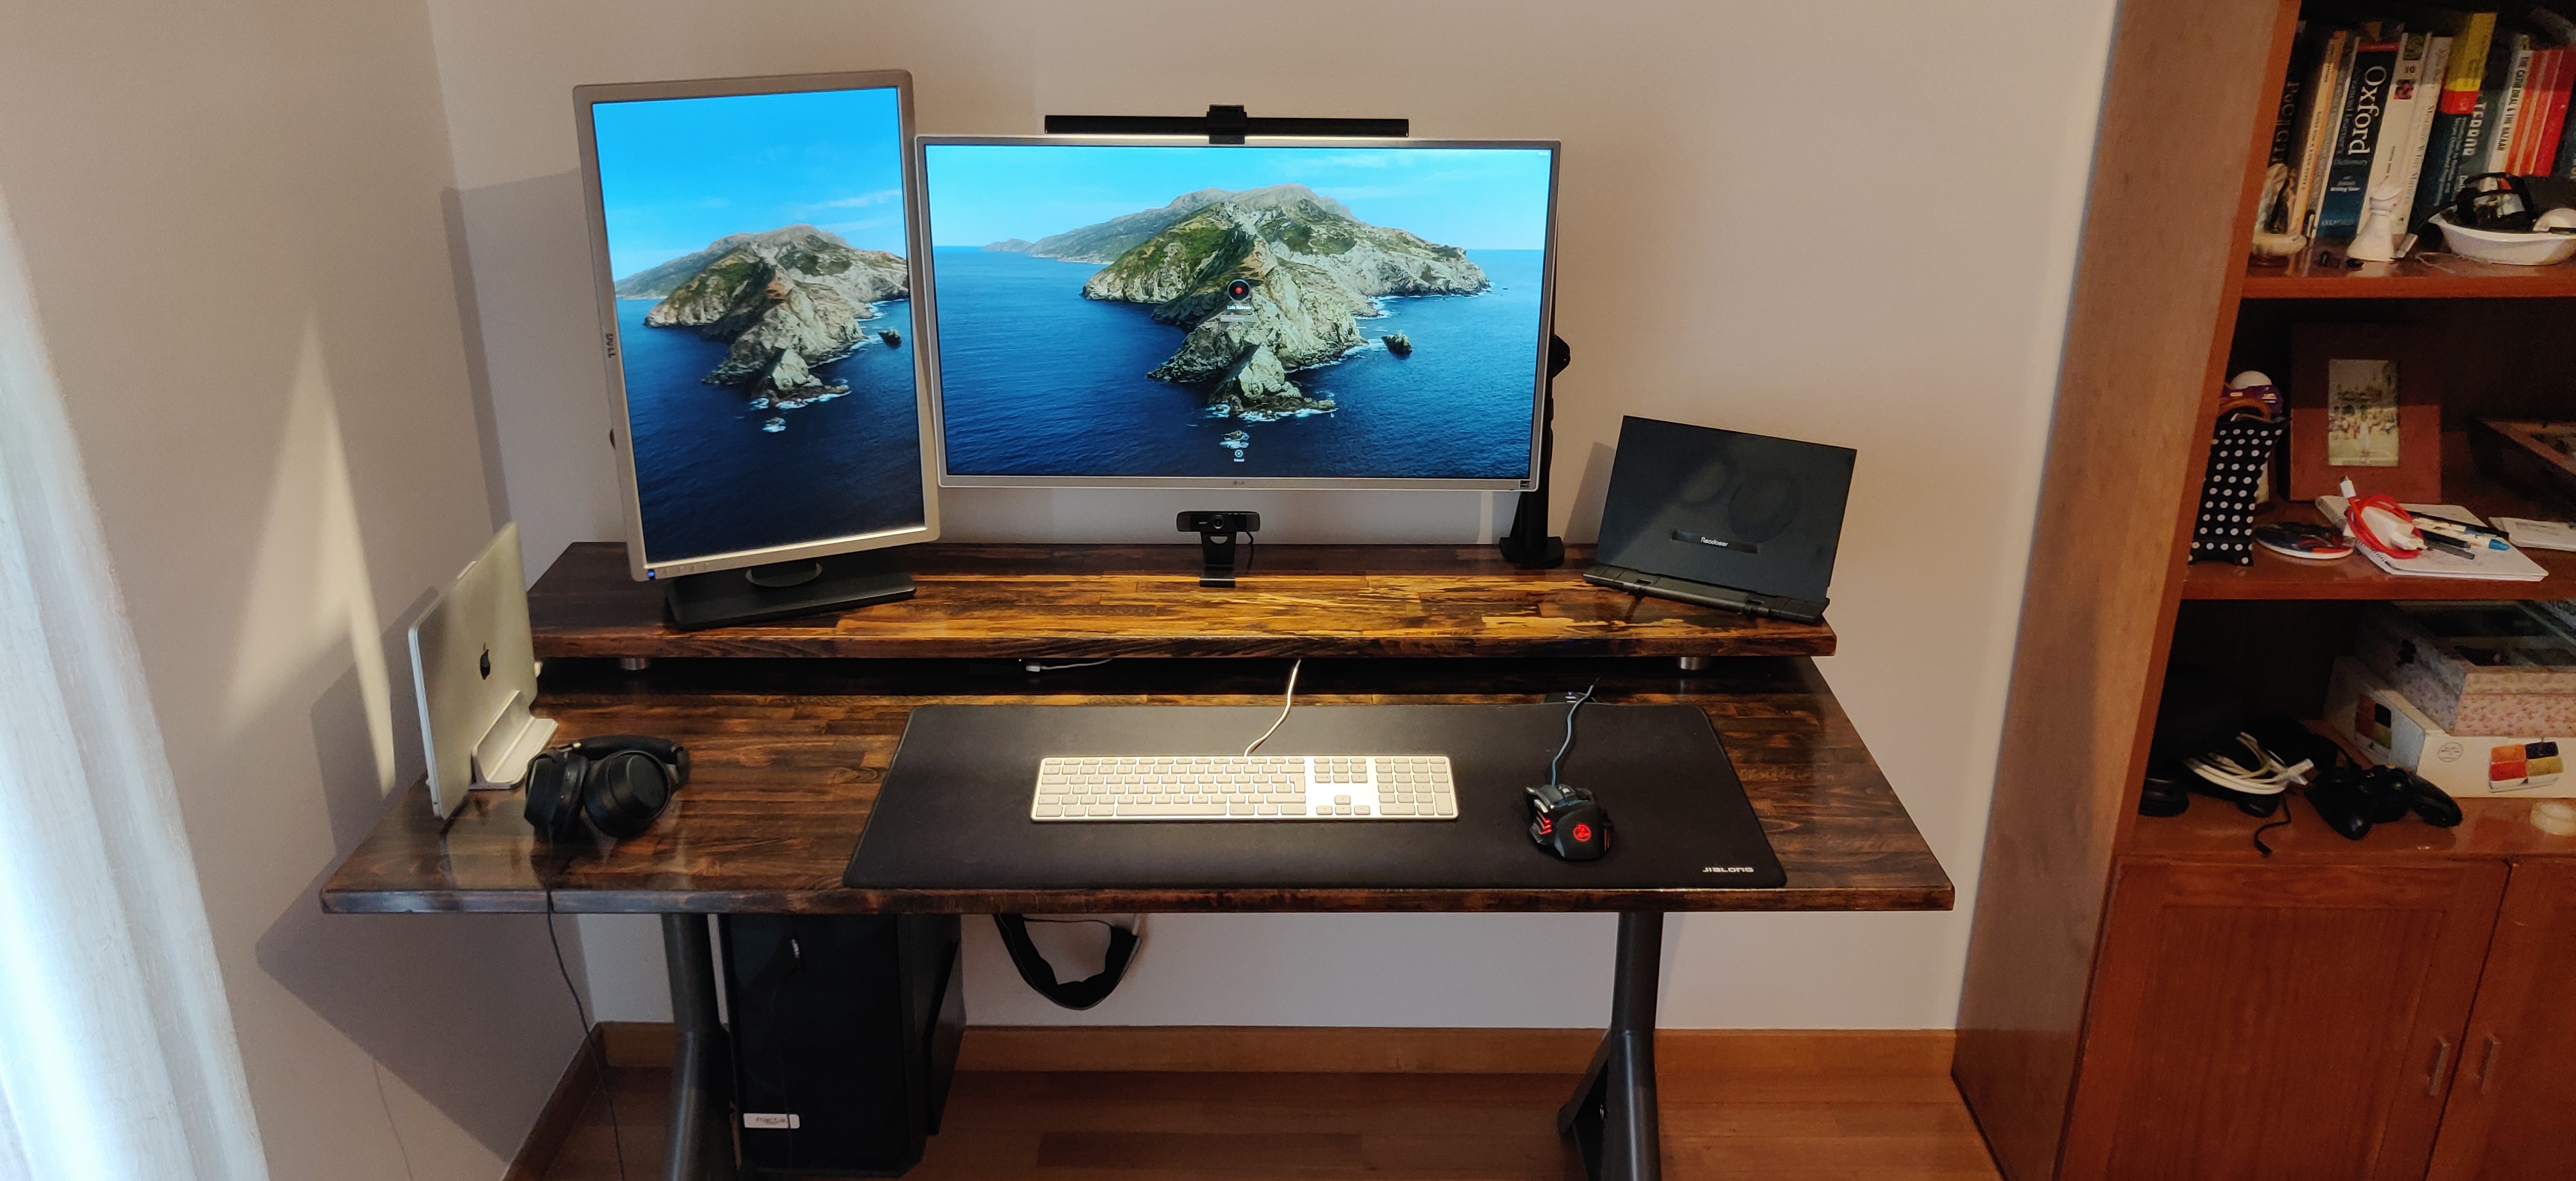
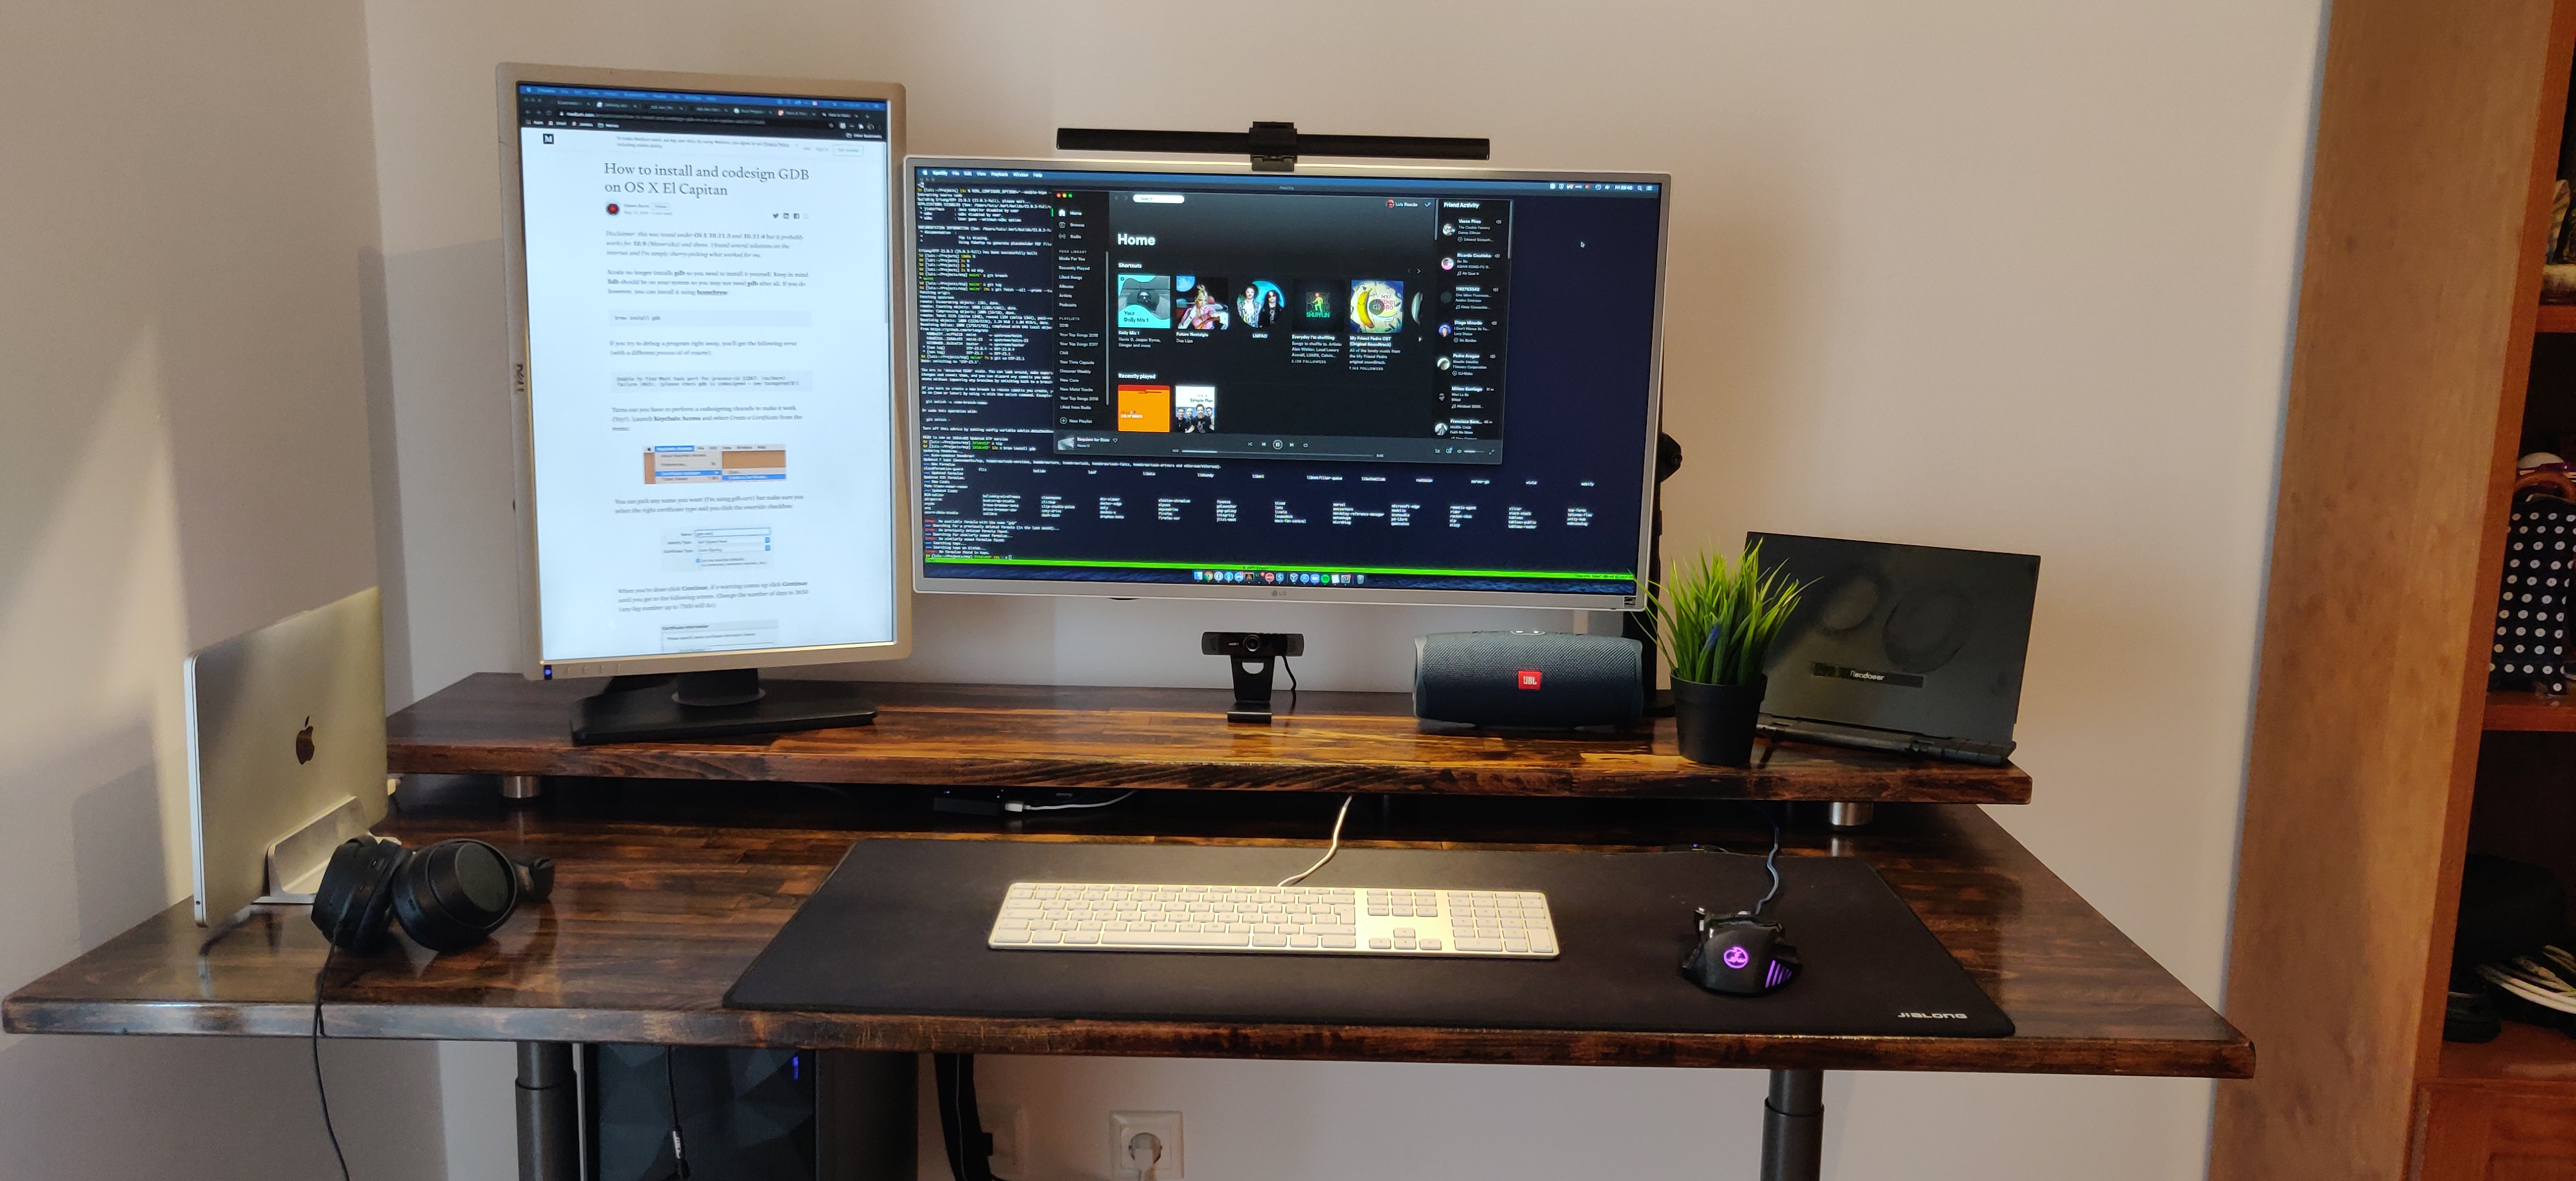
And here is the whole thing assembled, a 7-port USB Hub hides beneath the first floor.